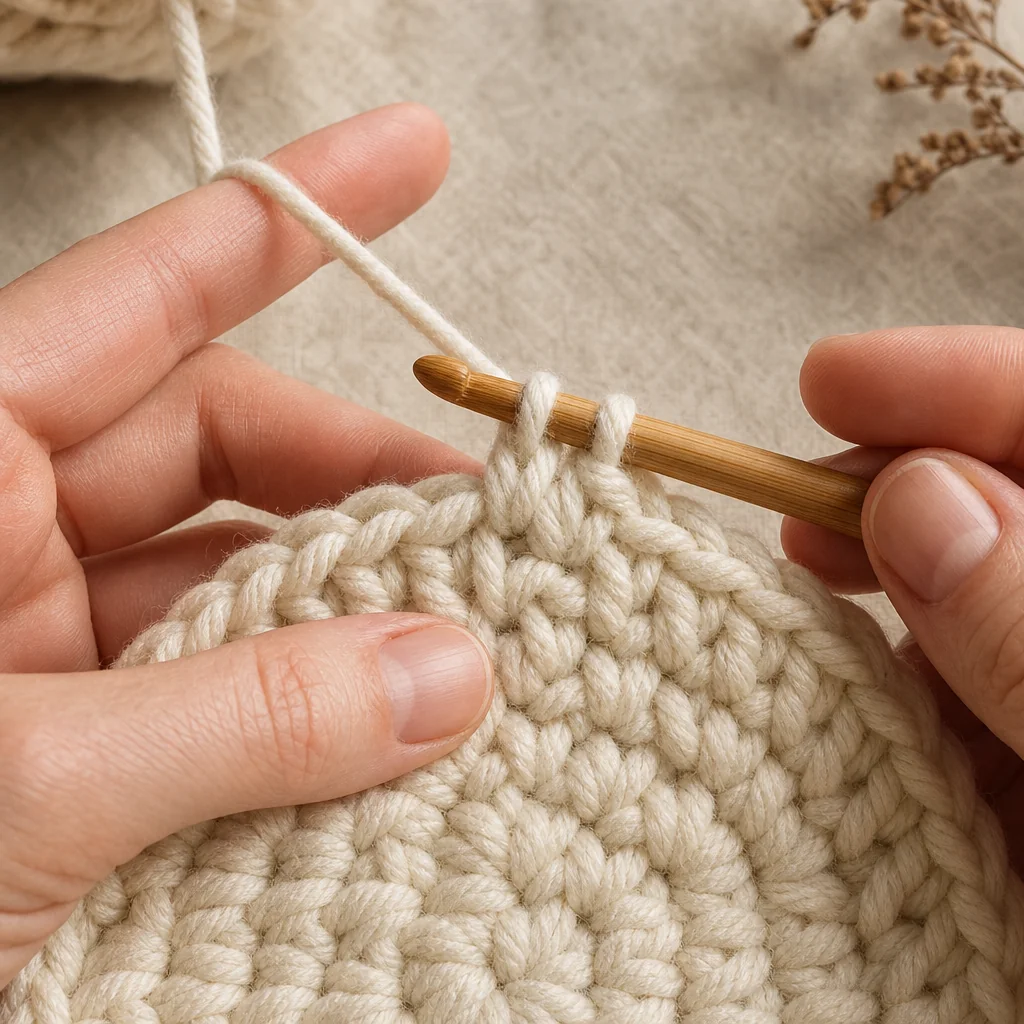
How to Increase and Decrease in Crochet Without Holes
by Crochets Studio — A longtime fiber artist specializing in amigurumi and garment construction, I've spent years perfecting techniques that make shaped crochet look professionally finished. I believe mastering fundamentals transforms your work more than any fancy stitch pattern.
Holes in shaped crochet fabric happen when stitches are worked too loosely or placed incorrectly relative to the row below. By maintaining consistent tension, working into complete stitches rather than partial loops, and using proper invisible decrease techniques, you can create perfectly smooth shaping. These fundamental skills transform amateur-looking projects into professional-quality pieces.
Understanding Why Holes Form
When you're working amigurumi, garments, or any shaped crochet piece, those little gaps that appear around increases and decreases can be frustrating. The root causes are almost always related to three factors: inconsistent tension, improper stitch placement, or using techniques that inherently create more space in the fabric.
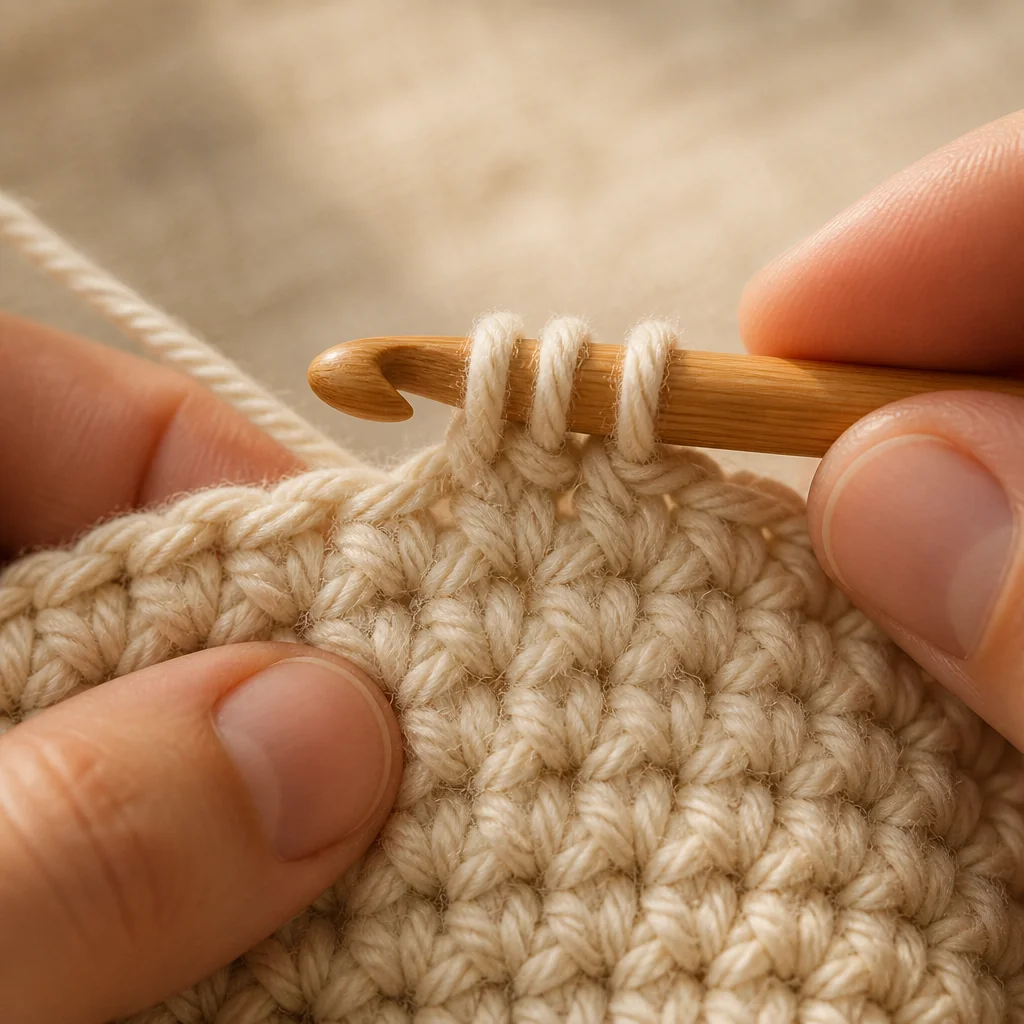
Holes typically emerge when you work too loosely at the exact moment of shaping. An increase requires placing two complete stitches into one base stitch, and if you don't maintain firm, even tension on both new stitches, a gap opens between them. Similarly, decreases pull multiple stitches together into one, and uneven tension during this process creates puckering or small openings.
The second common culprit is working into only part of a stitch rather than the full stitch. When your hook catches just the front loop or back loop unintentionally, or when you split the yarn of the stitch below, you're not creating a stable foundation for your new stitch. This instability shows up as gaps once the fabric relaxes.
Materials You'll Need
Before practicing these techniques, gather:
- Worsted weight yarn in a light, solid color – Light colors make it easier to see your stitch structure while learning
- Appropriate hook size – Use the hook size recommended on your yarn label, typically 5.0mm (H-8) for worsted weight
- Stitch markers – For marking increase and decrease points while practicing
- Good lighting – Essential for seeing exactly where your hook enters each stitch
- Tapestry needle – For weaving in ends on your practice swatches
How to Work Clean Increases
Step 1: Identify Your Base Stitch
Before working any increase, look closely at the stitch you'll be working into. You should see a clear "V" shape at the top of the stitch. Your goal is to insert your hook under both loops of this V—the front loop and back loop together.
Step 2: Work Your First Stitch
Insert your hook under both loops of the base stitch and work your first stitch completely as you normally would. For a single crochet increase, this means: insert hook, yarn over, pull up a loop, yarn over, pull through both loops. Complete the entire stitch before moving to the second stitch of your increase.
Step 3: Prepare for the Second Stitch
Here's where most holes happen. Before inserting your hook for the second stitch, gently snug up the yarn. You're not pulling tight—just taking up any slack that accumulated while working the first stitch. The working yarn should have gentle tension, not be loose and floppy.
Step 4: Place the Second Stitch
Insert your hook into the exact same base stitch, again going under both loops. This is crucial: both stitches of your increase must share the same foundation. Work the second stitch with the same tension you used for the first.
Step 5: Check Your Work
After completing the increase, look at the top of your new stitches. You should see two distinct "V" shapes sitting side by side with no visible gap between their bases. If you see a hole, your tension was likely too loose on one or both stitches.
How to Work Invisible Decreases
The standard decrease method for single crochet—insert hook into first stitch, yarn over and pull up a loop, insert into second stitch, yarn over and pull up a loop, yarn over and pull through all three loops—often creates a visible bar across the front of your work. The invisible decrease eliminates this.
Step 1: Insert Into Front Loops Only
For an invisible single crochet decrease, insert your hook under the front loop only of the first stitch, then under the front loop only of the second stitch. Your hook should now have both front loops on it.
Step 2: Pull Up Loops Evenly
Yarn over and pull up a loop. You now have three loops on your hook. The key to avoiding gaps is pulling this loop through evenly—not too tight, not too loose. If you pull too tight, you'll create puckering. Too loose, and you'll get a gap.
Step 3: Complete the Decrease
Yarn over and pull through all three loops on your hook. The decrease is complete. The stitch should look like a regular single crochet from the front, with the decrease hidden behind.
Step 4: Verify Stitch Alignment
After working a decrease, the stitches on either side should sit naturally without pulling or distortion. If surrounding stitches are leaning or stretched, your tension during the decrease was uneven.
Working Decreases in Taller Stitches
For half double crochet, double crochet, and taller stitches, the decrease technique changes slightly but the same principles apply.
Half Double Crochet Decrease
Yarn over, insert hook into first stitch, yarn over and pull up a loop (three loops on hook). Yarn over, insert into second stitch, yarn over and pull up a loop (five loops on hook). Yarn over and pull through all five loops at once. Keep even tension throughout.
Double Crochet Decrease
Yarn over, insert into first stitch, yarn over and pull up a loop, yarn over and pull through two loops (two loops remain). Yarn over, insert into second stitch, yarn over and pull up a loop, yarn over and pull through two loops (three loops on hook). Yarn over and pull through all three loops. This is sometimes called "dc2tog."
The taller the stitch, the more loops you're managing, which means more opportunities for uneven tension. Work slowly and deliberately, keeping consistent tension on every yarn over.
Troubleshooting Common Issues
Problem: Increases Create Ruffling
Cause: You're working too many increases too close together, or your tension is too loose.
Fix: Check your pattern's increase rate. For amigurumi worked in the round, standard increases follow a mathematical pattern (6, 12, 18, 24, etc.). If your pattern is correct, tighten your tension slightly. Your stitches should be snug but not strangling the hook.
Problem: Decreases Create Visible Gaps
Cause: Uneven tension when pulling up loops or pulling through loops, or you're skipping the invisible decrease technique entirely.
Fix: Practice the invisible decrease method specifically. Work slowly, focusing on keeping identical tension on both stitches being decreased. The pull-through motion should be smooth and controlled, not jerky.
Problem: Shaping Looks Bumpy Even Without Holes
Cause: Inconsistent gauge throughout the project, or increase/decrease placement isn't evenly distributed.
Fix: Count your stitches at the end of every row or round. Mark your increase and decrease points with stitch markers before working them. Consider blocking your finished piece—many minor irregularities disappear with proper blocking.
The Role of Yarn Choice and Blocking
Your yarn's fiber content significantly affects how forgiving your fabric is. Wool and wool blends have natural elasticity and memory, which helps hide small tension inconsistencies. Acrylic is less forgiving and shows every tension variation. Cotton has no stretch, making perfectly even tension absolutely critical.
Blocking is your secret weapon for professional-looking shaping. After completing your project, wet block or steam block according to your yarn's fiber content. The blocking process relaxes the stitches and allows them to settle into their most natural position. Small gaps often close up completely, and slightly uneven increases distribute more evenly across the fabric.
For amigurumi that won't be blocked, prevention is everything. You can't rely on blocking to fix issues, so practice these techniques until they're automatic.
Building Consistent Tension
Consistent tension is a skill that develops with practice, but you can accelerate your progress with deliberate practice techniques.
Set aside 15 minutes for focused practice. Work a simple swatch with regular increases and decreases, but work slowly and mindfully. Pay attention to how the yarn feels in your hands at the moment you're pulling up a loop or pulling through loops. That feeling of consistent, moderate resistance is what you want to replicate on every stitch.
Film yourself crocheting from the side. Watch the video and observe your hands. Do you tighten up unconsciously when working increases? Do you relax too much during decreases? Awareness is the first step to correction.
Practice with the same yarn and hook for multiple sessions before switching. Consistency across sessions builds muscle memory faster than constantly changing materials.
Advanced Tips for Perfect Shaping
Once you've mastered the basics, these advanced techniques take your shaping to the next level:
Strategic Placement: Place increases and decreases at the beginning or end of rows when possible, rather than in the middle. This makes them less visible and easier to work consistently.
Stagger Your Shaping: Instead of stacking increases or decreases directly on top of each other in consecutive rows, offset them. This distributes the shaping more evenly and creates smoother curves.
Use Your Non-Dominant Hand: Your non-dominant hand controls yarn tension. Practice maintaining consistent pressure with this hand specifically. The position and pressure should feel identical on every stitch.
Count Obsessively: Professional crocheters count constantly. Count after every row or round, especially when shaping. Catching an error immediately is infinitely easier than trying to fix it three rows later.
With these techniques in your skill set, your shaped crochet pieces will look clean and professional from every angle.
Next step
Practice Your Shaping Techniques