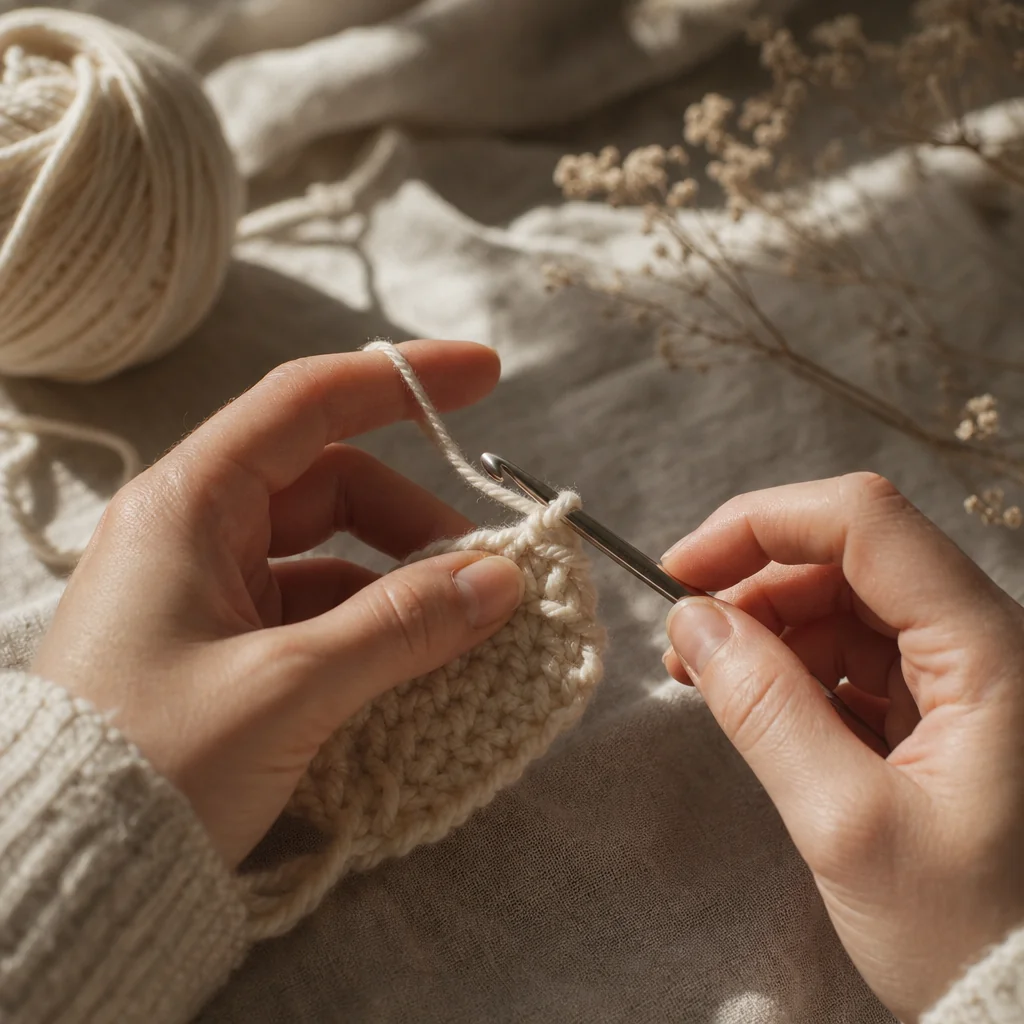
How to Slip Stitch and When to Use It
by Crochets Studio — Written by a longtime hooker and pattern tinkerer at Crochets.ca who still keeps a scrap yarn swatch on the coffee table for practicing new stitches.
A slip stitch is a zero-height stitch made by inserting your hook, yarning over, and pulling through both the stitch and your existing loop in one motion. It's mainly used to join rounds, travel across a row without adding height, create seams, or add a firm decorative edge.
What Is a Slip Stitch?
A slip stitch, abbreviated sl st, is the shortest and simplest stitch in the crochet alphabet. While a single crochet adds a bit of height and a double crochet adds even more, a slip stitch adds essentially none. That's exactly why it's so useful: it lets you connect, travel, or finish your work without changing the shape or height of your stitches.
If you've been crocheting for even a short while, you've almost certainly used a slip stitch already, probably to close a round or finish off your last stitch. But once you understand how flexible this little stitch really is, you'll start reaching for it on purpose instead of just at the very end of a project.
What You'll Need
- A skein of worsted weight (4) scrap yarn in a light colour, so the stitches are easy to see
- A crochet hook that matches the yarn label (typically 5.0 mm for worsted weight)
- Scissors
- A tapestry needle for weaving in ends once you're done practicing
You don't need anything fancy for this tutorial. Smooth, light-coloured yarn will make the loops easiest to read while you're learning the motion.
How to Work a Slip Stitch
Start with a small swatch of any stitch, or simply a foundation chain with a row of single crochet worked into it. You'll practice the slip stitch across the top of that row.
- Insert your hook into the next stitch, front to back, just like you would for any other stitch.
- Yarn over by wrapping the working yarn around your hook once.
- Pull the yarn through both the stitch and the loop already sitting on your hook, in a single motion.
That's the whole stitch. Where most crochet stitches take two separate pull-throughs, the slip stitch only takes one, which is exactly why it doesn't build any height. You'll finish with one loop remaining on your hook, ready to insert into the next stitch and repeat.
Getting the Tension Right
A common early mistake is pulling the yarn through too tightly, which makes the next stitch hard to insert into. Aim to keep the loop just as relaxed as your regular stitches. If your slip stitches are puckering the fabric, loosen your pull-through slightly, or go up half a hook size for that section.
When and Why to Use a Slip Stitch
The slip stitch shows up in more places than most beginners expect. Here are the five situations where you'll reach for it most.
Joining Rounds
When working in the round, a slip stitch into the first stitch of the round is the standard way to close it before starting the next one. It keeps the seam neat and prevents the spiral drift you'd get if you just kept crocheting continuously.
Moving Across a Row Without Adding Height
Sometimes a pattern needs you to reposition several stitches to the left or right before starting a new section, without raising your work. Slip stitching across the tops of those stitches gets you there without adding bulk, which is common in motifs, colorwork, and shaping.
Slip Stitch Seams
A slip stitch seam is one of the tidiest ways to join two crocheted pieces, especially for garment sides or amigurumi parts. Worked through both layers with the right sides together, it creates a thin, mostly invisible line that lies flat rather than bulking up like some other seaming methods.
Slip Stitch Edging
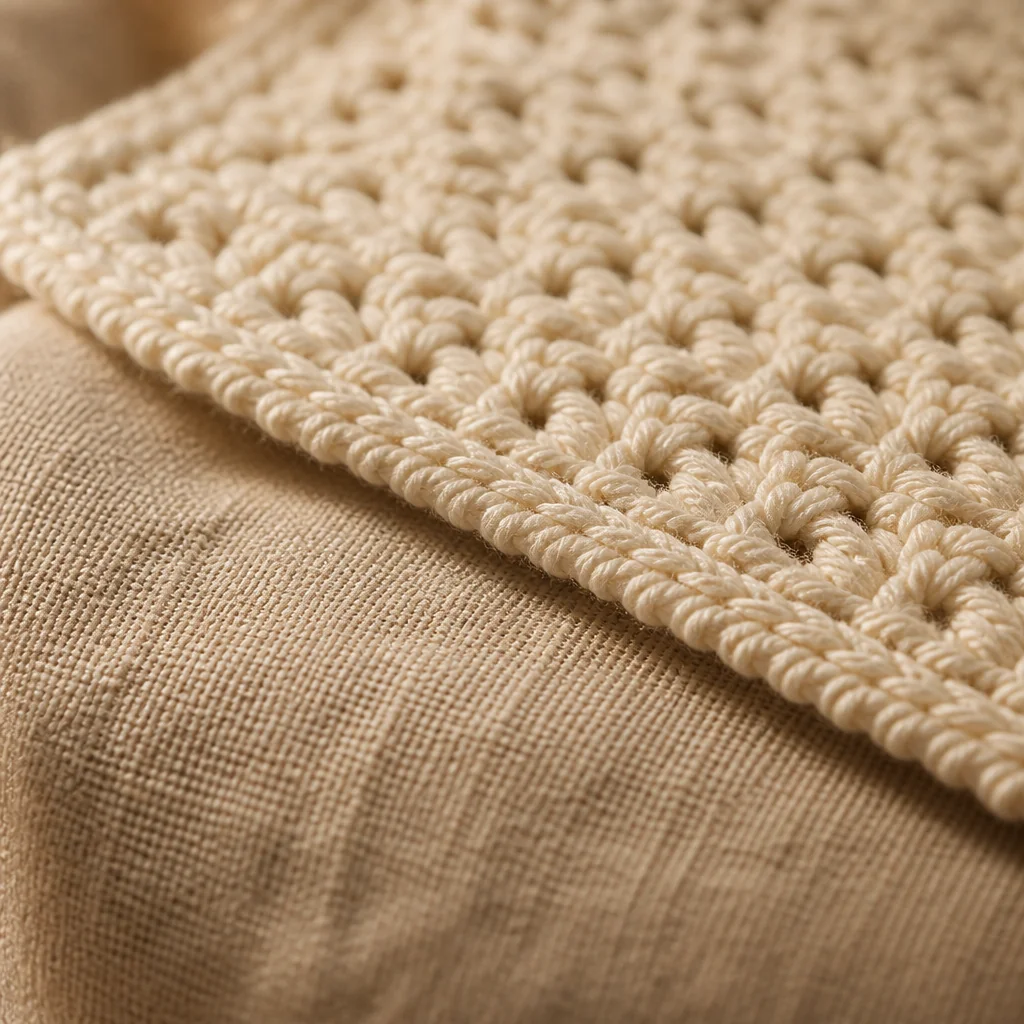
A round of slip stitches worked evenly around a finished piece adds a firm, corded-looking border. It's a favourite finishing touch on blankets, dishcloths, and garment hems because it stabilizes the edge and gives it a clean, professional look with almost no extra yarn.
Surface Slip Stitch
This technique works slip stitches directly on top of already-finished fabric, usually in a contrasting colour, to draw lines, add texture, or outline a shape. It's a simple way to add detail to a plain project without changing your stitch pattern underneath.
Fixing Curling or Stretchy Edges
Because a slip stitch is so tight and flat, a row of them is one of the easiest fixes for an edge that curls or stretches out of shape, common with single crochet worked in continuous rounds. Adding a slip stitch round after your last row of regular stitches locks things down without changing your finished measurements.
Practice Tips
Work a few full rows of slip stitch on scrap yarn until inserting the hook and pulling through in one motion feels automatic. Pay attention to how flat and dense the fabric becomes compared to single crochet. Once the motion feels natural, start watching for slip stitch instructions in your favorite patterns. You'll likely notice it's doing more work than you realized.
Ready to build on this stitch? Head to Crochets.ca's Stitch Studio to see slip stitch alongside every other core stitch, compare their heights side by side, and find patterns that put each one to use.