How to Stuff Amigurumi So It Holds Its Shape
by Crochets Studio — Written by a crochet enthusiast who learned through trial and error that proper stuffing makes all the difference between floppy disasters and cuddly keepsakes.
Good stuffing transforms floppy crochet fabric into sturdy amigurumi that stands upright and keeps its shape through years of handling. The key is adding small amounts of polyester fiberfill gradually as you work, testing firmness frequently to achieve that perfectly plump result. With the right materials and a few simple habits, you'll never struggle with lumpy heads or deflated bodies again.
Materials You'll Need
- Polyester fiberfill (the fluffy white stuffing sold at craft stores)
- Chopstick or wooden dowel for pushing stuffing into tight spaces
- Your nearly-finished amigurumi project (body, head, limbs)
- Stitch markers (optional, to mark your stopping points)
Step 1: Choose the Right Stuffing Material
Polyester fiberfill is your best friend for amigurumi. It's lightweight, washable, hypoallergenic, and bounces back after squeezing. You'll find it at any craft store in bags ranging from small pouches to giant pillow-sized quantities.
Avoid cotton balls—they compress into hard lumps over time and don't distribute evenly. Skip fabric scraps too, unless you want a lumpy, shifting fill that makes your amigurumi look like it has rocks inside. Wool roving might seem appealing, but it felts when washed and adds unnecessary weight.
For very small pieces like mini ornaments, you can use fine-grade fiberfill or even pull apart regular fiberfill into wispy clouds. The finer the filling, the smoother your final result.
Step 2: Prepare Your Fiberfill
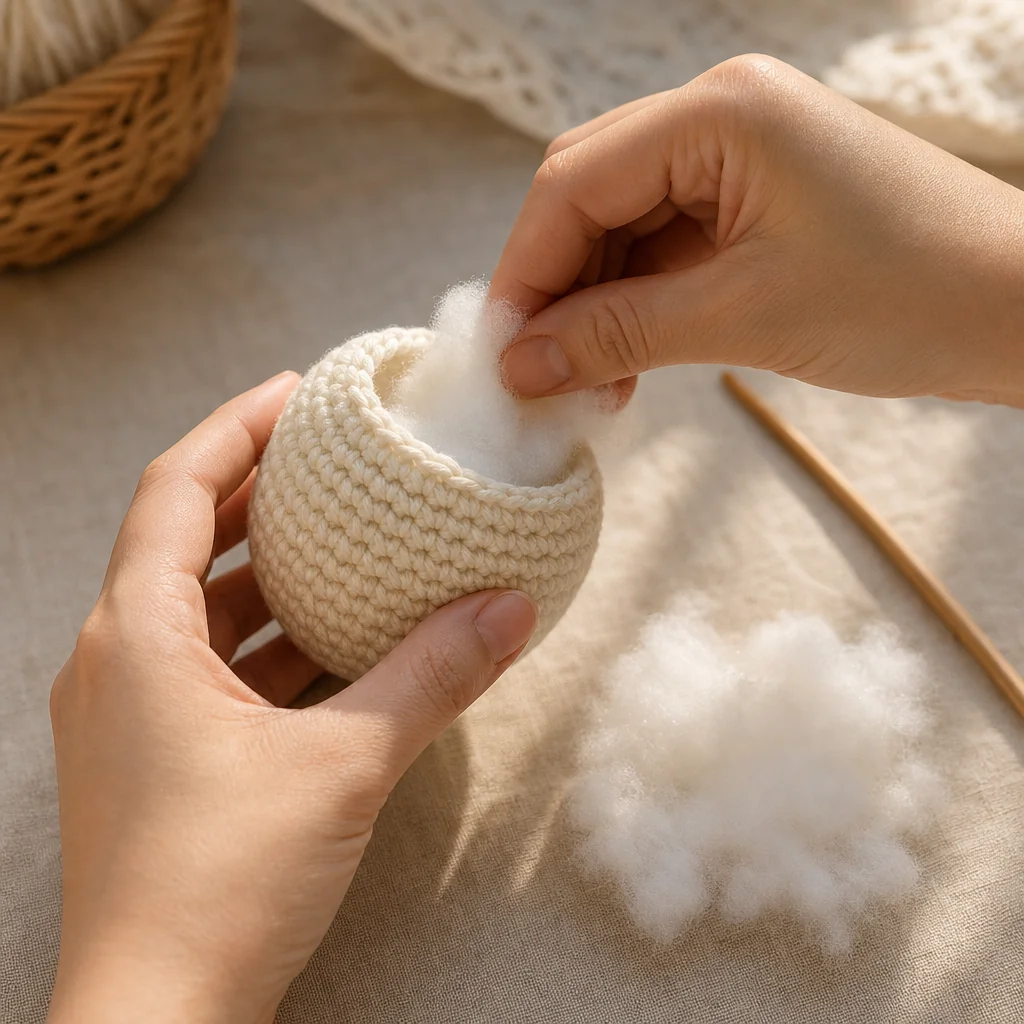
Before you start stuffing, pull your fiberfill apart into small, fluffy pieces about the size of a cotton ball or smaller. This prep work makes an enormous difference.
Grab a handful of fiberfill and gently tease it apart with your fingers, separating any dense clumps. You want airy tufts that compress easily. These small pieces slide into corners, wrap around curves, and distribute evenly without creating visible lumps through your stitches.
Never shove large chunks of fiberfill directly from the bag into your amigurumi. Big clumps create air pockets, leave gaps near seams, and show through single crochet fabric as obvious bumps.
Step 3: Stuff as You Crochet
This is the most important habit to develop: add stuffing incrementally as you work, not all at once at the end.
For arms and legs, start adding small amounts of fiberfill once you've crocheted about 1–1.5 inches (2.5–4 cm) from the tip. Continue adding a little bit every 3–5 rounds. This prevents you from trying to force stuffing through a tiny opening later.
For bodies and heads, begin stuffing when you're about halfway through the increases, then add more every few rounds as you work the straight section and decreases. By the time you reach your final rounds, the piece should already feel mostly full.
Narrow sections like necks, tails, and tentacles need extra attention. Add very small wisps of fiberfill frequently—every 2–3 rounds—to keep them firm without stretching the fabric.
Step 4: Test Firmness Constantly
As you add stuffing, squeeze and press your amigurumi regularly. It should feel firm and spring back when you release pressure, but the stitches shouldn't look stretched or distorted.
Understuffed amigurumi sag and flop over. They look deflated and show visible fabric wrinkles. Overstuffed pieces bulge unnaturally, reveal gaps between stitches (you'll see white fiberfill peeking through), and can even split seams under tension.
The sweet spot is firm enough to hold its shape when you set it down, but soft enough that stitches remain evenly spaced and the fabric doesn't look stressed. Press your thumb into the surface—it should indent slightly, then bounce back.
Step 5: Use Tools for Tight Spaces
When working with small openings or narrow sections, your fingers won't fit. That's where tools come in.
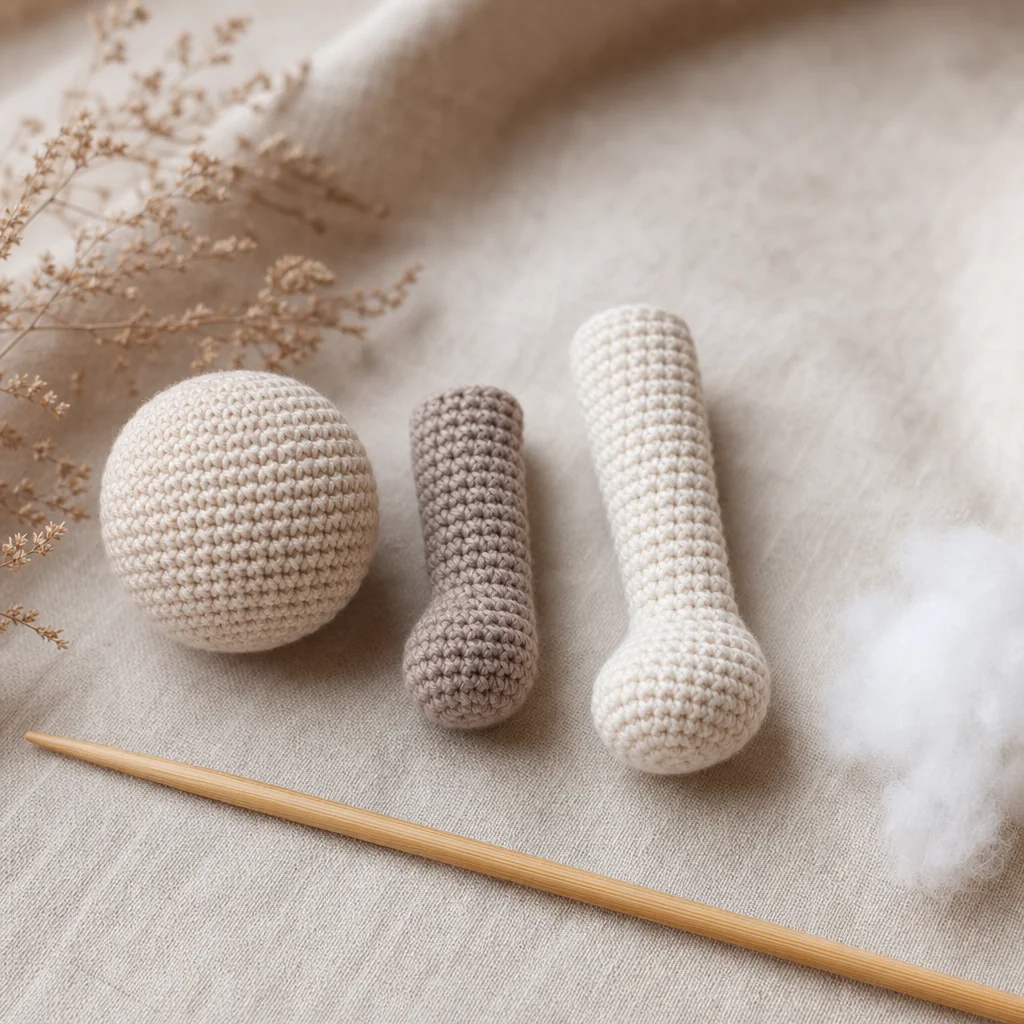
A chopstick or wooden dowel is perfect for gently pushing stuffing into hard-to-reach areas like ears, fingers, snouts, or the tips of legs. Hold the tool at an angle and use a light tamping motion—don't jab aggressively or you'll snag your yarn.
For extremely tiny pieces like mini animal noses or doll fingers, try the eraser end of a pencil or a crochet hook handle. The goal is to distribute stuffing evenly without creating compacted spots or stretching the fabric.
Never use sharp objects like knitting needles with pointed tips or metal skewers. They can pierce through your stitches and ruin your work.
Step 6: Perform a Final Shape Check
Before you sew the final opening closed, take a moment to assess the overall shape.
Hold your amigurumi at eye level and rotate it slowly. Does the head sit evenly on the body? Are the limbs equally plump? Does it stand or sit the way you intended?
If you spot any flat areas, gently open the closing a bit wider and add small pinches of fiberfill. If there are lumps, you may need to reach in carefully and redistribute the stuffing, breaking up dense spots with your tool.
For pieces that need to sit upright, like bears or bunnies, make sure the base is firmly stuffed so the weight distributes correctly. A floppy bottom means your amigurumi will tip over.
Step 7: Close the Opening Properly
Once you're satisfied with the shape and firmness, work your final decreases or sew the opening shut using a whip stitch or mattress stitch.
As you close the last few stitches, the opening will get smaller and smaller. If the piece feels like it's losing firmness, add one last small tuft of fiberfill before pulling the final stitch tight. It's easier to add a bit more now than to try reopening a finished seam.
Weave in your yarn end securely, and give your finished amigurumi a final squeeze to make sure the stuffing has settled evenly.
Common Stuffing Problems and Fixes
Lumpy surface: You used pieces that were too large. Remove some stuffing and replace with smaller, fluffier tufts.
Visible white showing through stitches: You overstuffed. Remove a small amount of filling to reduce tension on the fabric.
Saggy or floppy shape: You understuffed. Carefully reopen the seam and add more fiberfill in the weak areas.
Hard, dense spots: You packed the stuffing too tightly. Remove the compacted area and replace with looser, airier filling.
Uneven limbs: You didn't stuff incrementally. Next time, add filling as you crochet rather than all at once.
Tips for Long-Lasting Results
Polyester fiberfill is machine washable, but washing can cause shifting over time. If you plan to wash your amigurumi frequently, stuff it very firmly to compensate for compression.
For weighted amigurumi (like sensory toys or bookends), add plastic pellets or glass beads to the base before stuffing with fiberfill. Keep pellets away from the top and sides where they might show through.
If you're making amigurumi for babies or young children, seal the final opening extra securely and avoid any small parts. Check that no fiberfill can be pulled out through the stitches.
Ready to Stuff Your Next Amigurumi?
Now that you know the techniques for perfect stuffing, your amigurumi will look polished and professional. The difference between a handmade toy that looks homemade and one that looks store-bought often comes down to this single step.
Take your time, add small amounts frequently, and test as you go. Your finished pieces will hold their shape beautifully for years of display or play.
Next step
Browse Amigurumi Patterns