What Is a Magic Circle and How Do You Make One?
by Crochets Studio — Written by a longtime crochet hobbyist at Crochets.ca who learned the magic circle the hard way, one wonky amigurumi head at a time.
A magic circle is an adjustable loop you crochet into instead of chaining and joining, and once your first round is done, you pull the tail to close it completely with no gap. It's the go-to start for amigurumi, hats, and granny squares because it gives you a clean, hole-free center every time.
A magic circle is an adjustable loop you crochet into instead of chaining and joining, and once your first round is done, you pull the tail to close it completely with no gap. It's the go-to start for amigurumi, hats, and granny squares because it gives you a clean, hole-free center every time.
What Is a Magic Circle?
A magic circle (sometimes called a magic loop or adjustable ring) is a way to start crochet projects that work in rounds. Instead of chaining a small number of stitches and joining them into a ring with a slip stitch, you make a loop of yarn, crochet your first round of stitches directly into it, then cinch the loop closed by pulling the tail. The result is a tight, seamless center instead of the small hole you'd get from a traditional chain start.
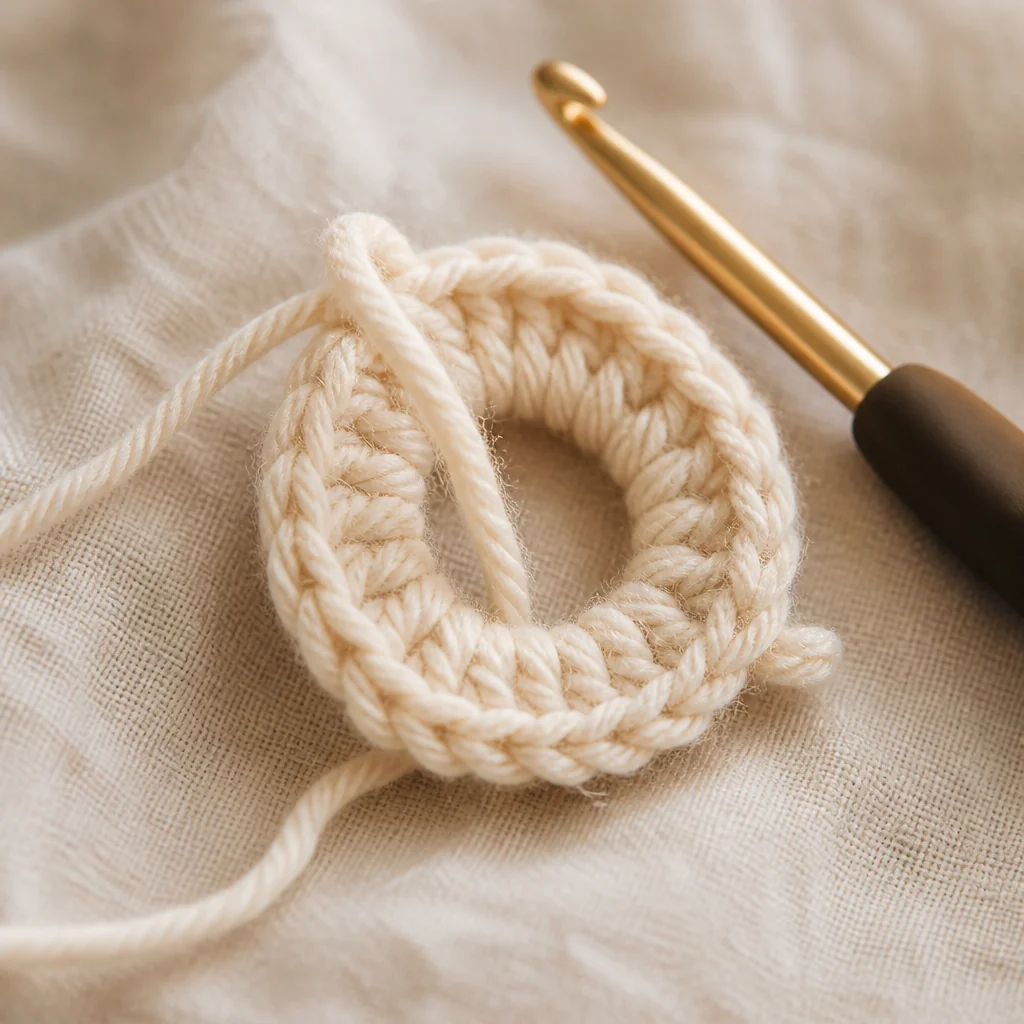
You'll see the magic circle used constantly in amigurumi patterns, but it works just as well for granny squares, coasters, hats, and any project that begins with stitches worked into a ring.
Why It's Worth Learning
- No visible hole at the center of your work, even before it's stuffed or blocked
- The starting loop is adjustable, so you tighten it exactly as much as you need after your stitches are in place
- It produces a more polished, professional-looking finish than a chain-and-join start
- It's more forgiving if you miscount your first round, since you can add or skip a stitch before closing the loop
What You'll Need
- A small ball or scrap of yarn in the weight your pattern calls for
- A crochet hook sized to match that yarn
- Scissors
- A tapestry needle, for weaving in the tail once you're done
- A stitch marker (optional, but handy for tracking your first stitch)
How to Crochet a Magic Circle, Step by Step
Step 1: Form the Loop
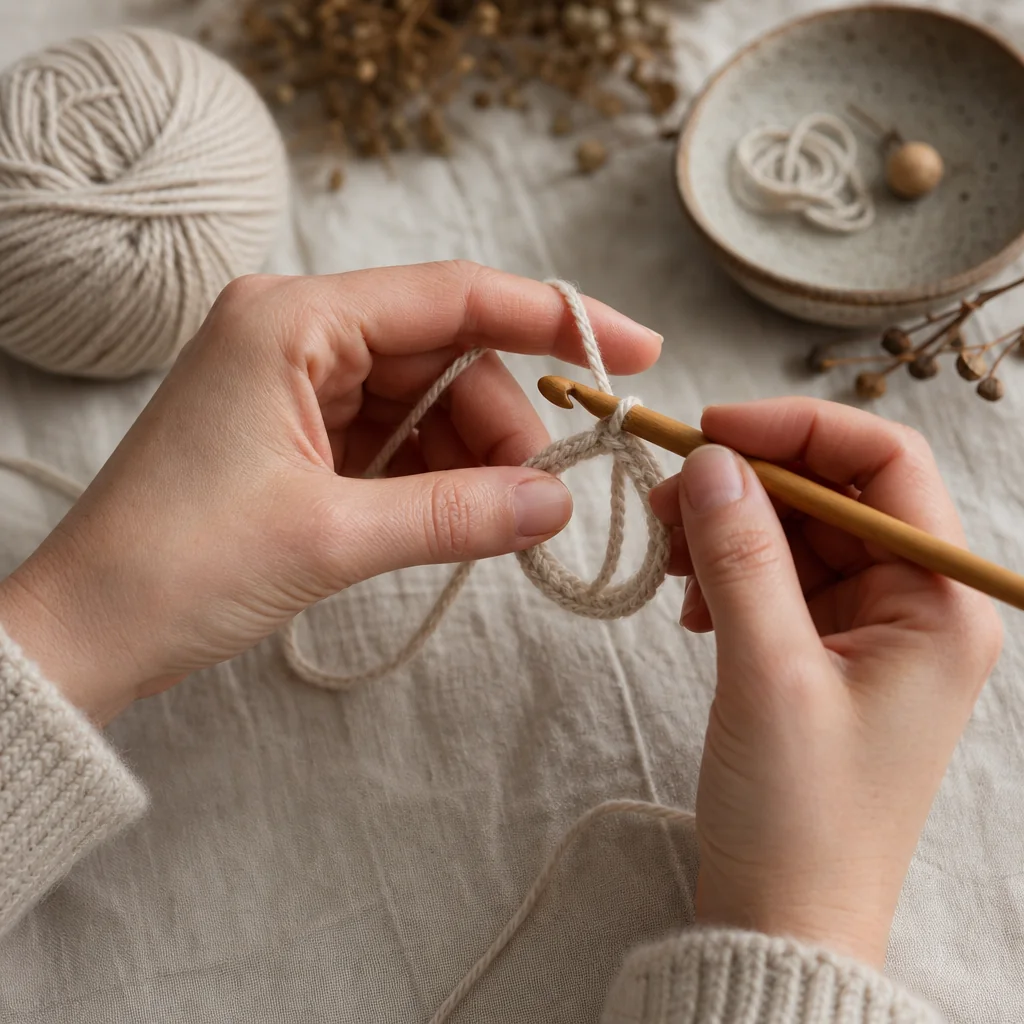
Drape the yarn over your fingers so the tail end crosses in front of (or behind, depending on your grip) the working yarn, forming a loop. Pinch the point where the strands cross to hold the loop in place.
Step 2: Insert Your Hook
Insert your hook through the loop, from front to back. Yarn over with the working strand and pull up a loop through the circle. You should now have one loop on your hook, and the circle itself should still be loose and open.
Step 3: Chain One
Yarn over and pull through to chain 1. This chain anchors your stitches but doesn't count as one of them, so don't work into it later.
Step 4: Work Your First Round
Crochet your first round of stitches (usually single crochet, but follow your pattern) directly into the circle, making sure each stitch catches both strands of the loop, the working strand and the tail. Keep the loop reasonably open while you work so your hook has room to move.
Step 5: Close the Circle
Once your first round is complete, hold your stitches steady and pull the tail firmly. The circle will shrink down and disappear, leaving a solid, hole-free center. Give it a gentle tug to make sure it's snug before moving on.
Step 6: Join, If Needed
If your pattern works in joined rounds, slip stitch into the first stitch of the round to close it. If you're working in a continuous spiral, as most amigurumi patterns do, just place a stitch marker in the first stitch and keep going.
Magic Circle vs. Chain-and-Join Start
| | Magic Circle | Chain-and-Join | |---|---|---| | Center hole | None, closes completely | Small hole often remains | | Adjustability | Tighten after stitching | Fixed size once joined | | Learning curve | Takes a bit of practice | Familiar to most beginners | | Best for | Amigurumi, hats, granny squares | Motifs where a small center hole is part of the design |
Neither method is objectively better in every case. Some doily and mandala patterns actually want that small center opening, so a chain-and-join start is the right call there. For anything that needs to be fully closed, like a stuffed toy's head or the base of a hat, the magic circle wins.
Common Sticking Points
The loop won't stay open while I stitch. Hold the crossing point of the strands between your thumb and middle finger throughout the first round, and only let go once your last stitch is in.
The tail slips out when I pull it. Make sure your very first stitch caught both strands, the tail and the working yarn. If it only caught one, the tail will pull free instead of cinching the circle.
My center still has a small gap after pulling tight. Give the tail a second, firmer tug, and check that your stitches are snug against each other before you pull. A gap usually means the stitches were worked too loosely around the loop.
Practice Makes It Automatic
The magic circle feels awkward the first few times, mostly because you're holding a loose loop and a hook at the same time. Practice it a few times with scrap yarn before starting your actual project. Once your fingers know the motion, it becomes as quick and natural as any other stitch you use to start a round.
Try It in Your Next Project
Once you've got the magic circle down, put it to work. Browse our library of round and amigurumi patterns to practice the technique on a real project, or head to our Stitch Studio for more core techniques that build on this one.
Next step
Browse round and amigurumi patterns