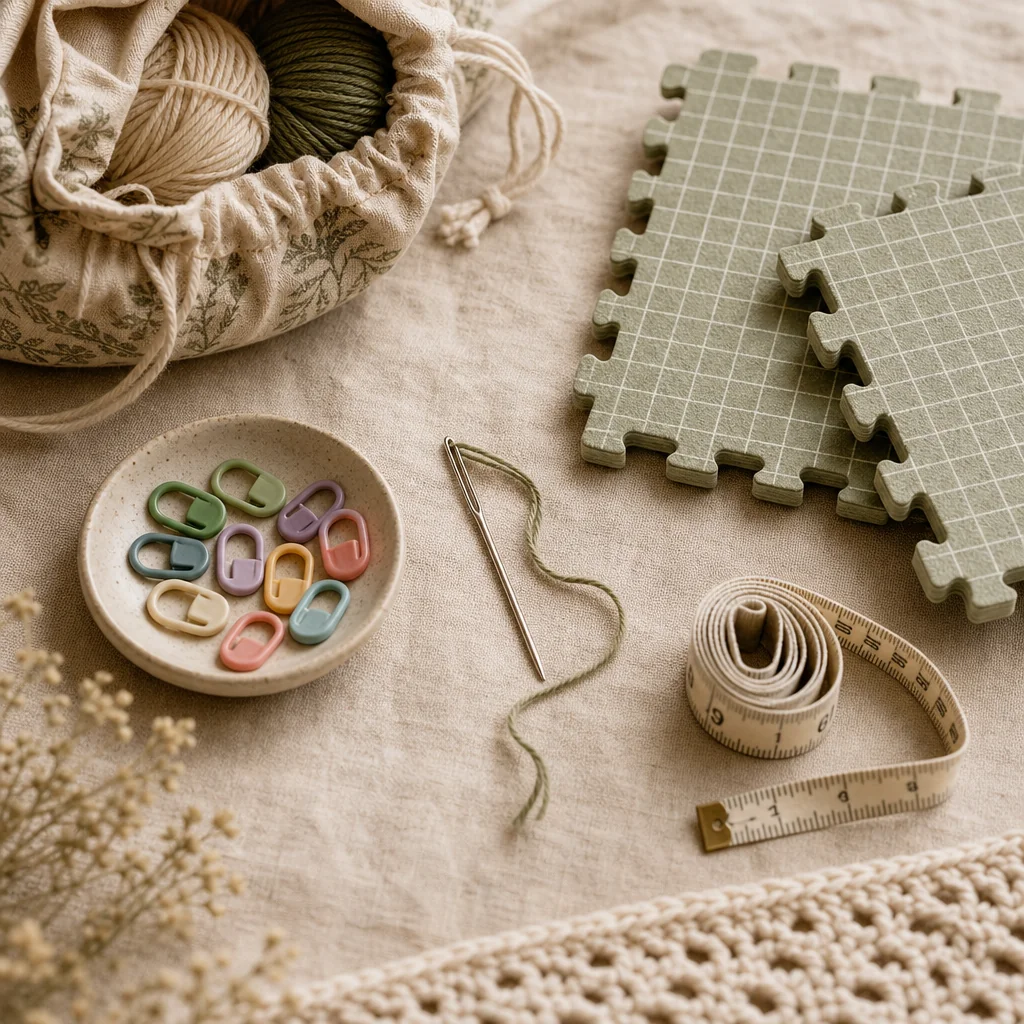
Essential Crochet Tools: Building Your Kit Without the Clutter
by Crochets Studio — A fiber artist and pattern developer based in Montreal, I've spent fifteen years helping crocheters build skills and confidence one stitch at a time.
Building a crochet toolkit doesn't mean buying everything—it means investing in tools that genuinely improve your work and joy. Start with the essentials like stitch markers and a good yarn needle, then expand thoughtfully as your projects grow more complex.
Why the Right Tools Matter
When you're learning to crochet, it's tempting to grab every gadget at the craft store. But here's the truth: crochet itself only needs a hook and yarn. Everything else is optional. That said, a small, thoughtful collection of tools transforms how you work. They catch mistakes early, keep you organized, and let you focus on the creative part instead of hunting for a lost stitch marker.
The difference between struggling through a project and enjoying one often comes down to having the right tool for the moment. This guide breaks down what actually matters, what's nice-to-have, and what you can skip entirely.
Stitch Markers: Your First Essential Tool
Why They Matter
Stitch markers are the single most useful tool to own from day one. They're simple: small rings, clips, or loops that anchor to a specific stitch. They do three crucial jobs.
First, they mark the beginning of a round in circular crochet. Without one, it's easy to lose track of where a round starts and ends, especially once you're working faster. Second, they track increases. When a pattern calls for multiple increases in one round, markers keep you from accidentally increasing twice in the same stitch. Third, they save your spot. If you set down your work mid-row, a marker lets you pick it back up without counting.
Types of Markers
Locking markers are the standard choice. They have a small clip mechanism that opens to slip onto a stitch, then locks closed. They won't accidentally fall out mid-project, and they work on any stitch size. Once you find a brand you like, stick with it—the satisfaction of a smooth, reliable clip is real.
Ring markers are lightweight loops, often just plastic rings. They're cheaper and take up almost no space, but they can slip off if you're not careful, especially during the chaos of seaming or editing.
DIY markers made from yarn scraps or safety pins work in a pinch, but once you experience a proper locking marker, you'll wonder how you ever managed without one.
Start with a set of locking markers in a few colors. Five is plenty for most projects. Keep them in a small container or bag so they don't scatter through your project bag.
Blocking Mats: Precision and Professional Finish
What They Do
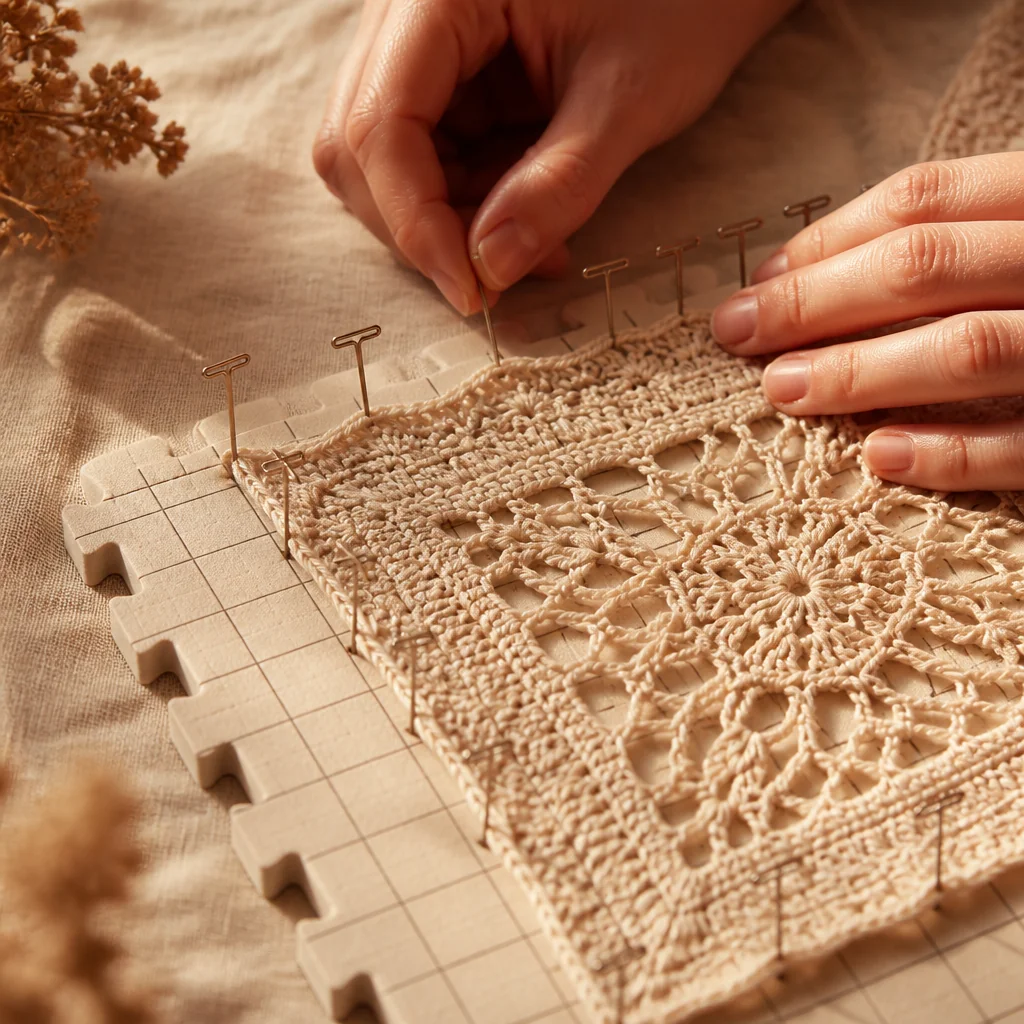
Blocking is the step many beginners skip, then regret. It's the process of pinning a finished piece into its intended shape while it dries. Blocking mats make this possible and, honestly, make it pleasant.
These interlocking foam squares have a grid pattern printed on top. You lay your finished piece on the mat, pin or use rust-proof blocking pins to hold edges in place, lightly mist it with water (or block it according to yarn fiber), and let it dry completely. The result is pieces with even edges, consistent tension, and a professional appearance.
Blocking is especially transformative for:
- Garments: Sleeves line up, necklines sit level, and overall fit improves dramatically.
- Granny squares and blankets: Uneven stitches become uniform. Blocked squares actually fit together without fighting.
- Lace: The open pattern comes alive. Blocking is what separates a lumpy piece from an ethereal finished project.
- Ripples and edges: Wavy edges become straight with gentle pinning and blocking.
Choosing Blocking Mats
Mats come in various sizes and configurations. A standard set has four to nine interlocking 12-inch squares. This gives you a 24 x 36-inch surface—enough for most garments and many blankets. If you work small (baby booties, amigurumi), you need less. If you regularly block large blankets, invest in more squares.
Look for mats with clear grid lines and a soft foam that won't tear easily. Store them flat or rolled loosely; don't fold them sharply, or the creases can become permanent.
Yarn Needles: The Workhorse of Finishing
Why You Need One
Yarn needles (also called tapestry needles) serve two essential functions: weaving in yarn ends and seaming pieces together. They have a large, flat eye that threads yarn easily, and a blunt tip that won't split stitches.
No matter how clean your crochet, every project generates ends to weave in. A proper yarn needle makes this task faster and less frustrating than trying to use a regular sewing needle.
When you're ready to assemble garments or make pieces from granny squares, your yarn needle is your best friend. The right technique with a good needle creates seams that are nearly invisible.
Material and Size Matter
Metal needles hold up to repeated use and are worth the small extra cost. Plastic needles wear out, bend, or crack after a while, and replacing them becomes annoying.
Size: Look for needles labeled for worsted or bulky weight. A size that feels comfortable in your hand and has an eye large enough for your typical yarn weight is ideal. You don't need a different needle for every yarn weight—one good all-purpose needle covers most situations.
Pro tip: Keep your yarn needle in a small pouch or needle case so it doesn't get lost in your project bag. A bent or lost needle is a frustrating thing to replace mid-project.
Measuring Tape: Prevention Over Problem-Solving
Why It's Worth the Space
A measuring tape costs almost nothing and prevents expensive mistakes. Use it three ways:
Gauge checks: Before you commit to a sweater, measure your swatch and verify it matches the pattern gauge. This single step prevents projects from turning out three sizes too big or small.
In-progress sizing: While you're working on a garment, measure periodically against your schematic. A small adjustment mid-project is easy. Ripping back 50 rows because you missed the sizing window is not.
Blanket and square dimensions: Track the width and length of blankets or check that granny squares are actually square. Measurements don't lie the way your eyes sometimes do after staring at stitches for an hour.
Type to Buy
A standard soft plastic tape measure with a retractable spring is fine. Keep it clipped to your project bag or tucked in a small pouch. If you block regularly, keep a second one near your blocking area so you can measure and re-measure as you pin.
Stitch Counters: Taming Repetitive Patterns
When They're Invaluable
Stitch counters aren't essential for every pattern, but certain projects become genuinely frustrating without one.
Complex colorwork: Tracking which row you're on in a large color chart is where counters shine. Lose count halfway through a motif and you'll spend 20 minutes re-counting stitches and rows.
Lace patterns: The same issue applies. A single missed yarn over ruins the entire repeat, and knowing which row you're on is how you catch it before it's too late.
Blankets with many rows: If you're making a 100-row blanket and you stop mid-project, a counter lets you pick up exactly where you left off without guesswork.
Types and Alternatives
Row counters are small cylinders with a dial you turn after each row. They're cheap and reliable.
Tally counters are handheld clickers, easier to use while you're actively crocheting.
Paper and pencil: A simple tally mark system works just as well and costs nothing. Some crocheters just tick off sections of their pattern as they complete them.
Start with paper and pencil if you're unsure. If you find yourself regularly frustrated by losing count, a dedicated counter is a worthwhile upgrade.
Project Bags: Organization Prevents Frustration
The Real Value
Project bags aren't glamorous, but they're one of the most practical tools you'll own. A dedicated bag for each active project keeps everything together: yarn, hooks, markers, needle, pattern, measuring tape, and anything else that project needs.
Without a project bag, you end up:
- Searching for that one stitch marker you know you have somewhere.
- Tangling yarn skeins with other projects.
- Leaving hooks behind at coffee shops or borrowed couches.
- Carrying bulky yarn in your regular bag, making it uncomfortable.
What to Look For
You don't need anything fancy. A simple canvas tote, a small zippered bag, or even a repurposed cosmetic case works. What matters is that it's sized for your typical project and easy to grab and go.
Some crocheters swear by structured project bags with interior pockets. Others use simple drawstring bags. The best bag is the one you'll actually use consistently.
Building Your Kit: A Practical Order
Day One
Start here, and you're ready to crochet with confidence:
- One set of locking stitch markers (5–8 pieces).
- One metal yarn needle suitable for your preferred yarn weight.
- A measuring tape (optional but highly recommended).
Total cost: $20–40. This covers the essentials that improve almost every project.
When Your Projects Get Bigger
Once you're comfortable with basic techniques and thinking about garments or large blankets, add:
- Blocking mats (starting with a basic 4-mat set).
- A project bag if you don't already have something suitable.
As You Specialize
If you gravitate toward complex colorwork or lace, invest in a row or tally counter. If you make a lot of granny square blankets, a second set of markers is worth it.
Final Thoughts: Quality Over Quantity
The craft industry benefits when you buy more. The truth is simpler: one good stitch marker beats a dozen cheap ones. One metal yarn needle lasts longer than five plastic alternatives. One well-chosen blocking mat set outperforms makeshift solutions every time.
Invest in tools that improve your actual work, not tools that look impressive. Your future projects will thank you.
Next Steps
Ready to upgrade your toolkit? Explore our carefully curated selection of stitch markers, yarn needles, and blocking mats—all chosen for quality and real-world crochet work.
Next step
Browse our tool collection