Converting a Knitting Pattern's Gauge to Crochet: A Step-by-Step Guide
by Crochets Studio — A lifelong crafter with a love for adapting patterns across different mediums, bringing together the best of knitting and crochet techniques.
Converting a knitting pattern to crochet is absolutely possible when you understand gauge and how the two crafts differ structurally. The key is working from target measurements rather than stitch counts, then swatching to find the right hook size and stitch combination that matches the original pattern's density.
Understanding the Differences Between Knit and Crochet Gauge
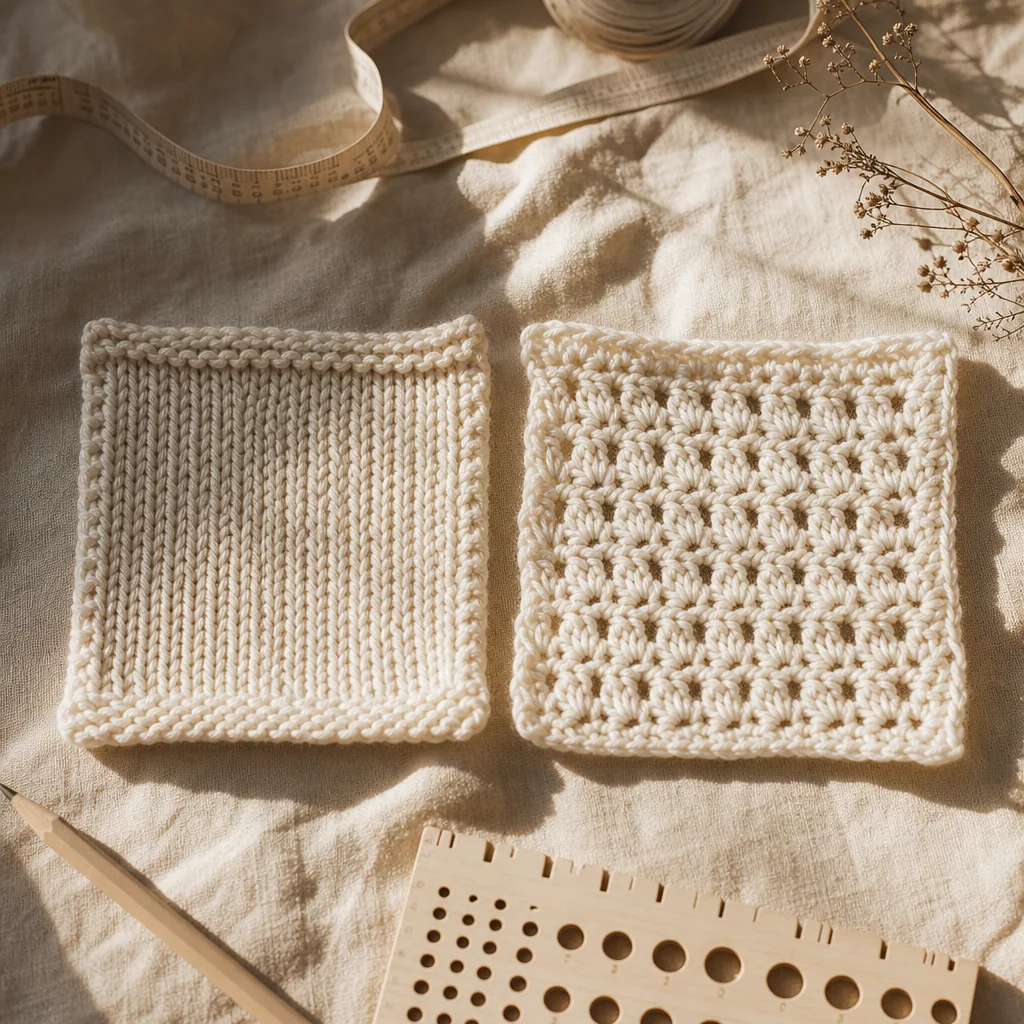
When you first start thinking about converting a knitting pattern to crochet, the temptation is to do a simple stitch-for-stitch swap. A knit stitch becomes a single crochet, a purl becomes something else, and off you go. But this approach almost never works, and here's why: knit and crochet fabrics have fundamentally different structures.
A single crochet stitch is taller and uses considerably more yarn than a knit stitch. A half double crochet is even more yarn-hungry. Because crochet stitches are larger and more spacious than their knit counterparts, a pattern worked stitch-for-stitch will come out significantly larger than intended. You might end up with a sweater that fits like a tent or sleeves that go past your fingertips.
The solution isn't to despair—it's to think about gauge as a density measurement rather than a stitch count. This mindset shift is what makes converting patterns actually work.
What Gauge Really Means
Gauge is simply a measure of how tightly or loosely fabric is constructed. Both knitting and crochet patterns express gauge as the number of stitches and rows (or rounds) that fit into a given measurement, usually 10 cm (4 inches).
When a knitting pattern says "20 stitches and 28 rows per 10 cm over stockinette stitch," it's telling you two things:
- The yarn weight and needle size create a specific fabric density
- To get a sweater that's actually 50 cm wide, you need to cast on a specific number of stitches that will produce that width at that gauge
For crochet conversion, you're not trying to match the stitch count—you're trying to match that density. You want your crochet fabric to have roughly the same number of stitches per centimetre so the finished measurements work out.
Choosing Your Crochet Stitch
The first decision is which crochet stitch will give you a similar look and feel to the knit pattern. This isn't just about aesthetics; it's about finding a stitch that creates similar density.
For stockinette stitch (the smooth, V-shaped knit stitch), consider:
- Single crochet for a tight, dense fabric
- Half double crochet for something with a bit more drape
- Double crochet if you want a lighter, more open fabric
For garter stitch (the bumpy, textured knit stitch), half double crochet or double crochet can work well, depending on how open or dense you want the fabric.
For ribbed knit fabrics, you might want to explore crochet stitches that have vertical definition, like working through the back loop only or using a pattern stitch rather than a simple single stitch.
Start by thinking about the weight and drape of the finished knit project. Will it be a structured, fitted garment or something looser and flowy? That'll guide your stitch choice.
Measuring Finished Dimensions
Before you even pick up a crochet hook, extract the key measurements from the knitting pattern. Don't just count the cast-on stitches—look at what the pattern says the finished width should be. Most patterns include a schematic or finished measurements section.
Pull out:
- Finished bust width (or total width)
- Finished length
- Sleeve length
- Sleeve width at the cap and cuff
- Neckline circumference or width
- Any other relevant measurements
Write these down. These are your targets, and they don't change regardless of whether you're knitting or crocheting. A finished width of 50 cm needs to be 50 cm, period. What changes is the number of stitches you'll need to achieve that width in crochet.
Creating and Measuring Your Gauge Swatch
Now comes the hands-on part. You're going to crochet a swatch using your chosen stitch, your selected yarn (ideally the same yarn the pattern calls for, but a similar weight if not), and a hook size you think might work.
How to swatch for crochet:
- Using your chosen hook and yarn, chain about 20-25 stitches (or enough to make a roughly 15 cm square when worked)
- Work your chosen stitch for about 15-20 rows
- Fasten off, weave in ends, and let it rest (this is important—crochet fabric relaxes and can change gauge slightly)
- Lay the swatch flat on a table or measuring board
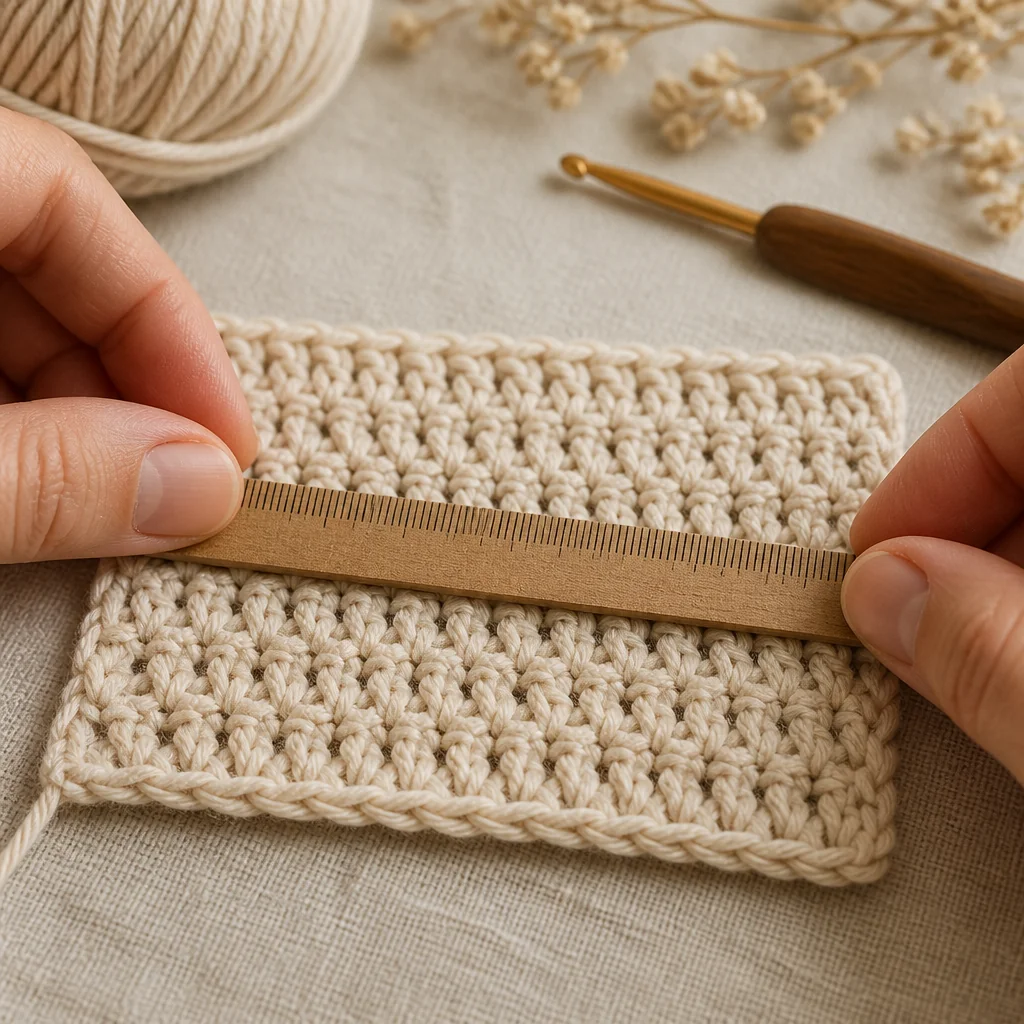
- Using a ruler or measuring tape, count how many stitches fit in 10 cm, measuring horizontally
- Count how many rows fit in 10 cm, measuring vertically
- Write down both numbers
Measure in the middle of the swatch, not near the edges where tension is often different. Measure three or four times to make sure you're getting accurate numbers.
The Math: Converting Stitch Count from Gauge
Here's where everything clicks into place. Take the finished width measurement from the knit pattern and your new crochet stitch gauge, and use simple division:
Crochet stitches needed = Finished width (in cm) × Your swatch stitches per cm
Let's say the knitting pattern calls for a finished width of 50 cm, and your crochet gauge swatch shows you get 3 stitches per cm. You'd need 50 × 3 = 150 stitches to crochet across to reach that same 50 cm width.
Do the same for length. If the pattern calls for a finished length of 60 cm and you're getting 3 rows per cm in your swatch, you'd work 60 × 3 = 180 rows to reach that length.
These are your new stitch and row counts for your crochet version.
Adjusting Hook Size to Match Gauge
Your swatch gauge probably won't be perfect on the first try. That's completely normal and expected. Depending on what you got, you'll adjust your hook size and swatch again.
If your swatch is too loose (fewer stitches per cm than you need): Try a smaller hook and swatch again.
If your swatch is too tight (more stitches per cm than you need): Try a larger hook and swatch again.
You're looking for a swatch that gets you as close as possible to the target density. Small adjustments in hook size create noticeable changes in gauge, so go up or down by half a size.
This iterative process might take two or three swatches. Don't skip it. A gauge difference of even 0.5 stitches per cm seems tiny, but multiply that across a 50 cm width and you've got a 25-stitch difference—that's a sweater that's 8 cm wider or narrower than intended.
Adapting the Pattern Shaping
Once your gauge swatch matches your target, you're ready to start the actual project. You'll follow the knitting pattern's shaping instructions—increases, decreases, where to shape the armhole, everything—but you'll execute them using crochet stitches and your new stitch counts instead of the original knit numbers.
For example, if the pattern says "decrease 1 stitch every 2 rows 10 times," you do the same in crochet. Where the pattern decreases a knit stitch, you'll decrease a crochet stitch. The principle is identical; the execution is just different.
Where patterns reference specific stitch abbreviations (k1, p1, etc.), translate these to their crochet equivalents in your chosen stitch. Most of the time, you're working one stitch throughout, so this is straightforward.
Common Adjustments and Considerations
Necklines and ribbing: Ribbed crochet edges won't look exactly like knit ribbing, but you can create similar definition using crochet through the back loop, or by working a contrasting crochet edge around the neck and cuffs.
Buttons and buttonholes: Crochet buttonholes are usually a bit larger than knit ones. Check that your buttons will pass through comfortably, or choose slightly larger buttons.
Stranded colourwork: If the pattern includes Fair Isle or stranded knitting, you can adapt this to crochet using the tapestry crochet method or by crocheting the pattern in sections and weaving in the design. This will require its own gauge swatch.
Yarn weight differences: If you can't find the exact yarn the pattern calls for, choose one as close as possible in weight. Your gauge swatch will reveal whether you need to adjust hook size to compensate.
Final Thoughts
Converting a knitting pattern to crochet is a skill that deepens the more you do it. The first conversion takes patience and multiple swatches. By your third or fourth, you'll start to develop an intuition for which stitches work for which patterns, and how different hook and yarn combinations behave.
The payoff is huge: you'll never have to pass up a pattern you love just because it's written for a different craft. You get to create the projects you want in the way you love to make them.
Next step
Use our Gauge Converter Tool