Master Stitch and Row Counting: Never Lose Track of Your Progress Again
by Crochets Studio — A lifelong maker with a passion for simplifying crochet fundamentals, this writer believes every crocheter—from absolute beginner to experienced—deserves clear, joyful guidance on their craft.
Losing count mid-project is one of the most frustrating moments in crochet—but it's completely preventable. By mastering a few simple counting techniques and building consistent habits, you'll create projects that match your patterns perfectly every time, and you'll never have to frog hours of work due to a miscounting mistake.
Why Counting Matters in Crochet
When you're crocheting a sweater, blanket, or amigurumi, every stitch counts—literally. The difference between a garment that fits beautifully and one that's too wide or too narrow often comes down to accurate stitch counts. Similarly, following the correct number of rows ensures your pattern's shaping and proportions work exactly as designed.
Lost count? That's a frog session. A frog session means ripping out rows of work and starting over—sometimes hours of progress gone. While frogging is part of the learning journey, staying on track from the start means you spend more time enjoying your craft and less time undoing it.
The Real Cost of Miscounting
Beyond the frustration of ripping out work, losing count can mess with your tension, pattern timing, and even your confidence as a crocheter. When you're unsure where you are in a pattern, you second-guess yourself. That stress affects the quality of your work.
The good news? Counting accurately isn't complicated. It just requires a few practical habits and tools.
Essential Tools and Techniques
Use Stitch Markers for Visual Checkpoints
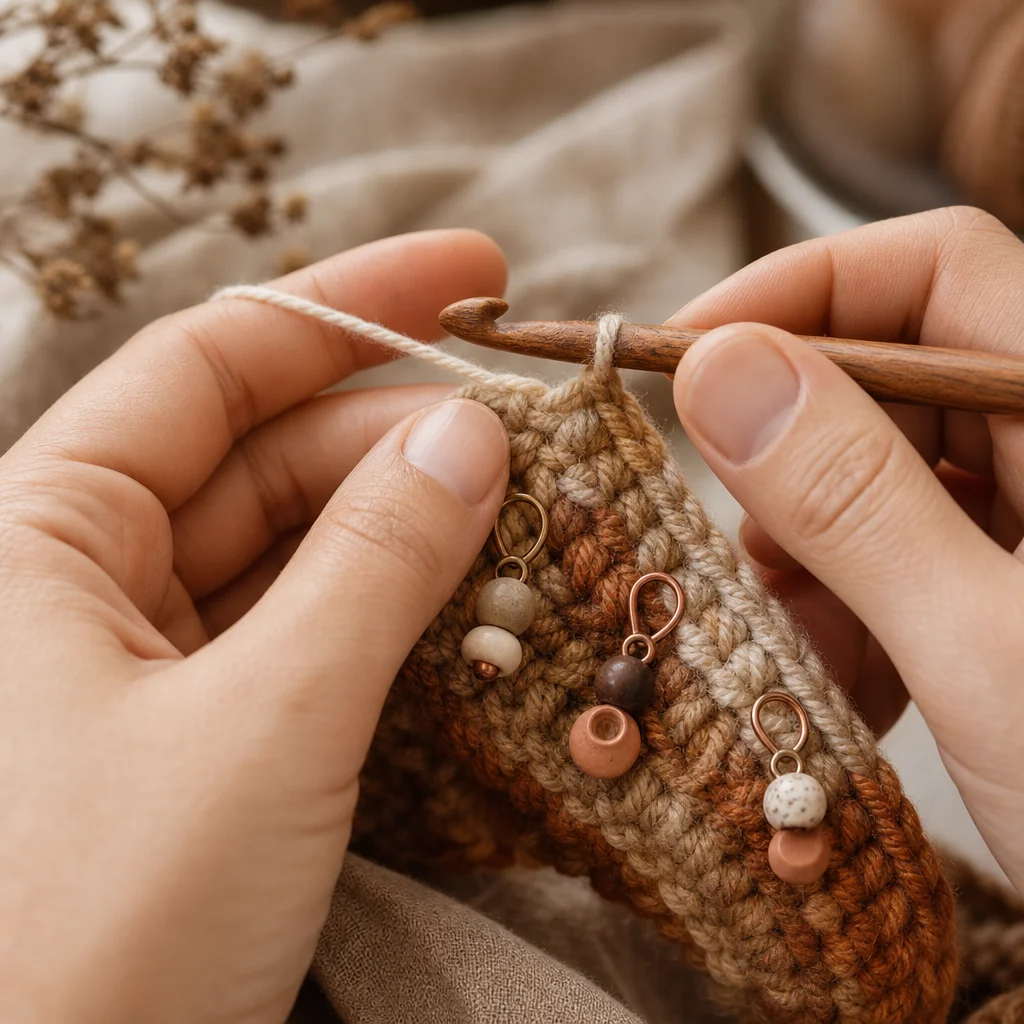
Stitch markers are small, inexpensive tools (or items you already have at home) that hold your place and create visual stopping points. Place a marker at the beginning of each row so you always know where you started. You can also place markers every 10 or 20 stitches to break larger counts into manageable chunks.
Why does this work? Instead of counting 60 stitches all at once, you count three groups of 20. It's faster, easier, and you're less likely to lose your place mid-count. When you move to the next row, you simply move your marker forward.
Pro tip: Use different colored markers to denote different sections of your pattern. For example, use red for the beginning of rows and blue for pattern repeats.
Count Out Loud as You Work
This might feel silly at first, but counting aloud creates multiple reinforcements in your brain: you hear the numbers, you say them, and you're thinking them. That triple connection makes it much harder to lose track.
Start with this habit when you're new to crochet, especially on projects with simple stitch patterns. Say "one, two, three..." as you complete each stitch. You'll notice your pace steadies and your counting becomes automatic.
Once this habit is ingrained, you can ease off and count silently when you're working on a television or surrounded by others. But the foundation matters.
Track Rows With a Row Counter
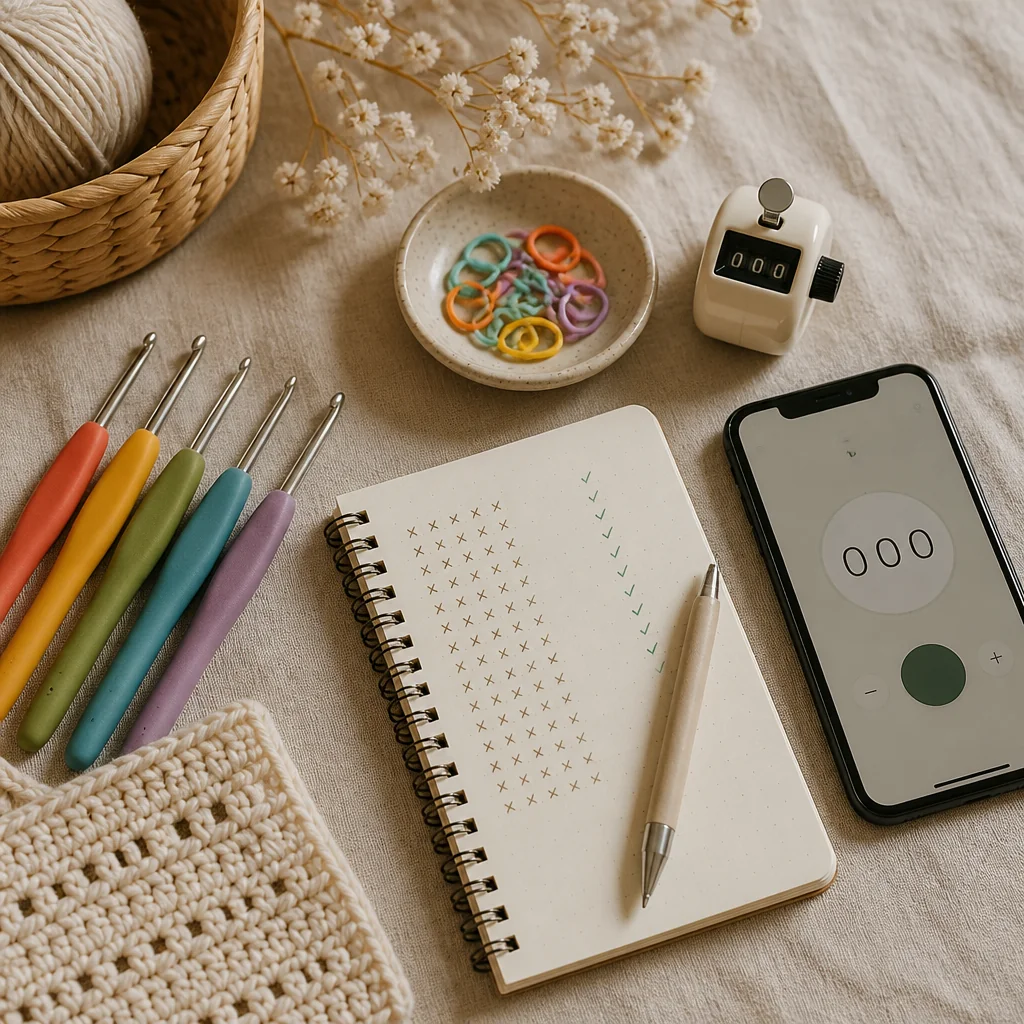
A row counter is one of the best investments a crocheter can make—and they cost just a few dollars. These small mechanical tools sit on your finger or hook and click forward with each completed row. No math, no remembering, no confusion.
If you prefer digital solutions, dozens of free crochet row counter apps exist for your phone. Many include options for multiple projects, so you can jump between different pieces without losing count on any of them.
The beauty of a row counter is its simplicity: click once per row, and you always know exactly where you are in your pattern.
Highlight or Check Off Your Pattern
For written patterns, use a physical marker or sticky note to track which row you're currently working on. Highlight the row as you complete it, or place a sticky note next to the current row number.
This visual system prevents confusion about whether you've already done row 12 or if you're about to start it. It's especially helpful on longer patterns where rows repeat or when you take breaks between work sessions.
Take Advantage of Stitch Structure
Your crochet itself tells you how many stitches and rows you've completed—you just need to know where to look.
Counting stitches: Look at the top of your finished work. You'll see V-shaped loops. Each V represents one stitch. Count the Vs across your row, and you have your stitch count. This works for most basic stitches like single crochet, half double crochet, and double crochet.
Counting rows: Look at the side of your work. You'll see horizontal ridges or bumps. Each ridge represents one completed row. Count from the bottom up, and you know exactly how many rows you've finished.
Building a Sustainable Counting Habit
Start Simple
When you're beginning your crochet journey, master one counting technique at a time. Don't try to use stitch markers, count aloud, use a row counter, and highlight your pattern all at once. That's overwhelming.
Start with stitch markers on your first few projects. Once that feels natural, add a row counter. Build complexity gradually.
Stay Consistent With Row Counters
The most common mistake people make is forgetting to click their row counter after finishing a row. Prevent this by making it part of your routine: finish row, click counter, move to next row. No exceptions.
Some crocheters even place their row counter in their lap or on their project bag so it's impossible to miss.
Keep Notes on Longer Projects
For projects that take weeks or months, jot down notes in a notebook or phone memo. "Finished row 47 on Tuesday" or "Started the sleeve shaping" gives you context if you step away from the project for a while.
Recount at Transition Points
Before you move into a new section of a pattern—like transitioning from the body to sleeves, or starting a new stitch pattern—do a final recount. Make sure your active stitch count matches what the pattern expects before you commit to the next section.
Troubleshooting Common Counting Problems
Problem: You Lost Count Mid-Row
Cause: You got distracted, switched activities, or miscounted while talking.
Fix: This is where the V-shape technique saves you. Count the stitches on top of your current work to see exactly where you are. If you're mid-row, complete the row and then recount before starting the next one.
Problem: Your Row Counter Keeps Jamming or Getting Lost
Cause: Mechanical counters can break, and you might misplace them.
Fix: Switch to a digital row counter app on your phone. It won't break and you always have your phone with you. Write down your row count every few rows as a backup.
Problem: You're Unsure If You've Started a Row or Finished It
Cause: Your stitch marker placement isn't clear, or you skipped marking altogether.
Fix: Always place your marker at the very beginning of the row you're about to work—not after you've already started. When you see your marker, you know that's the start of your current row.
Bringing It All Together
Accurate counting isn't a superpower—it's a skill that comes from using the right tools and building solid habits. Stitch markers, row counters, and structured counting routines might seem tedious at first, but they become second nature within a few projects.
The payoff? Projects that fit perfectly, patterns that work as designed, and the confidence that comes from knowing exactly where you are in your work. No frogging. No frustration. Just pure crochet flow.
Start with one technique this week. Add another next week. Before long, losing count won't even be in your vocabulary.