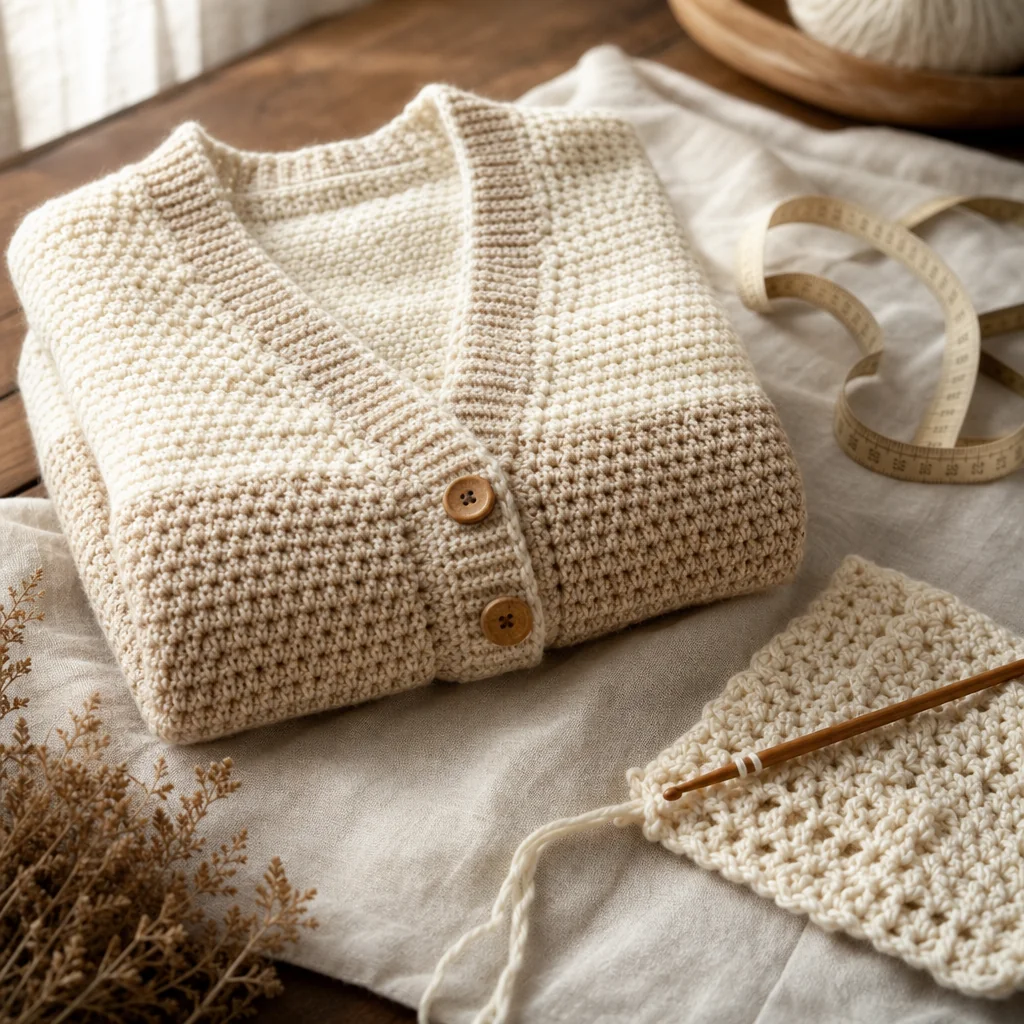
How to Crochet a Cardigan That Actually Fits Your Body
by Crochets Studio — Sarah Chen has been crocheting garments for over 15 years and specializes in teaching fit and construction techniques. She believes every crocheter deserves clothes that actually fit their body.
Creating a cardigan that fits beautifully starts with understanding your body measurements, mastering gauge, and knowing when to adjust your work. Whether you're working from a pattern or designing your own, these fundamental techniques ensure your cardigan drapes elegantly and feels comfortable to wear. With the right approach, you'll create a garment you'll reach for season after season.
Materials You'll Need
- Measuring tape (flexible fabric type)
- Yarn in your chosen weight and fiber
- Crochet hooks in multiple sizes for gauge swatching
- Stitch markers
- Notebook or phone for recording measurements
- Safety pins or yarn scraps for marking try-on points
- The cardigan pattern of your choice
Step 1: Take Accurate Body Measurements
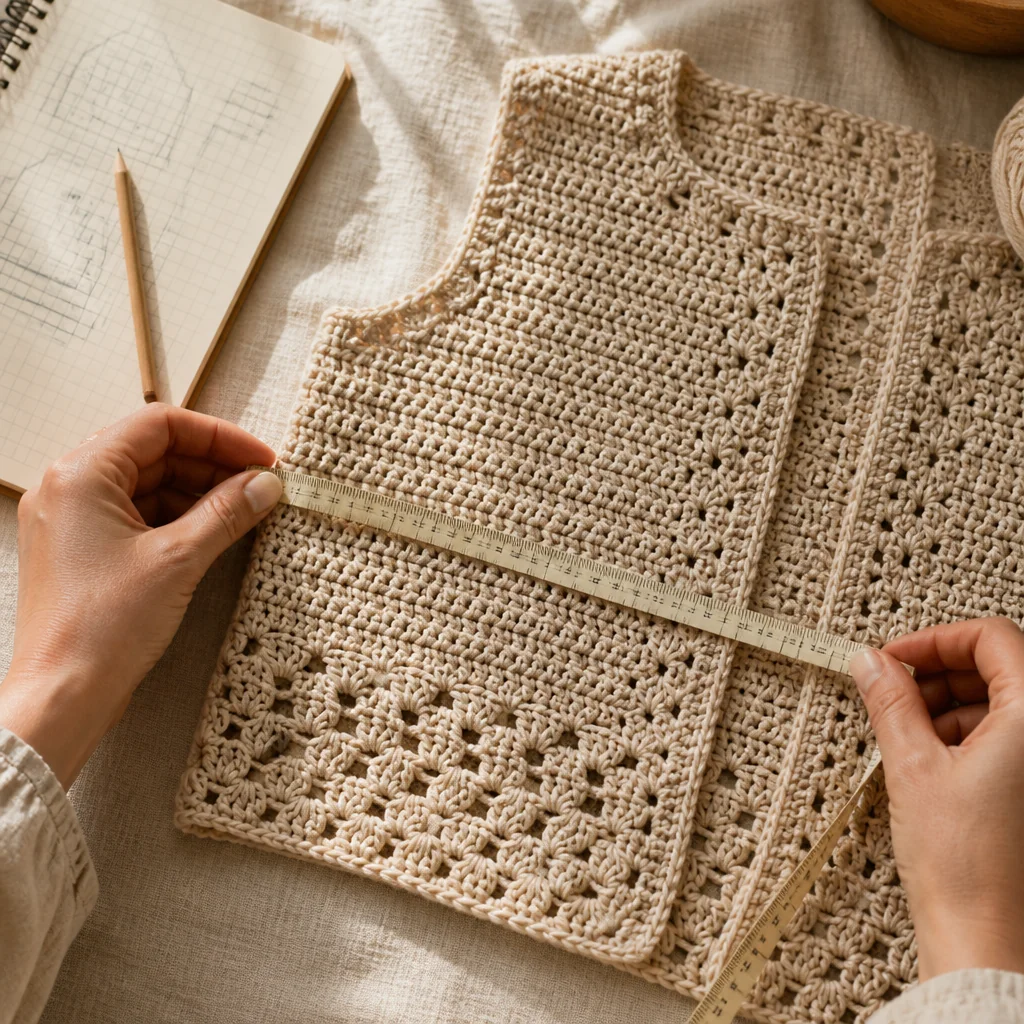
Start by measuring yourself in the clothing you'd typically wear under a cardigan. You'll need five key measurements:
Bust/chest circumference: Measure around the fullest part of your bust, keeping the tape parallel to the floor. Don't pull tight—let the tape rest naturally against your body. This measurement determines your size in most patterns.
Waist circumference: Find your natural waist (usually the narrowest point) and measure around it. This helps you determine if you need waist shaping.
Hip circumference: Measure around the fullest part of your hips. For longer cardigans, this measurement ensures the garment won't pull or gap at the bottom.
Shoulder to desired length: Measure from the top of your shoulder down to where you want the cardigan to end. Common lengths are hip-length (24-26 inches), mid-thigh (28-32 inches), or knee-length (36-40 inches).
Arm length: Measure from your shoulder joint to your wrist bone with your arm slightly bent. This ensures sleeves hit at the right spot.
Write down all measurements and keep them handy. These numbers are your blueprint for fit.
Step 2: Understand Ease and Choose Your Fit
Ease is the difference between your body measurements and the finished garment measurements. Cardigans need ease to drape properly and allow movement.
Negative ease (garment smaller than body): Creates a fitted, stretchy look. Only works with very stretchy stitches or elastic yarns. Typically 0-2 inches smaller than your bust.
Zero ease: The garment matches your exact measurements. Rarely used for cardigans as it can feel restrictive.
Positive ease (garment larger than body): The standard for cardigans. Provides comfort and attractive drape.
- 2-3 inches: Fitted cardigan that follows your shape
- 4-6 inches: Relaxed, comfortable fit (most common)
- 7-10 inches: Oversized, slouchy cardigan
Check your pattern's ease recommendation. If it says "finished bust: 42 inches, designed for 38-inch bust," that's 4 inches of positive ease.
Step 3: Make and Measure Your Gauge Swatch
Gauge determines whether your cardigan will fit. Even if you match the hook and yarn specified, your personal tension affects the outcome.
Crochet a swatch at least 6 inches square using the main stitch pattern from your pattern. Work a few extra rows beyond 6 inches, as edges can skew measurements.
Let the swatch rest for an hour, then block it the way you'll block the finished cardigan (steam or wet blocking). Measure the center of the swatch, avoiding edges.
Count how many stitches and rows fit in 4 inches. Compare to the pattern gauge.
If you have more stitches than specified: Your stitches are too tight. Go up one hook size and swatch again.
If you have fewer stitches than specified: Your stitches are too loose. Go down one hook size and swatch again.
Keep swatching until you match gauge exactly. A difference of even half a stitch per inch can mean several inches difference in the finished cardigan.
Step 4: Select the Right Pattern Size
Most patterns include a schematic showing finished measurements. Don't automatically choose your clothing size—choose based on the measurements plus your desired ease.
For example, if your bust measures 38 inches and you want 4 inches of ease, look for a size with a 42-inch finished bust measurement.
If your measurements fall between sizes, consider your yarn and stitch pattern:
- Drapey yarns and open stitches: Size down if between sizes
- Structured yarns and dense stitches: Size up for comfort
- If your bust and hips differ significantly, you may need to grade between sizes
Step 5: Adjust Pattern Length Before Starting
Before you crochet the first stitch, calculate any length adjustments needed.
Most cardigans are worked in sections: back panel, two front panels, and sleeves. Length adjustments happen in the body before armhole shaping and in the sleeves before the cap shaping.
Compare the pattern's shoulder-to-hem measurement to your desired length. If you need to add or remove length, calculate how many rows that represents using your gauge.
Adding length: Add rows before the armhole shaping begins. For example, if you need 3 extra inches and your row gauge is 10 rows per 4 inches, add 7-8 rows.
Removing length: Subtract rows in the same section. Make a note in your pattern so you remember the modification.
Step 6: Work the Body and Try On Frequently
As you crochet the back and front panels, try them on every few inches. Hold the pieces up to your body in front of a mirror.
Check these fit points:
- Width: Does the back panel wrap around your body with your desired ease?
- Length to armhole: Does the armhole start where your natural armhole begins?
- Front panel overlap: Do the fronts overlap appropriately (usually 2-4 inches)?
If something feels off, adjust now. It's easier to add or remove a few rows than to rip out completed sections later.
Use safety pins or contrasting yarn to mark where the shoulder seams will be, then try on the pinned pieces. This gives you a realistic preview of the fit.
Step 7: Perfect the Armhole and Sleeve Cap
Armhole depth is critical for comfort and appearance. A too-shallow armhole restricts movement; a too-deep armhole looks sloppy.
Measure your natural armhole depth: place the measuring tape at your shoulder top and measure down to your underarm. Add 1-2 inches for ease. This total should match the pattern's armhole depth.
When working sleeve caps, ensure they match the armhole curve. Pin the sleeve into the armhole opening before seaming to check the fit. The sleeve should ease into the armhole without puckering or gapping.
Step 8: Adjust Sleeve Length for Perfect Fit
Sleeve length is personal preference, but here are the standard targets:
- Bracelet length: Ends 2-3 inches above the wrist bone
- Wrist length: Ends at the wrist bone
- Hand covering: Extends 1-2 inches past the wrist
Try on the sleeve as you work. When it reaches your desired length, complete the cap shaping. Remember that the cap adds height, so the sleeve body should be slightly shorter than your total arm length measurement.
Step 9: Block for Final Shaping
Blocking transforms your cardigan from home-crafted to professional-looking. It evens out stitches, sets the shape, and can adjust dimensions slightly.
Pin your cardigan pieces to the finished measurements from the pattern. Steam block with an iron held just above the fabric, or wet block by misting with water and letting air dry.
Blocking can stretch pieces up to 10% in width and length, so factor this into your adjustments. If your cardigan is slightly small, aggressive blocking may rescue the fit.
Troubleshooting Common Fit Issues
Gap at the back neck: Add short rows across the back shoulders to raise the back neckline.
Front panels don't meet at the bust: Add width to the front panels by working in a larger size for the front only, or add a vertical panel at each front edge.
Sleeves too tight: Check your gauge in the sleeve section—it should match the body gauge. If correct and still tight, go up a hook size for sleeves only.
Cardigan rides up in back: You need more length in the back. Add 1-2 inches to the back panel before armhole shaping.
Fitting for Different Body Types
Pear shape (hips wider than bust): Choose size based on hip measurement and taper the body to your bust measurement. Work decreases evenly on each side from hip to bust level.
Apple shape (bust and waist similar): Choose size based on bust and consider a straight, non-fitted style. Avoid waist shaping that creates cling.
Hourglass shape: Select size based on bust, add waist shaping by decreasing 2-4 stitches on each side at waist level, then increase back to bust measurement at hip level.
Petite frame: In addition to shortening the body, you may need to narrow the shoulders by reducing the width of the back panel by 1-2 inches.
With these techniques, you'll create cardigans that fit beautifully and feel custom-made for your body. The investment in measuring, swatching, and adjusting pays off in a garment you'll actually wear and love.
Next step
Calculate Your Gauge