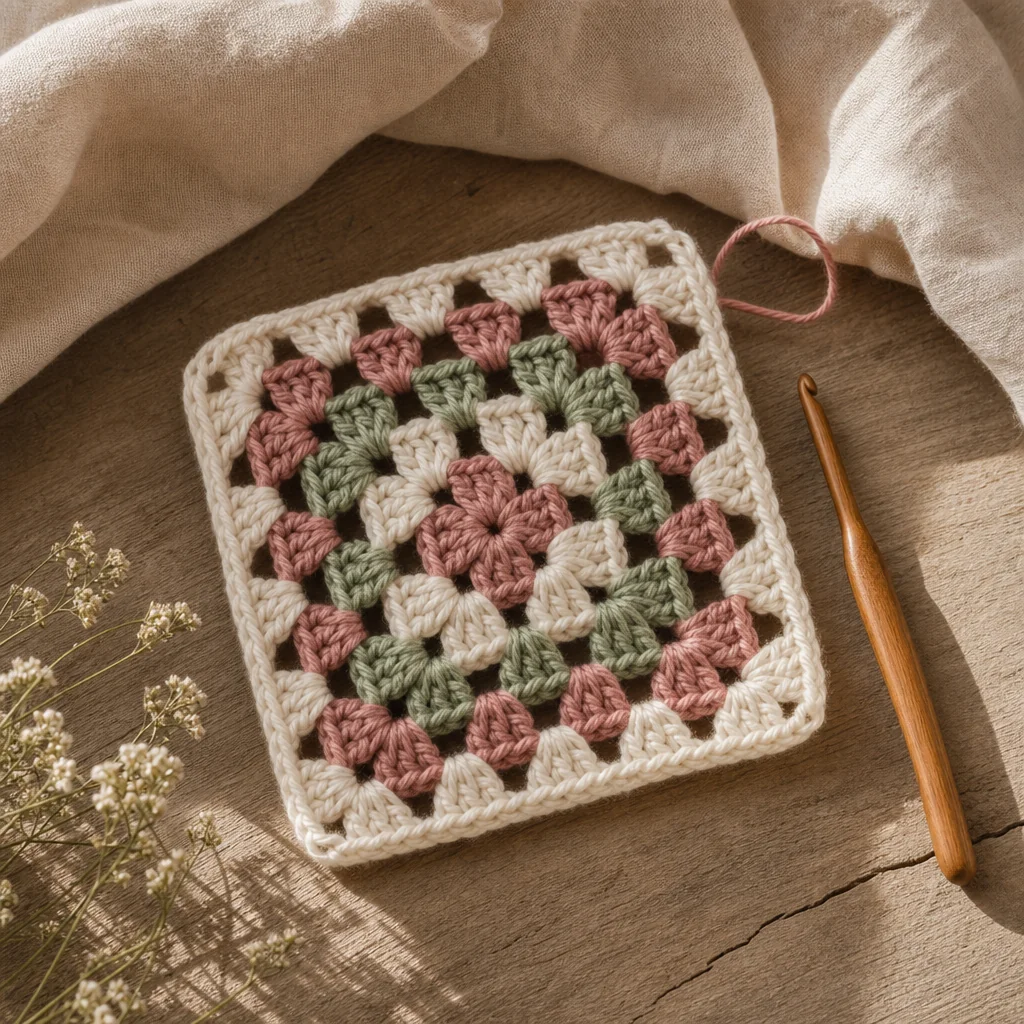
How to Crochet a Granny Square: The Perfect First Project
by Crochets Studio — Sophie has been crocheting for over a decade, specializing in teaching absolute beginners the foundational skills that unlock a lifetime of making. She believes every crocheter's journey starts with a single granny square.
The granny square remains the most popular beginner crochet project for good reason: it teaches essential skills like working in the round, creating corners, and changing colors, all while producing a usable, beautiful result in under an hour. This step-by-step tutorial walks you through making your first granny square from start to finish. By the time you're done, you'll understand the foundation techniques that unlock nearly every crochet pattern out there.
Why the Granny Square Is Your Best Starting Point
If you're standing at the beginning of your crochet journey, wondering where to start, the granny square is your answer. This iconic motif has introduced generations of crocheters to the craft, and it continues to be the go-to first project for a simple reason: it works.
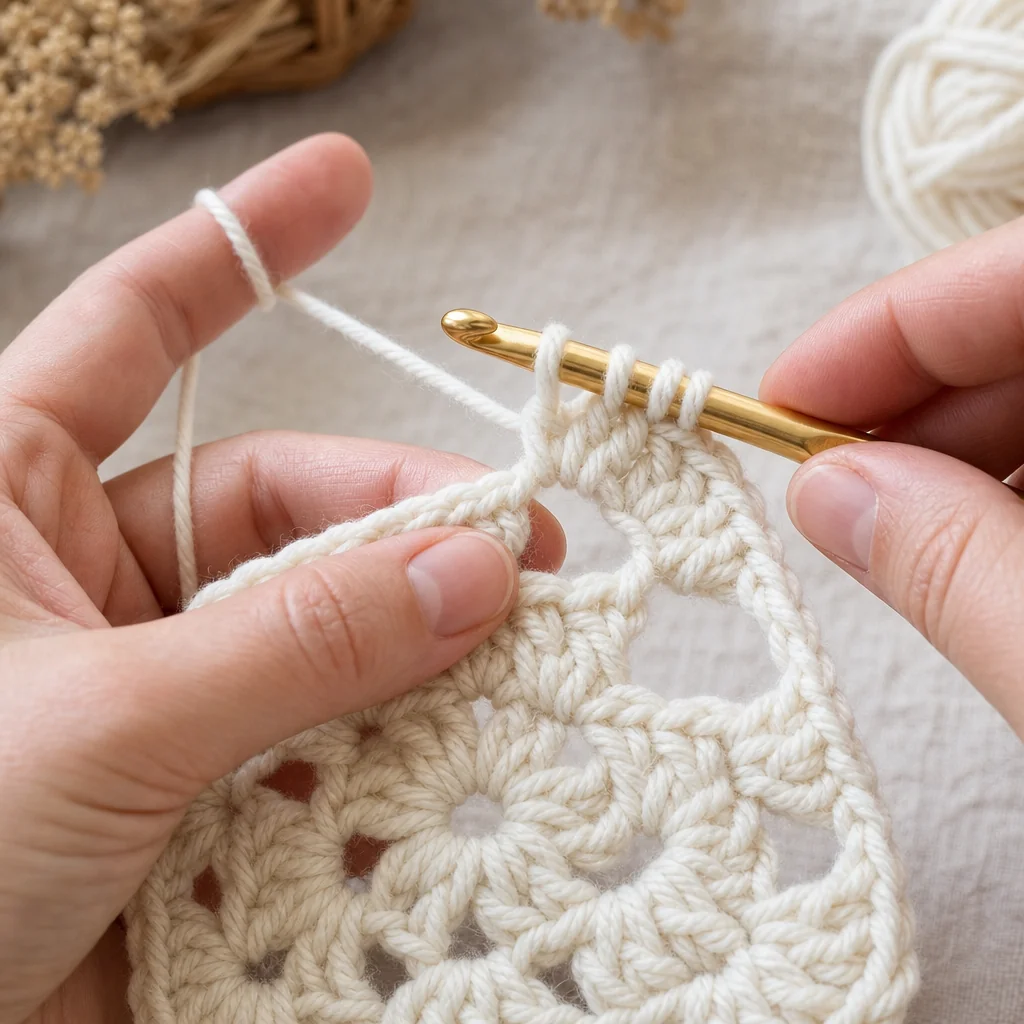
Unlike linear projects like scarves that can feel endless, a granny square gives you a finished object in 20-30 minutes. You'll learn how to work in rounds rather than rows, how to create defined corners, and how to join rounds seamlessly. These aren't just granny square skills—they're foundational techniques you'll use in hats, bags, amigurumi, and circular blankets.
The repetitive nature of the pattern builds muscle memory fast. By your third or fourth square, your hands will know what to do without constantly checking instructions. Plus, granny squares are forgiving. Tension issues that would ruin a fitted garment barely show in the open, lacy structure of a classic granny.
What You'll Need to Get Started
Before you begin, gather these supplies:
Yarn
- Weight: Worsted weight (category 4) yarn
- Amount: One skein in each of 2-3 colors (approximately 50 yards per color)
- Fiber: Acrylic or cotton work beautifully for learning—they're affordable, easy to work with, and widely available
- Colors: Choose colors with good contrast so you can easily see your stitches and rounds
Tools
- Hook: 5.0mm (size H) crochet hook
- Scissors: Sharp enough to cut yarn cleanly
- Yarn needle: A blunt tapestry needle with a large eye for weaving in ends
Optional but Helpful
- Stitch markers: To mark your starting point in each round
- Measuring tape: To check your square stays square
Understanding Granny Square Construction
Before diving into the steps, it helps to understand what you're building. A granny square is worked in concentric rounds from the center outward. Each round consists of clusters of double crochet stitches separated by chain spaces.
The magic happens in the corners: each corner has a larger chain space (typically chain-2) that creates the 90-degree angle. The sides have smaller chain spaces (typically chain-1) that create the characteristic openwork pattern.
As you add rounds, the square grows outward while maintaining its shape. You can make a granny square as small as 3 inches or as large as you want—the principle stays the same.
Step-by-Step Instructions
Round 1: Creating the Center Ring
Step 1: Make a slip knot and place it on your hook.
Step 2: Chain 4. This creates a small circle.
Step 3: Insert your hook into the first chain you made (the one closest to the slip knot), yarn over, and pull through both loops on your hook. You've just made a slip stitch and formed a ring.
Step 4: Chain 3. This counts as your first double crochet throughout the entire project.
Step 5: Work 2 more double crochets directly into the center of the ring (not into individual chains, but through the ring itself).
Step 6: Chain 2. This creates your first corner space.
Step 7: Work 3 double crochets into the ring, chain 2. Repeat this sequence two more times. You should have four groups of 3 double crochets, separated by chain-2 spaces.
Step 8: Join the round by making a slip stitch into the top of your starting chain-3 (the third chain from the bottom).
You've completed Round 1. You should see a small square with four distinct corners.
Round 2: Building the First Full Round
Step 9: Slip stitch into the next 2 stitches and into the corner chain-2 space. This positions you in the corner to start the new round.
Step 10: Chain 3 (counts as first double crochet), then work 2 more double crochets into the same corner space.
Step 11: Chain 2, then work 3 double crochets into the same corner space. You've just created a corner cluster.
Step 12: Chain 1 (this creates the side space), then move to the next corner space.
Step 13: In the next corner space, work (3 double crochets, chain 2, 3 double crochets). This is the corner pattern you'll repeat.
Step 14: Chain 1, then repeat step 13 in each remaining corner space.
Step 15: Join with a slip stitch to the top of the starting chain-3.
Your square now has clear corners and sides beginning to form.
Round 3 and Beyond: Expanding Your Square
Step 16: Repeat the process from Round 2, but now you'll have more chain-1 spaces along each side.
The pattern for every subsequent round is:
- Start in a corner space
- Work (3 double crochets, chain 2, 3 double crochets) in each corner space
- Work (3 double crochets, chain 1) in each chain-1 space along the sides
- Join the round with a slip stitch
Step 17: Continue adding rounds until your square reaches your desired size. A typical granny square for a blanket is 4-6 inches (3-4 rounds total).
Changing Colors
To add new colors, complete your round up to the final join. Instead of joining with the old color, drop it and pick up your new color. Pull the new color through to complete the slip stitch. The old color will be hidden as you work the next round.
Finishing Your Square
Step 18: When you've reached your desired size, cut the yarn leaving a 6-inch tail.
Step 19: Pull the tail through the last loop on your hook to secure it.
Step 20: Thread your yarn needle with each tail and weave it through the back of several stitches, changing direction once. Trim excess yarn close to the work.
Troubleshooting Common Issues
Your Square Isn't Square
If your square looks more like a rectangle or trapezoid, check your corner chains. Each corner should have chain-2 spaces, and sides should have chain-1. If you accidentally worked chain-1 in a corner, it won't have enough space to turn 90 degrees.
Gaps or Holes
Large gaps between stitches usually mean your tension is too loose. Try holding your yarn slightly tighter as you work. Small holes are normal in granny squares—they're part of the design.
Losing Count
Place a stitch marker in your first stitch of each round. When you come back around to it, you know you've completed the round. Count your corner spaces—you should always have exactly four.
Edges Curling
If your square curls or ruffles, your tension may be inconsistent between rounds. Try to maintain the same tension throughout, and block your finished square by pinning it flat and lightly steaming or dampening it.
What to Do With Your Granny Squares
Once you've made your first square, you'll likely want to make more. Granny squares join together beautifully to create:
- Blankets: The most classic use. Make 20-100 squares depending on desired size.
- Pillow covers: Four to nine squares sewn together create perfect pillow fronts.
- Scarves: Join squares in a line for a unique accessory.
- Bags: Stiffer yarns make great tote bags when squares are joined and lined.
- Coasters and dishcloths: Single squares in cotton yarn are highly practical.
Practice Makes Progress
Your first granny square might feel awkward. Your second will feel easier. By your fifth, you won't need to look at the instructions. This is the beauty of starting with such a well-designed beginner project—success builds quickly.
Don't aim for perfection on your first try. Aim to understand the structure: where corners go, how rounds build on each other, and how the rhythm of the stitches feels in your hands. The rest will follow naturally.
Most crocheters keep their first granny square as a reminder of where they started. Years later, you'll look back and smile at how far you've come—all from this simple, timeless square.