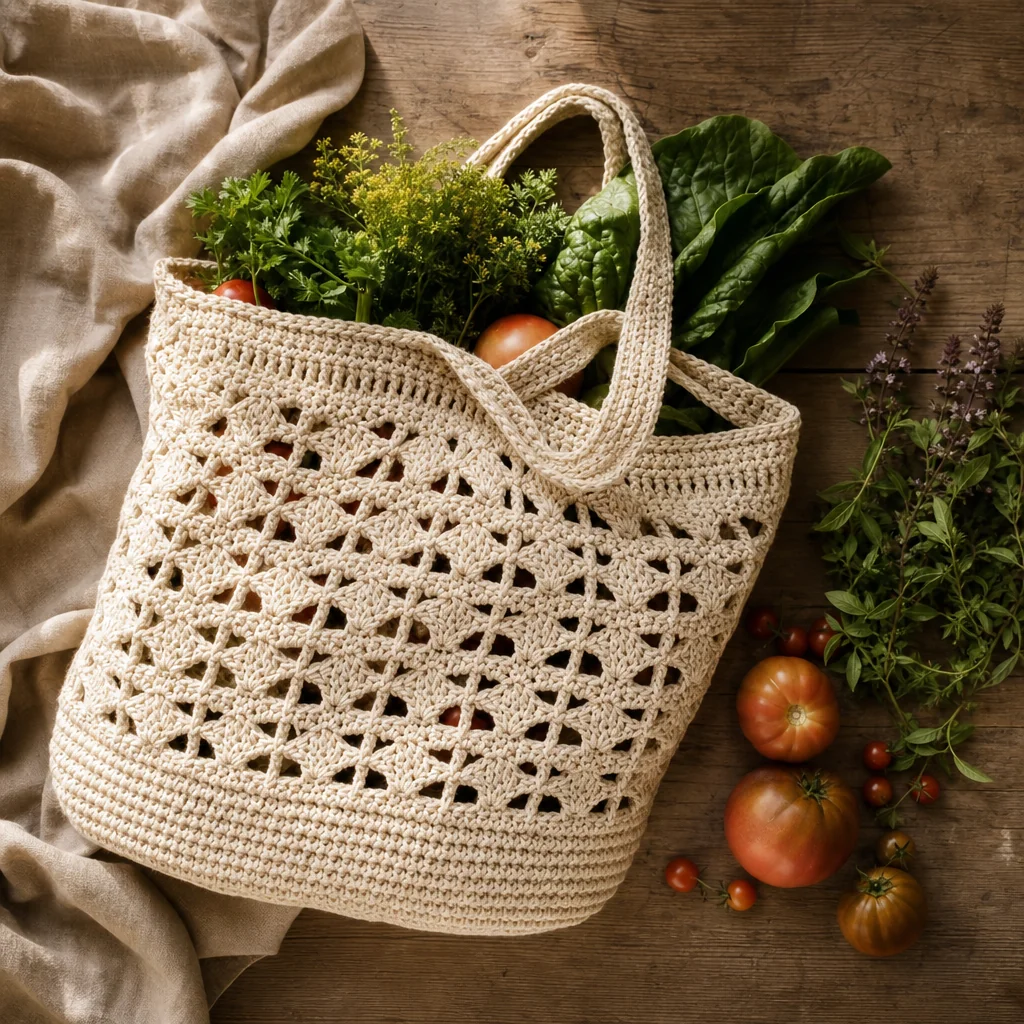
How to Crochet a Market Bag (Zero-Waste Beginner Project)
by Crochets Studio — Written by a Crochets.ca contributor who keeps a basket of cotton yarn by the door specifically for market bag emergencies.
A crocheted market bag is built from three simple parts: a flat circular base, a stretchy mesh body, and a reinforced strap. It's an ideal beginner project because it only uses two stitches, yet the finished bag is genuinely useful and can carry heavy produce for years.
Why Crochet Your Own Market Bag
Plastic bags rip, get stuck in landfills for centuries, and never seem to be in the car when you actually need one. A crocheted cotton market bag solves all three problems at once. It's washable, it folds down small enough to live in a coat pocket or glovebox, and it can carry produce, bulk grocery items, or a farmers' market haul without stretching out of shape.
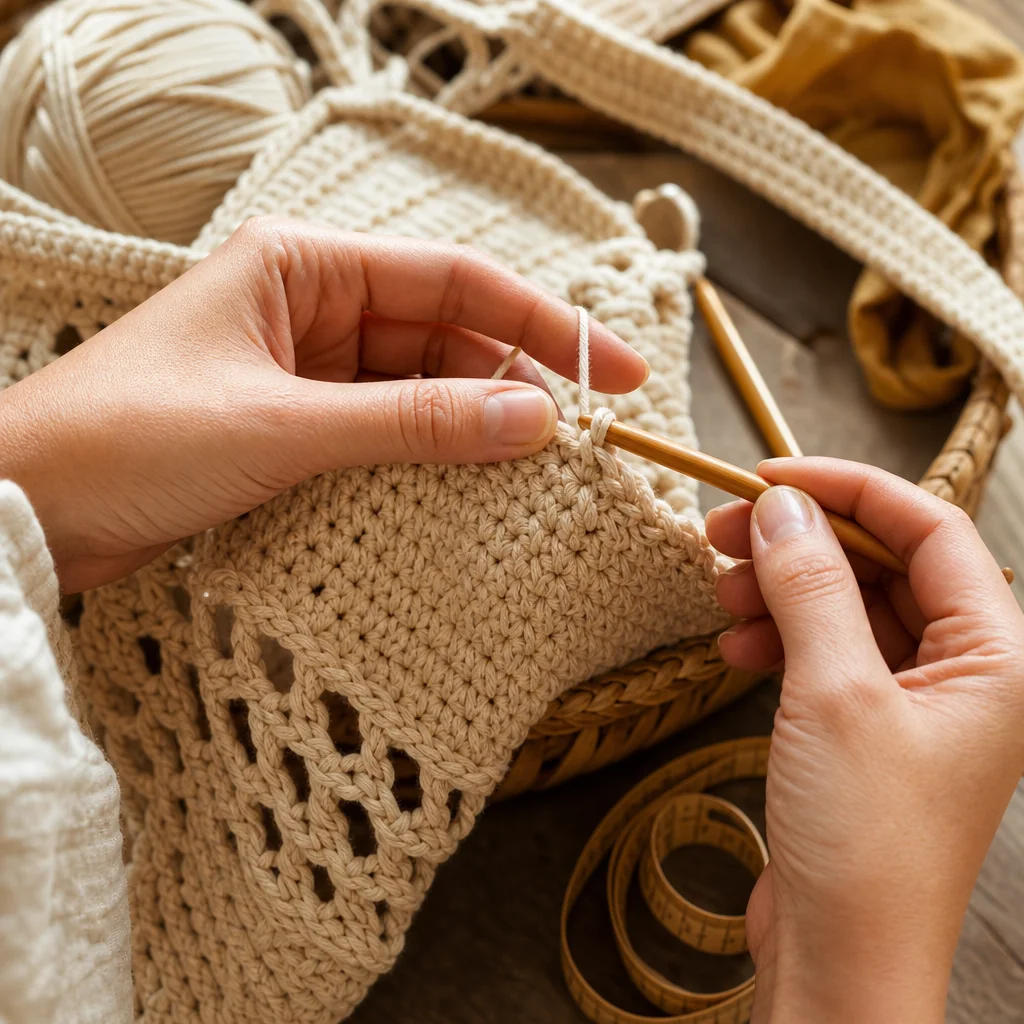
This pattern is also one of the best ways to practice consistent tension and even increases if you're newer to crochet. You'll work with only two stitches from start to finish, single crochet and chain, so there's nothing complicated hiding in the pattern. What you're really practicing is control: keeping your rounds flat, counting your increases, and switching confidently from a solid base to an open mesh.
What You'll Need
- Worsted weight (category 4) cotton yarn, about 200-250 g depending on bag size
- A 5 mm crochet hook (adjust up or down if your tension runs tight or loose)
- A yarn needle for weaving in ends
- Scissors
- A stitch marker or small safety pin, useful for tracking the start of each round
Cotton is the right fibre for this project. It doesn't stretch out permanently the way acrylic or wool can, it holds its shape wash after wash, and it's sturdy enough to handle a few kilos of vegetables without sagging. Mercerized cotton gives the smoothest finish, but any worsted cotton will work.
How to Crochet a Market Bag, Step by Step
Step 1: Crochet the flat base
Start with a magic ring or a chain-4 joined into a ring, then work 6 single crochets into it. From there, increase evenly every round: round 2 gets 12 stitches, round 3 gets 18, and so on, adding 6 stitches per round. Keep going until your circle measures about 20-25 cm across, roughly 8 to 10 rounds for a standard-size bag. Lay the circle flat every couple of rounds to check it isn't cupping or rippling. Cupping means you need to increase more; rippling means you need to increase less.
Step 2: Transition to the sides
Once the base is the width you want, stop increasing. Work one full round of single crochet with no increases to square off the transition from base to sides. This round matters more than it looks: skipping it makes the bag walls flare outward instead of standing straight up.
Step 3: Work the mesh body
For the sides, switch to an open mesh: chain 1, skip 1 stitch, single crochet in the next stitch, repeating around. This creates small, evenly spaced holes that keep the finished bag light and let it stretch to hold more than it looks like it should. Continue this mesh round for about 15-20 cm, or until the bag reaches the height you want. If you prefer a denser, more opaque bag, you can work plain single crochet rounds instead, but the mesh is what gives a market bag its signature stretch and breathability for produce.
Step 4: Shape the top opening
Work one or two rounds of single crochet at the very top, with no mesh, to keep the opening from curling or stretching out of shape over time. This also gives you a firm edge to attach the strap to.
Step 5: Add the strap
Mark two points across from each other on the top edge, roughly where your shoulder and hand would naturally hold the bag. For each strap, chain a length long enough to comfortably fit over your shoulder (usually 60-70 cm, but hold it up to your body to check). Turn and work one row of single crochet back along the chain, then a second row for extra strength, attaching each end securely to the marked points on the bag. If you'd rather skip the chain-and-single-crochet strap, braid three long strands of the same cotton yarn together for a rope-like handle that's naturally strong and won't stretch under weight.
Step 6: Weave in ends and finish
Weave in every tail with your yarn needle, working through several stitches in different directions so nothing works loose in the wash. Trim close but not flush.
Tips for a Bag That Actually Holds Up
Check your increases every few rounds rather than at the end. A flat circle that's slightly off is much easier to fix on round 4 than to unravel back to. If your bag base won't lie flat no matter how you adjust increases, try going up half a hook size; tension that's too tight is a common cause of cupping.
Double up your strap attachment points with a few extra single crochet stitches worked through both layers. This is the spot that takes the most strain, and it's worth reinforcing before you ever load the bag with groceries.
Washing and Caring for Your Market Bag
Wash your finished bag before its first outing. This softens the cotton fibres and lets the stitches settle into their final shape, so the bag won't shrink or distort after you've already started using it. After that, machine wash cold and lay flat to dry; tumble drying can shrink cotton unevenly and warp the shape.
Keep two or three bags in rotation, one in the car, one by the door, one in a bag you already carry daily. The bag that's actually within reach when you're at checkout is the one that replaces plastic, so make it easy on yourself.
Make It Your Own
Once you've made one market bag, the variations are easy: work stripes by changing colour every few rounds, add a contrasting mesh section, or size the base up for a beach bag instead of a grocery bag. The structure stays exactly the same, only the yarn and dimensions change.
Ready to tighten up your single crochet and mesh stitch before you start? Head to the Stitch Studio to practice both stitches at your own pace and build the muscle memory this project depends on.