How to Crochet Fingerless Gloves and Mittens: A Complete Guide
by Crochets Studio — A lifelong fibre artist based in Canada who learned to crochet from her grandmother's kitchen-table lessons and now designs accessories that balance warmth with everyday wearability.
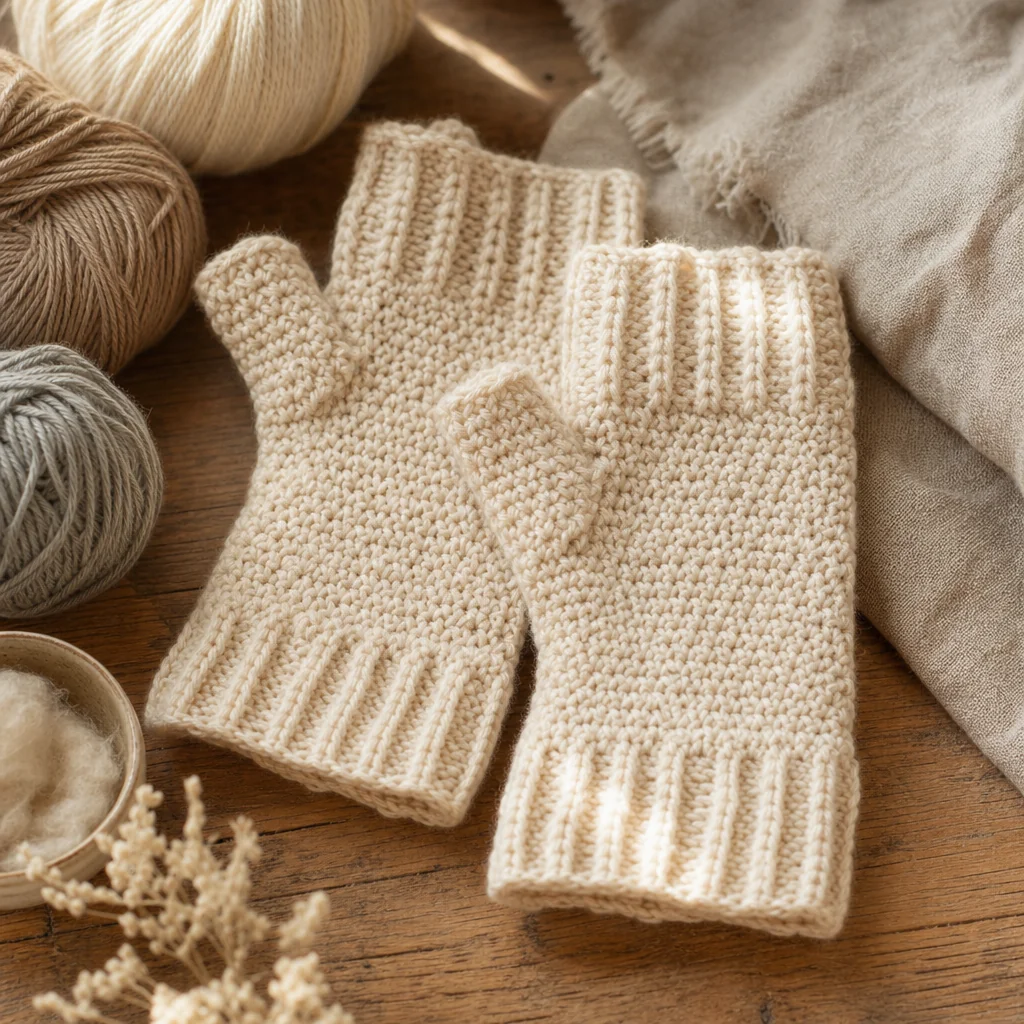
Fingerless gloves and mittens are crocheted in the round using half double crochet or double crochet, with a thumb gusset that gives your thumb full range of motion. The key to a professional result is accurate hand measurements, even tension through the palm section, and ribbed cuffs that hug the wrist without binding. This guide covers everything from yarn selection to reinforcing stress points so your finished pair lasts through a full Canadian winter.
Why Fingerless Gloves Deserve a Spot in Your Project Queue
Fingerless gloves and mittens sit at the intersection of practical and satisfying crochet. They work up quickly — most pairs take an evening or two — and they solve a real problem: keeping your hands warm while you text, type, drive, or craft. For Canadian makers especially, they're indispensable from October through April.
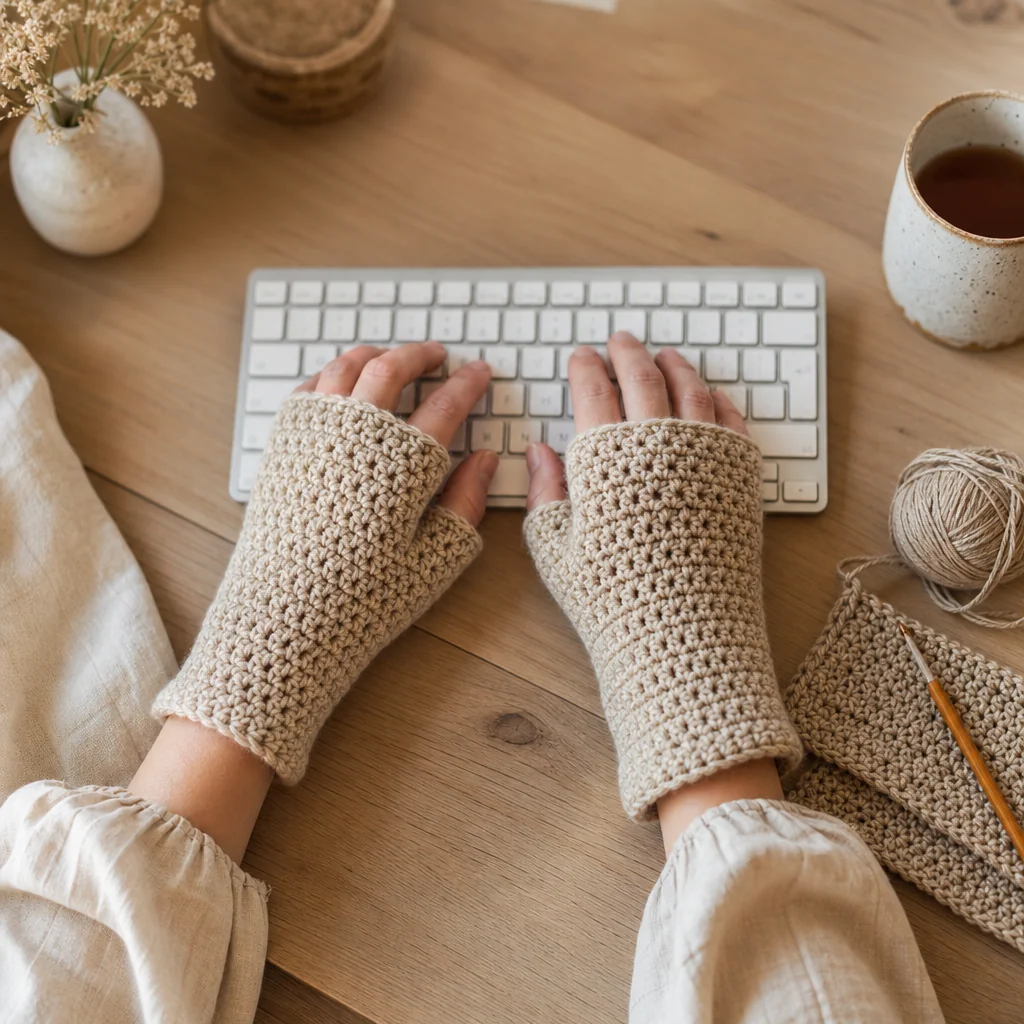
Because they're small, they're also an excellent way to practise intermediate techniques like working in the round, shaping with increases and decreases, and creating post-stitch ribbing. Once you've made one pair, you'll want to make a dozen more as gifts.
Materials You'll Need
- Yarn: DK or worsted weight yarn, approximately 100–150 g (one full skein usually covers a pair). Choose a fibre with some elasticity — merino wool, wool-acrylic blends, or superwash wool work beautifully. Avoid cotton for this project since it lacks stretch and warmth.
- Hook: 4.0 mm (G/6) for worsted or 3.5 mm (E/4) for DK weight. Adjust based on your gauge swatch.
- Stitch markers: At least 4 — one for the beginning of the round, and extras for thumb gusset placement.
- Tapestry needle: For weaving in ends.
- Measuring tape: Essential for hand measurements.
- Scissors
Taking Your Measurements
Accurate measurements make the difference between gloves that fit and gloves that slide off or pinch. Take these four measurements on your dominant hand:
Hand Circumference
Wrap the tape around the widest part of your palm, just below the knuckles, with your hand relaxed. Most adult hands measure between 17–22 cm (6.5–8.5 inches).
Wrist Circumference
Measure around your wrist bone. This determines your starting chain or foundation row length.
Wrist-to-Thumb Length
Measure from the top of your wrist bone to where your thumb meets your palm. Typically 5–7 cm (2–3 inches).
Wrist-to-Knuckle Length
Measure from the wrist bone to the base of your fingers. This is your total glove length before any finger coverage.
Gauge Check
Before starting, crochet a swatch in the round (or flat, then measure without edge stitches). For worsted weight with a 5.0 mm hook in half double crochet, aim for approximately 14–16 stitches and 10–12 rows per 10 cm (4 inches). If your swatch is too tight, go up a hook size. Too loose, go down.
Step-by-Step Instructions
Step 1: Create the Ribbed Cuff
Start with the cuff. Chain 10 (or enough to match your desired cuff width, usually 5–7 cm).
- Row 1: Single crochet in the back loop only (BLO) across. Chain 1, turn.
- Repeat Row 1 until the cuff strip measures your wrist circumference. The BLO single crochet creates a stretchy, knit-look ribbing.
- Slip stitch the short ends together to form a tube. This is your cuff.
Step 2: Begin the Hand Section
With the cuff seam at the inner wrist, pick up stitches evenly around the top edge of the cuff. You want a stitch count that matches your hand circumference at gauge — for example, if your gauge is 15 stitches per 10 cm and your hand measures 20 cm, pick up 30 stitches.
- Round 1: Half double crochet (hdc) in each stitch around. Place a marker at the start of the round. Do not join — work in a continuous spiral.
- Rounds 2–4 (or until you reach the thumb): Continue in hdc, working even.
Step 3: Shape the Thumb Gusset
The gusset adds width gradually so the thumb opening sits naturally without pulling.
- Mark the stitch at the side of the hand where your thumb sits (for the right glove, this is typically at the start of the round; for the left, at the midpoint).
- Increase round: Work to the marked stitch. In the marked stitch, work 2 hdc. Work 1 hdc, then 2 hdc in the next stitch. Continue around. (You've added 2 stitches.)
- Plain round: Work even.
- Repeat the increase round and plain round alternately until the gusset section has 10–14 stitches (depending on your thumb circumference). This usually takes 4–6 increase rounds.
Step 4: Separate the Thumb
- Work to the beginning of the gusset stitches. Chain 2. Skip all the gusset stitches. Continue in hdc around the rest of the hand.
- On the next round, work 2 hdc into the chain-2 space to bridge the gap, then continue around. You should be back to your original hand stitch count (or close to it).
Step 5: Complete the Hand
- Continue working in hdc until the piece reaches from your wrist to just below your knuckles. Try the glove on as you go — crochet is forgiving and you can add or remove rounds easily.
- For a clean top edge: Work one round of single crochet, then slip stitch around. Fasten off.
Step 6: Crochet the Thumb
- Attach yarn at the thumb opening. Pick up stitches evenly around the gusset stitches and the chain-space stitches. You should have 12–16 stitches.
- Work 3–5 rounds of hdc in a spiral, or until the thumb piece covers the base of your thumb but leaves the tip free.
- Finish with one round of single crochet and a slip stitch round. Fasten off.
Step 7: Finishing and Reinforcement
- Weave in all ends using a tapestry needle. At the thumb join, weave the tail through the surrounding stitches in a figure-eight pattern to close any small gap and reinforce the high-stress corner.
- Block the gloves lightly by misting with water and laying flat, shaping with your hands. For wool, a gentle steam block sets the stitches beautifully.
- Make the second glove, mirroring the thumb placement.
Design Variations
Convertible Mitten Flap
Want full finger coverage when the temperature drops? After completing Step 5, crochet a separate flap piece that attaches at the knuckle edge with a button or short strap. Work rows of hdc back and forth, decreasing at the top to shape a rounded mitten tip.
Colourwork and Texture
Alternate two colours every round for simple stripes, or try tapestry crochet for geometric motifs across the back of the hand. Cable-look panels using front post treble crochet add visual interest and extra insulation.
Extended Cuff
For extra warmth, lengthen the ribbed cuff to 10–12 cm. This creates a gauntlet-style glove that tucks under coat sleeves.
Troubleshooting Common Fit Issues
Too Tight Around the Palm
Your stitch count is too low or your tension is tight. Try going up one hook size or adding 2–4 stitches to your initial pick-up round.
Thumb Hole Too Large
Reduce the number of gusset increase rounds, or pick up fewer stitches when working the thumb. A single crochet edging round can also tighten the opening slightly.
Glove Twists on the Hand
This often happens when the cuff seam isn't aligned with the wrist. Mark your seam and keep it at the inner wrist throughout construction.
Care and Longevity
Hand-wash your finished gloves in cool water with a gentle wool wash or mild detergent. Squeeze out water without wringing, roll in a towel, and lay flat to dry. Store them flat or gently folded — avoid hanging, which can stretch the cuffs over time.
Ready for Your Next Pair?
Once you've mastered the basic pattern, experiment with different stitch patterns, yarn weights, and colourways. Fingerless gloves make thoughtful, quick gifts and are a satisfying way to use up partial skeins from larger projects.