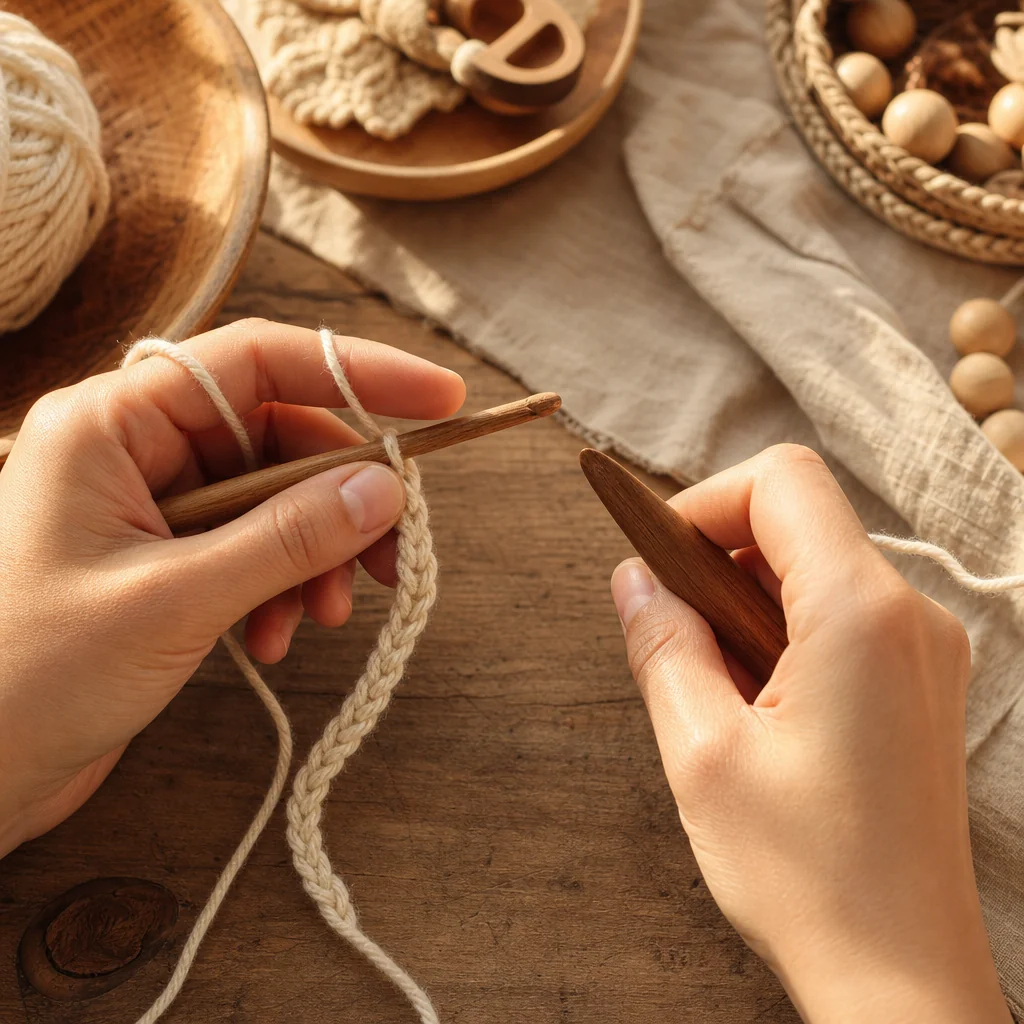
How to Hold a Crochet Hook and Yarn: A Beginner's Guide for Right-Handed and Left-Handed Crocheters
by Crochets Studio — A lifelong crocheter and fiber arts instructor who believes the best projects start with comfortable, confident hands. When not writing about crochet techniques, you'll find them designing accessible patterns for crafters of all abilities.
Your grip and yarn tension control are the foundation of smooth, comfortable crocheting. This guide walks you through the two most popular hook grips, the standard yarn-holding technique, and special considerations for left-handed crocheters. You'll spend just 10–15 minutes practicing before your first project, but that time pays off in better tension, fewer mistakes, and hours of pain-free crafting.
Why Your Grip Matters
The way you hold your hook and yarn isn't just about technique—it's about comfort and sustainability. A poor grip can lead to hand fatigue, tension knots, and mistakes that unravel your work. The right grip, on the other hand, lets you crochet for hours without strain, gives you precise control over your stitches, and helps you develop a consistent rhythm.
The best news: there's no single "correct" way. Every crocheter's hands are different, and what feels natural to one person might feel awkward to another. Your job is to try both main styles, notice which one feels more intuitive, and practice until it becomes muscle memory.
Grip Style 1: The Pencil Grip
The pencil grip is exactly what it sounds like—you hold your crochet hook the same way you'd hold a pencil or pen.
How to use the pencil grip:
- Find the thumb rest on your hook (the flat section below the head).
- Place your thumb and index finger on either side of the thumb rest, just like you'd grip a pencil.
- Rest your middle finger underneath for additional support and control.
- Let your wrist stay relaxed with a slight downward angle.
Why crocheters choose the pencil grip:
- Precise control: This grip gives you the most control over individual stitches, making it ideal for detailed stitch work, colorwork, and tight tension.
- Less hand fatigue: Many crocheters find this grip more comfortable for long sessions because it distributes pressure more evenly across your hand.
- Natural feel: If you write often, this grip will feel instantly familiar.
- Beginner-friendly: Most beginners naturally gravitate toward this style because of its similarity to writing.
Grip Style 2: The Knife Grip
The knife grip involves holding your hook from above, as if you're gripping a knife handle.
How to use the knife grip:
- Hold your hand above the hook, with your palm facing slightly downward.
- Grip the hook with all four fingers curled underneath the hook shaft.
- Rest your thumb on top of the flat thumb rest.
- Keep your wrist neutral or slightly curved.
Why crocheters choose the knife grip:
- Power and speed: This grip gives you more leverage, making it easier to work through thick, chunky yarns and to pull stitches tight quickly.
- Less wrist rotation: Your hand stays more still, which can reduce wrist strain for some people.
- Natural for certain stitches: Some crocheters find this grip helps them execute tall stitches (like double crochet or treble) more fluidly.
- Great for large projects: If you're working with thick yarn or big hooks, this grip can feel more stable.
Testing Both Grips: A Quick Experiment
Don't commit to one grip just yet. Try this:
- Make a slip knot on your hook using a practice yarn.
- Chain 20 stitches using the pencil grip. Notice how it feels—easy? Awkward? Comfortable?
- Unravel and try again with the knife grip.
- Notice the difference in control, speed, and comfort.
Neither grip is "better." Most crocheters naturally prefer one, and that's the one you should use. Some people even switch between grips depending on the project or yarn weight.
Controlling Yarn Tension with Your Non-Dominant Hand
While your hook hand does the work, your non-dominant hand (left hand for right-handed crocheters, right hand for left-handed crocheters) controls the yarn tension. This is where the real magic happens.
The standard yarn-tension method:
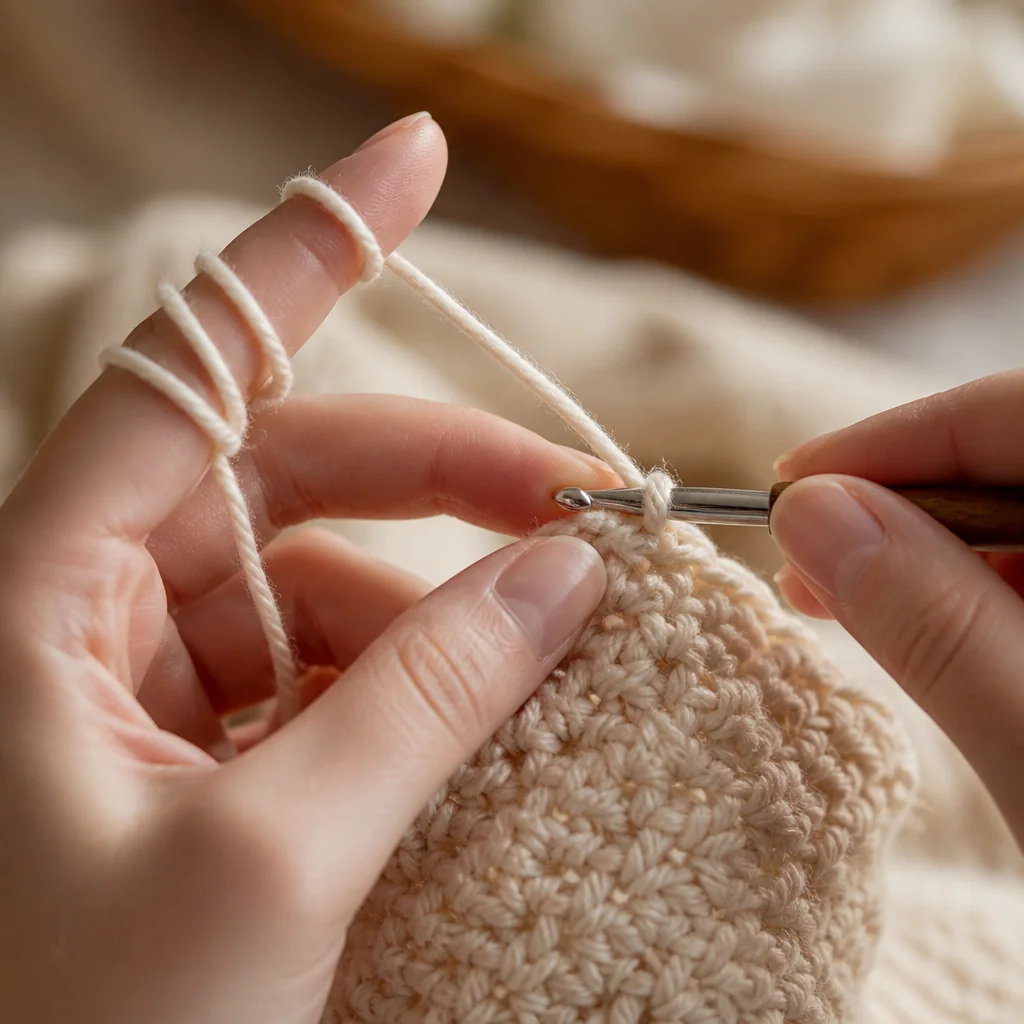
- Wrap yarn over your pinky finger (the small finger on your non-dominant hand). This creates the base of your tension.
- Guide it under your ring finger and middle finger. The yarn should rest loosely in the valley between these fingers.
- Bring it over your index finger. Your index finger is now your primary yarn guide.
- Hold the yarn end loosely in your palm with your pinky and ring finger providing the main tension control.
Why this works:
- Your pinky and ring finger act as tension brakes, slowing the yarn flow.
- Your middle finger provides a gentle guide.
- Your index finger feeds yarn to the hook at a controlled pace.
- Your thumb stays free to help position your hook.
Adjusting your tension:
- Yarn too loose? Move it closer to your pinky, or wrap it an extra time around your pinky to create more resistance.
- Yarn too tight? Loosen your grip on the pinky wrap, or let the yarn rest further up your fingers.
- Can't feel the yarn? Try holding it slightly higher on your index finger, or position your index finger closer to your hook.
Spend a few minutes just holding yarn this way, without crocheting. Get used to how it feels. Let it flow through your fingers slowly. This sensation of control is one of the biggest confidence boosters for beginners.
Alternative Yarn-Tension Methods
Not every hand is the same size or shape. If the standard method feels cramped or awkward, try these alternatives:
The finger-wrap method:
Wrap yarn around your index and middle finger in a figure-eight pattern, then hold it over your index finger. This works well if you have larger hands or prefer more direct control.
The thumb-and-finger method:
Hold yarn between your thumb and index finger while your other fingers maintain slight tension. This minimal-wrap method suits people who prefer less yarn contact on their hand.
Special Tips for Left-Handed Crocheters
Left-handed crocheters have two main options: mirror the right-handed instructions, or learn right-handed techniques (which many left-handers do successfully).
Option 1: True Left-Handed Mirroring
- Hold your hook in your left hand and control tension with your right hand.
- Reverse all directional instructions from patterns written for right-handers.
- Watch tutorial videos in a mirror or search for left-handed crochet tutorials specifically.
- Practice with a printed pattern and physically flip or rotate it as you work.
Option 2: Adapted Right-Handed Technique
Many left-handed crocheters find it easier to learn right-handed crochet because most patterns and tutorials are written that way. You'd:
- Hold the hook in your right hand (non-dominant, but it works).
- Control tension with your left hand.
- Follow standard patterns without modification.
Try both approaches in your first 30 minutes of practice and see which feels more natural. Neither is "wrong"—it's personal preference.
Your Practice Plan: 10–15 Minutes That Changes Everything
Before you start your first project, invest this time:
- Minutes 1–3: Hold your hook and practice both grips. Don't worry about yarn yet.
- Minutes 4–7: Thread yarn and practice the tension method. Make loose chains—don't aim for perfection.
- Minutes 8–12: Make 20 single crochet stitches, focusing on smooth, even tension. They'll probably look wonky. That's fine.
- Minutes 13–15: Unravel and repeat steps 2–3. By the end, your hands should remember the motion.
This 15-minute investment trains your hands and builds confidence before you tackle an actual pattern. You'll make fewer mistakes, rip out less yarn, and enjoy your first project so much more.
Common Grip Issues and Quick Fixes
Problem: Your hand cramps after 10 minutes. Cause: You're gripping too tightly. Your hand is trying to squeeze control instead of letting it flow. Fix: Deliberately loosen your grip by 30%. Focus on letting your fingers guide the yarn rather than controlling it with tension. Tension comes from yarn management, not hand strength.
Problem: Your stitches are uneven or too tight. Cause: Your non-dominant hand is holding yarn too close to the hook, or you're not maintaining consistent yarn flow. Fix: Move your index finger (yarn guide) about 2–3 inches away from your hook. This creates a buffer zone where yarn can flow smoothly. Also, practice feeding yarn at a steady pace rather than jerky pulls.
Problem: Your hook keeps slipping in your hand. Cause: Yarn tension is pulling the hook backward, or your grip isn't firm enough. Fix: Make sure your thumb is firmly on the thumb rest. Check that you're not gripping too loosely. If your hook is very smooth, try wrapping a small piece of craft tape around the grip for better texture.
Your Grip Is Personal—And It Can Evolve
Remember: the "right" grip is the one that works for you. Some crocheters use pencil grip for delicate lace and knife grip for chunky blankets. Others stay loyal to one method forever. Both approaches are valid.
Your grip will also evolve as you gain experience. Beginners often grip tightly out of nervousness; experienced crocheters relax into a looser, more efficient hold. This is normal and healthy—your hands are learning to trust the process.
The most important thing isn't which grip you choose—it's that you choose one, practice it consistently for 10–15 minutes, and then start making something. Your hands will figure out the rest.