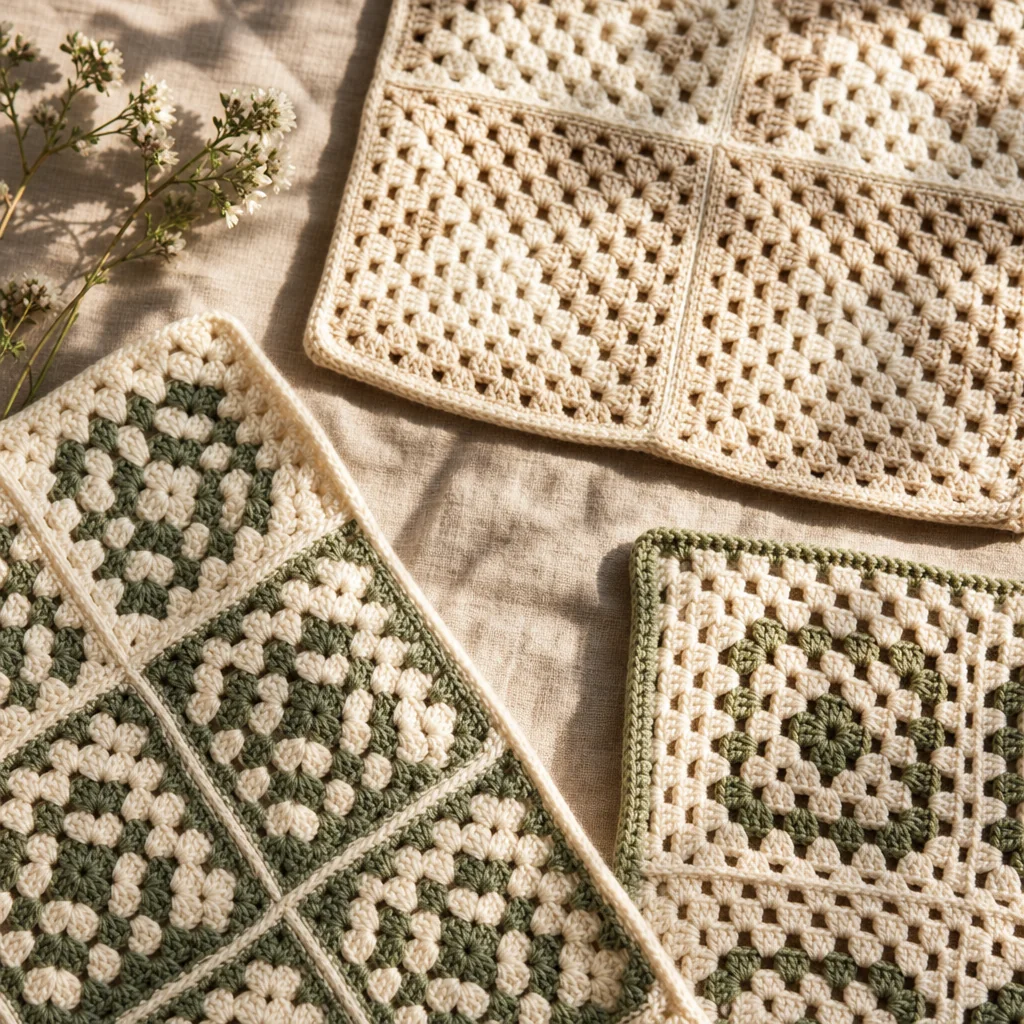
How to Join Granny Squares Without Visible Seams
by Crochets Studio — Sarah has been crocheting for over fifteen years and specializes in blanket construction techniques. She loves finding ways to make finishing work faster and more polished.
Visible seams happen when your joining tension doesn't match your squares or when you're working through the wrong stitch loops. The solution is simpler than you think: use a flat slip stitch join through back loops, a carefully tensioned whip stitch, or join your squares as you complete them. Each method keeps seams nearly invisible when you match your gauge and prep your squares properly.
Why Seams Show Up in the First Place
Visible seams aren't a sign of poor craftsmanship—they're usually a signal that your joining method doesn't match the structure of your squares. When you work a join that's too tight, it pulls the fabric and creates puckering along the seam line. Too loose, and you get gaps that catch the light and draw attention. The ridge effect comes from working through both loops in a way that stacks stitches on top of each other instead of blending them into the fabric.
The texture of granny squares makes this especially tricky. Those open, lacy spaces and clustered stitches mean your seam needs to be flexible enough to accommodate the pattern without fighting it. Most joining problems come down to three things: loop placement, tension consistency, and yarn choice. Get those right, and your seams will practically disappear.
Materials You'll Need
- Completed granny squares, all the same size
- Yarn in the same weight and fibre content as your squares
- Yarn needle with a blunt tip (tapestry needle)
- Crochet hook in the size used for your squares
- Blocking mats or towels (optional but helpful)
- Rust-proof pins for blocking
Method One: Flat Slip Stitch Join
The flat slip stitch join is your go-to for a completely invisible seam that stays flexible. The secret is working through back loops only, which keeps the join from building up bulk.
Setting Up Your Squares
Place two squares with right sides together (or both facing up if you want the seam to show slightly on one side). Line up the corner stitches and any pattern repeats so everything matches. If your squares have a starting chain corner, align those chains first—it makes the whole process easier.
Working the Join
Insert your hook through the back loop of the first stitch on both squares at once. Yarn over and pull through both loops and the loop on your hook in one motion. That's your slip stitch. Continue across the edge, working one slip stitch in each pair of matching stitches. Keep your tension even—not tight, not loose, just the same gauge as your squares.
When you reach the end, fasten off and weave in your ends. The seam should lie completely flat with no ridge on either side. If you see a bump, you likely worked through both loops instead of back loops only.
Variations for Different Effects
Working with wrong sides together creates a decorative ridge on the right side, which some crocheters love for blankets with a rustic look. For a truly invisible join on textured squares, try working through the back loops on one square and the front loops on the other—it distributes the bulk differently and can flatten the seam even more.
Method Two: Whip Stitch Joining
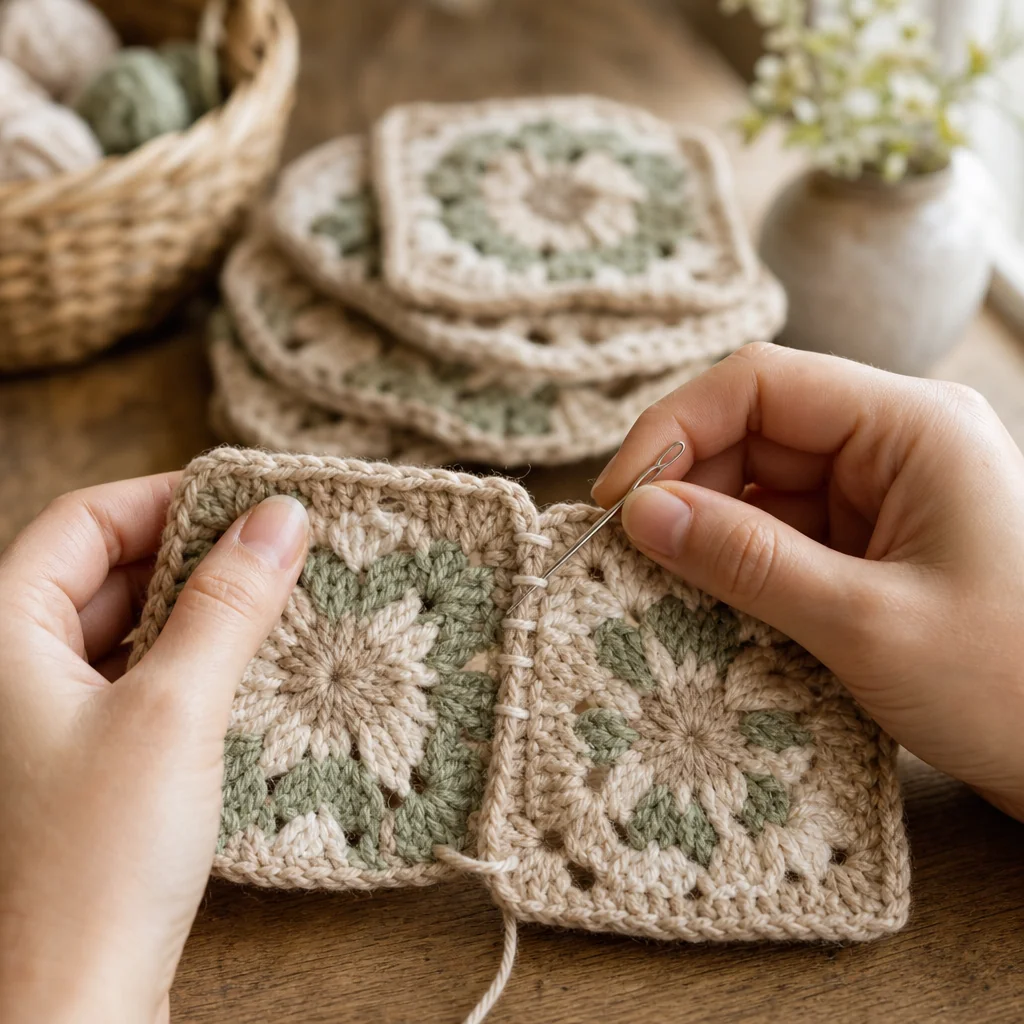
A whip stitch gives you complete control over tension and works beautifully when you want a seam that's flexible but secure. This is a sewing technique, not crochet, so you'll use a yarn needle instead of a hook.
Threading and Positioning
Thread your yarn needle with a length about three times the edge you're joining—any longer and it tangles, any shorter and you'll run out mid-seam. Place your squares wrong sides together (right sides facing out) and align the edges carefully.
Creating the Stitches
Insert your needle from back to front through the back loop of the first stitch on both squares. Pull the yarn through, leaving a tail to weave in later. Insert the needle through the next pair of back loops in the same direction (always back to front). Continue along the edge, spacing your stitches evenly and keeping consistent tension.
The key is matching your whip stitch tension to the tension of your squares. Too tight and the seam will pucker. Too loose and gaps will show. Test on a small section first to find the right feel.
When to Choose Whip Stitch
Whip stitch excels for heavier yarns or squares with dense stitch patterns where a slip stitch join might feel stiff. It's also ideal when you want maximum control—you can adjust each stitch individually as you work, which helps when joining squares that aren't quite identical in size.
Method Three: Join-As-You-Go
Join-as-you-go eliminates separate seaming entirely by connecting squares during the final round. This method is fastest once you get the rhythm, and it produces the most invisible seam because you're working with live stitches instead of adding a separate joining layer.
Planning Your Layout
Before you start, decide on your final arrangement. With join-as-you-go, you need to know which edge connects to which square. Most crocheters work in rows, completing and joining each square to the one before it, then joining each new row to the previous row.
Executing the Join
Work your granny square up to the final round. When you reach the edge that will connect to an existing square, replace your normal stitches with joining stitches. For a single crochet join, work your stitch up to the final yarn over, then insert your hook through the corresponding stitch on the adjacent square, yarn over, and complete the single crochet. For a slip stitch join, simply slip stitch into the adjacent square's stitch instead of into your own square.
Continue alternating between regular stitches and joining stitches around the connecting edge. At corners where four squares meet, you'll join to both adjacent squares in the corner space.
Advantages and Considerations
Join-as-you-go saves enormous time on large projects like blankets because you finish joining when you finish crocheting. The seams are nearly invisible since there's no added bulk. The downside is less flexibility—if you want to rearrange squares or fix a mistake, you'll need to undo the joins, which means unraveling part of the squares themselves.
Preparation Makes Perfect: Blocking Your Squares
Blocking is the single most effective thing you can do to ensure invisible seams. When squares are different sizes or have wavy edges, even perfect joining technique will show.
Wet Blocking Method
Soak your completed squares in cool water with a drop of wool wash for 15 minutes. Gently squeeze out excess water (never wring) and lay each square flat on a blocking mat or towel. Pin each corner and any edges that need straightening, stretching the square to the correct dimensions. Let dry completely, usually 24 hours.
Steam Blocking Alternative
For acrylic yarn or quick blocking, hold a steam iron 2-3 inches above the square (never touching) and apply steam while gently shaping the square with your hands. Pin if needed and let cool before removing pins.
Additional Tips for Seamless Results
Yarn Choice Matters
Always join with the same yarn you used for the squares, or at minimum the same fibre content and weight. Different yarns reflect light differently and will make your seams visible no matter how well you execute the technique.
Weave Ends Before Joining
Weaving in ends after joining is awkward and risks pulling on the seam. Finish each square completely—ends woven, tails trimmed—before you begin any joining method. Your future self will thank you.
Practice Tension Consistency
If your first few seams look visible, it's almost always a tension issue. Join a few test squares and really pay attention to how tight you're pulling. Aim for stitches that match the fabric of the squares exactly—not tighter, not looser.
Match Stitch Counts
Before joining, count the stitches along each edge to make sure your squares are truly identical. If counts don't match, block more aggressively or adjust by skipping or adding stitches strategically in less visible areas.
Troubleshooting Common Issues
Problem: Seam puckers or waves Cause: Joining tension is too tight Fix: Redo the seam with looser tension, or switch to a larger hook for slip stitch joins
Problem: Gaps show along the seam Cause: Joining tension is too loose Fix: Work with slightly tighter tension or use a smaller hook
Problem: Ridge appears along one side Cause: Working through wrong loops or both loops instead of back loops only Fix: Carefully unpick the seam and work through back loops only
Problem: Seam feels stiff or inflexible Cause: Joining yarn is too thick or join method is too dense Fix: Use a thinner yarn for joining or switch to whip stitch for more drape
Which Method Should You Choose?
For most projects, flat slip stitch join through back loops offers the best balance of speed, invisibility, and durability. Choose whip stitch when you need maximum control or are working with heavy yarn. Use join-as-you-go for large blankets where you want to save time and achieve the most invisible result possible.
With these techniques in your toolkit and proper blocking preparation, your granny square projects will have that polished, professional finish that makes people ask where you bought it.