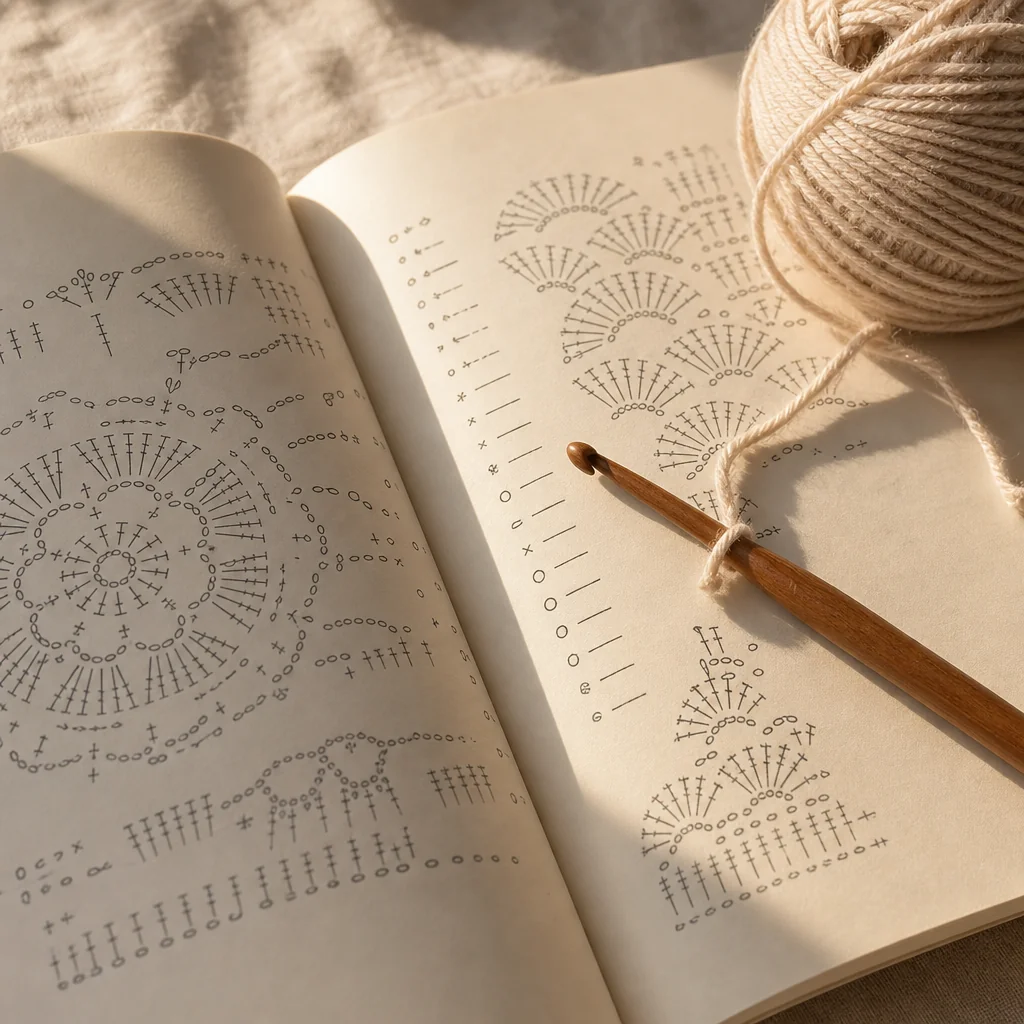
How to Read a Crochet Pattern for the First Time
by Crochets Studio — A fiber artist and crochet educator based in Montreal, I've spent the last decade demystifying crochet for beginners and teaching thousands of people that patterns are less secret code and more like a helpful conversation between you and the designer.
Crochet patterns aren't as mysterious as they look—they're just shorthand for instructions. By learning the standard abbreviations, understanding how to count stitches, and recognizing the key sections of a pattern, you'll unlock the confidence to start almost any project.
Understanding the Building Blocks of a Pattern
Before you even thread your hook, take a moment to skim the entire pattern. Every crochet pattern is structured the same way, and knowing where to find information will save you time and frustration.
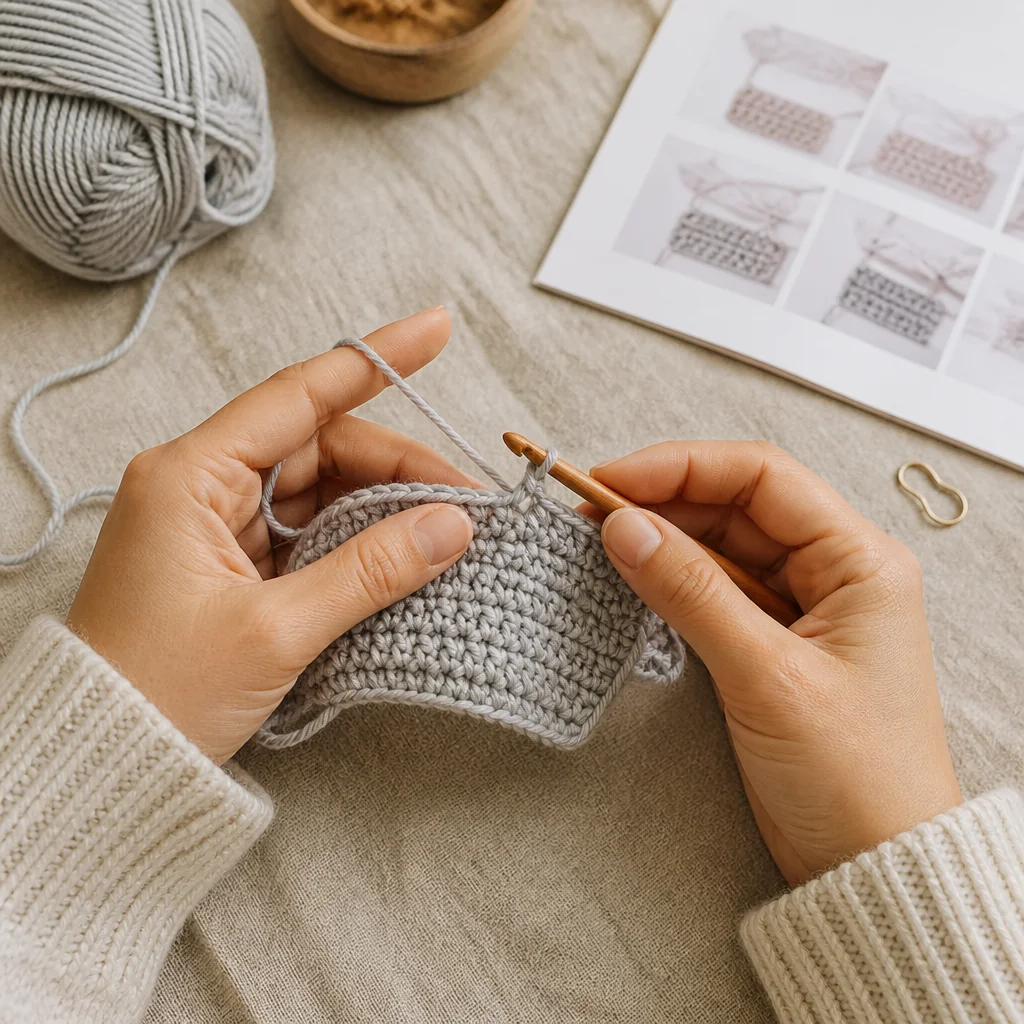
First, look at the materials list at the top. This tells you the yarn weight (like worsted weight or sport weight), the hook size, and any notions you'll need (buttons, stitch markers, yarn needle). Match these exactly—using a different hook size or yarn weight can completely change the finished size and drape of your project.
Next, find the gauge section. This might seem optional, but it's actually your quality control checkpoint. Gauge tells you how many stitches and rows should measure 4 inches (or 10 cm) when you work in a specific stitch. If your gauge doesn't match, your finished piece won't be the right size. We'll cover gauge in more detail, but for now, just know it exists and why it matters.
Finally, scan for the abbreviations list. Every pattern includes this. Some abbreviations are universal; others vary by designer. Always check this section first—it's your key to decoding everything that follows.
The Essential Abbreviations You Need to Know
Most crochet patterns use the same core abbreviations. Once you memorize these, you'll recognize them instantly:
Basic Stitches
- ch = chain stitch (the foundation of all crochet)
- sc = single crochet (short, tight stitch)
- hdc = half double crochet (medium height)
- dc = double crochet (tall stitch)
- tr = treble (even taller)
Common Instructions
- st(s) = stitch or stitches
- rep = repeat (do it again)
- rnd = round (when working in circles)
- row = row (when working back and forth)
- inc = increase (add a stitch)
- dec = decrease (combine stitches)
- sk = skip (pass over without working into it)
- sp = space (the gap between stitches)
- tog = together
Brackets and Symbols
- [ ] = repeat everything inside these brackets
- ( ) = parentheses usually contain stitch counts or clarifications
- * * = asterisks mark the start and end of a section to repeat
Write these down or bookmark this page. You don't need to memorize everything right away—you'll learn them naturally as you crochet.
Breaking Down a Real Pattern Line
Let's decode an actual pattern instruction so you can see how all these pieces fit together:
Row 1: Ch 20, dc in 4th ch from hook, dc in each ch across. (17 dc)
Here's what this means in plain English:
- Make 20 chain stitches in a row.
- Count along your chain from the hook. Skip the first 3 chains (this is standard for double crochet).
- Work your first double crochet into the 4th chain from the hook.
- Make a double crochet stitch in every remaining chain stitch across the row.
- You should now have 17 double crochet stitches.
That number in parentheses—(17 dc)—is your checkpoint. Count your stitches. Do you have 17? Great, you're on track. Do you have 18 or 16? Something went wrong, and this is the moment to fix it before moving forward.
When You See Asterisks and Brackets
Repetition is the soul of crochet. Patterns use asterisks and brackets to show you which part to repeat and how many times.
Example: *sc in next 3 sts, 2 sc in next st*, rep from * to * 4 times.
Translation:
- Single crochet into the next 3 stitches.
- Make 2 single crochet stitches in the next single stitch (this is an increase).
- You've now completed one cycle. Do this entire sequence 4 more times for a total of 5 repetitions.
If you see brackets instead: [sc 3, 2 sc in next st] 5 times, it means exactly the same thing—just a different way to write it.
The Stitch Count Is Your Lifeline
Every pattern line ends with a stitch count in parentheses for a reason. This number tells you how many stitches you should have at the end of that row or round. Use it.
Develop this habit: after completing each row, count your stitches before moving to the next row. This catches mistakes early when they're easiest to fix. A miscount in Row 1 compounds into a lopsided project by Row 10.
Reading Circular Patterns
Some patterns work in the round (spirals, amigurumi, mandalas). The instructions look similar, but instead of "Row 1," you'll see "Rnd 1" (round 1). You'll work in a circle using a magic ring or chain ring as your starting point.
The stitch counts still matter just as much. At the end of each round, you should have the exact number of stitches listed. If you're short, you dropped a stitch. If you have extra, you accidentally increased.
Common Stumbling Blocks and How to Avoid Them
"What if my gauge doesn't match?" Gauge mismatch is the #1 reason handmade projects turn out the wrong size. If you crochet tighter than the pattern expects, your stitches will be smaller and your project will shrink. If you crochet looser, it'll grow. Make a 4×4 inch swatch in the stitch and yarn specified, measure it, and compare it to the gauge listed. Adjust your hook size if needed.
"I lost count halfway through a row." This happens to everyone. Use stitch markers (or even safety pins) to mark every 10 stitches. It's much easier to recount from a marker than to count all 50+ stitches from the beginning.
"The pattern says 'slip stitch to join' but I don't know where to slip stitch." When you finish a round, you slip stitch into the first stitch of that round to close the circle. Look for this instruction in the pattern—it tells you where the join goes.
Moving Forward: Start Easy, Build Confidence
Your first projects should be labeled "beginner" or "easy" and use basic stitches like single crochet and double crochet. Avoid patterns with complicated color changes, complicated decreases, or unusual abbreviations until you're comfortable with the fundamentals.
Every time you read a pattern, it gets easier. After a few projects, these abbreviations and instructions will feel like reading words instead of code. You'll internalize the rhythm of pattern reading, and you'll be able to pick up more complex projects with confidence.
Next Steps
Now that you know how to read a pattern, the next challenge is getting gauge right and choosing the perfect yarn for your project. Explore our interactive pattern decoder tool to practice breaking down instructions in real time.
Next step
Explore Our Pattern Decoder Tool