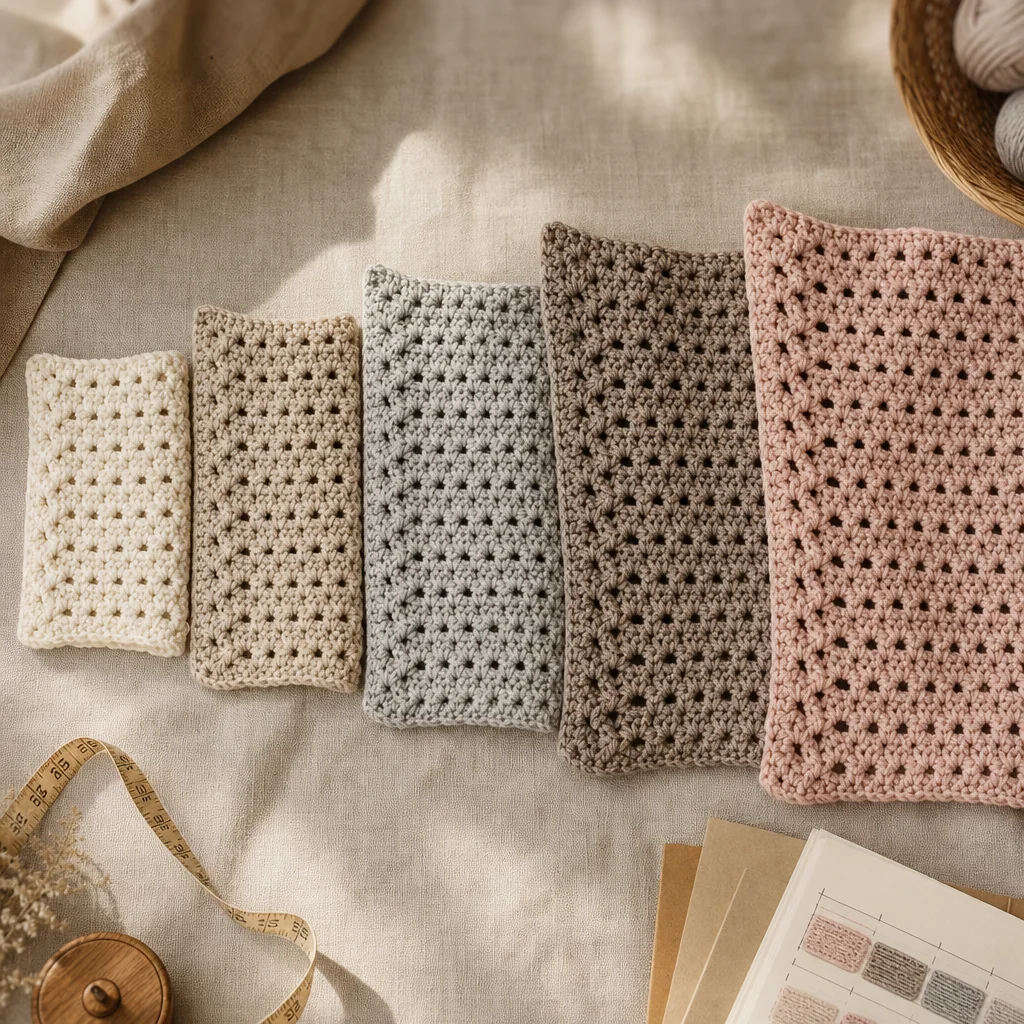
Sizing a Crochet Garment for Every Body (XS–5XL)
by Crochets Studio — A pattern designer and fit specialist who learned to crochet from her grandmother in rural Ontario, now teaching inclusive garment construction techniques to makers worldwide.
Creating inclusive crochet garments means understanding that sizing isn't just about making things bigger—it's about adjusting proportions as bodies change across the size spectrum. This tutorial walks you through the grading process from XS to 5XL, covering how to build comprehensive size charts, make proportional adjustments to key measurements, and choose stitches that drape well on all body types. You'll learn the specific techniques that ensure your garments fit comfortably and beautifully, no matter the size.
Understanding Body Proportions Across Sizes
The biggest mistake in garment grading is treating size changes as simple multiplication. When you move from a size small to a size 3XL, you're not just adding inches evenly across all measurements. Bodies change in complex ways: torso length increases, shoulder width grows at a different rate than bust circumference, and armholes need to be deeper to accommodate arm movement and comfort.
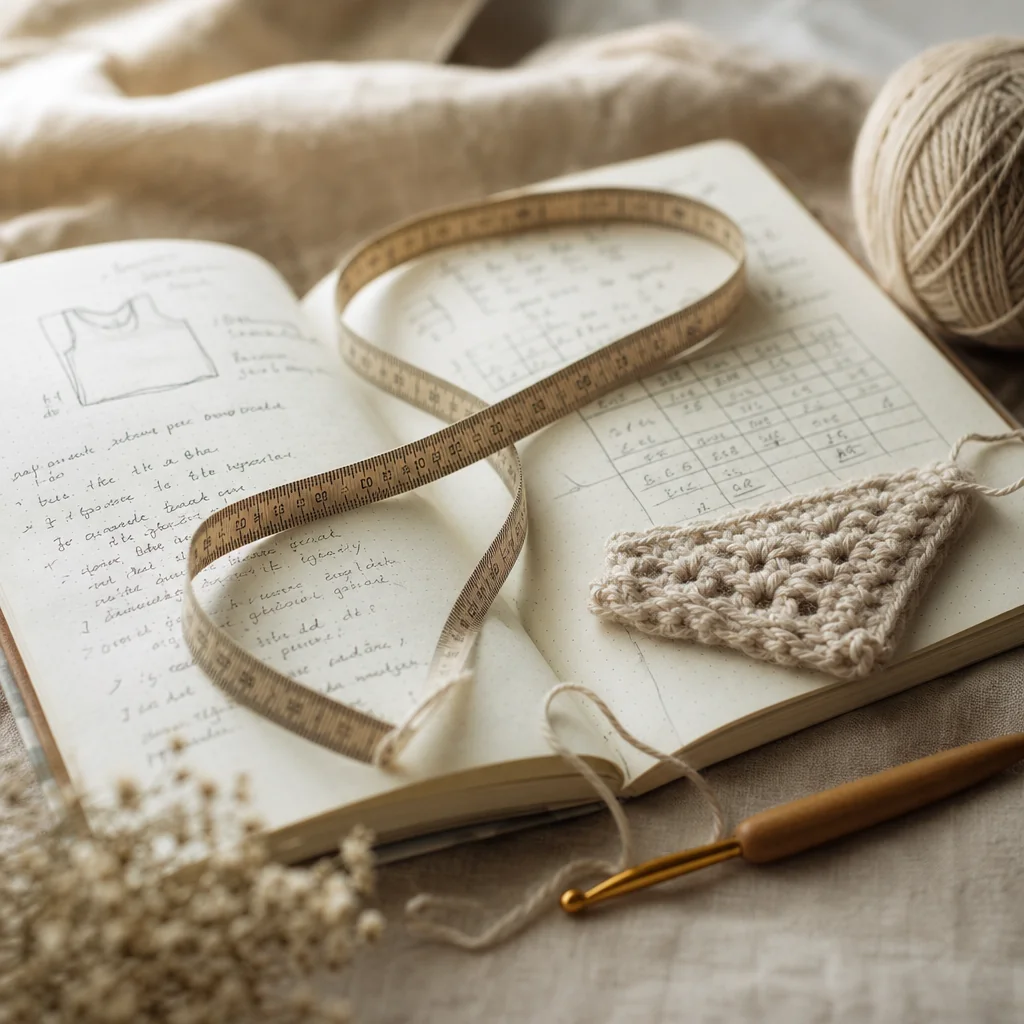
Think of it this way: if you simply scaled up a size XS pattern by 150%, you'd end up with a garment that has proportions designed for a smaller frame, just stretched larger. The armholes would be too shallow, the torso too short, and the overall fit uncomfortable. True grading means understanding these proportional relationships and adjusting them thoughtfully.
Building Your Comprehensive Size Chart
Before you start grading any pattern, you need a solid foundation: a detailed size chart that goes beyond just bust measurements. Your chart should include:
- Bust circumference: Measure at the fullest part
- Waist circumference: Natural waistline
- Hip circumference: Measure at the fullest part, typically 7-9 inches below waist
- Torso length: From shoulder to natural waist, and from waist to hip
- Shoulder width: Across the back from shoulder point to shoulder point
- Armhole depth: From shoulder to underarm
- Upper arm circumference: At the fullest part when arm is relaxed
Start with industry-standard sizing charts as your baseline, but recognize that these are averages. Bodies within the same size category vary enormously. A person wearing size XL might have a longer torso and shorter legs, or broader shoulders and narrower hips. This is why ease becomes crucial.
Planning for Ease
Ease is the difference between body measurements and garment measurements. For comfortable, wearable garments, build in 2-4 inches of positive ease at the bust. Closer-fitting garments need less ease, while oversized styles need more. As sizes increase, consider slightly more ease—larger bodies often appreciate the comfort of additional room, and fabric drape improves with a bit more space.
The Grading Process: Step by Step
Step 1: Choose Your Base Size
Select a middle size as your base—typically a medium or large works well. This is the size you'll draft completely, then grade up and down from there. Draft this base size carefully, making a test garment if possible to confirm fit before you start grading.
Step 2: Calculate Size Intervals
Determine how much each measurement increases between sizes. Standard grading typically uses these intervals:
- Bust/hip circumference: 2 inches between consecutive sizes
- Waist circumference: 1.5-2 inches between sizes
- Torso length: 0.25-0.5 inches per size
- Armhole depth: 0.5 inches per size category (XS to S to M, etc.)
- Shoulder width: 0.5 inches between sizes
These aren't rigid rules—adjust based on your design and the bodies you're fitting.
Step 3: Grade Key Pattern Areas
Now comes the detailed work. Go through your pattern and adjust these critical areas:
Armholes: This is where many patterns fail in larger sizes. As bust circumference increases, armholes need to become deeper, not just wider. Add that extra 0.5 inch of depth per size category. Test by crocheting a quick armhole mockup—you should be able to lift your arms comfortably without the garment riding up.
Torso length: Larger bodies typically have longer torsos. Add 0.25-0.5 inches of length in the body between each size. This seems minimal, but it makes a significant difference in how the garment sits on the body.
Hip shaping: If your garment has waist shaping, consider that many people (especially in mid to plus sizes) have pear-shaped bodies with hips considerably wider than their bust. Grade the hip measurement more generously than the bust. A common approach: if bust increases by 2 inches, let hips increase by 2.5-3 inches.
Shoulder slope: Larger sizes often need more shoulder slope to prevent fabric from pulling across the upper back. Decrease rows at the shoulder edge slightly more aggressively in larger sizes.
Step 4: Adjust Stitch Counts Proportionally
Here's where your gauge comes in. If you're increasing bust circumference by 2 inches and your gauge is 4 stitches per inch, you're adding 8 stitches total (4 front, 4 back) between sizes. But remember: you're not just adding stitches at the sides. Distribute the increases across the garment to maintain the design's visual proportions.
For example, if your base size has a decorative cable panel that's 20% of the front width, keep it at roughly 20% in all sizes by adding stitches in the background areas, not in the cable itself.
Fabric Drape Considerations
Stitch choice becomes increasingly important as sizes increase. Larger garments have more weight, and that weight affects how fabric hangs on the body.
Choose Drape-Friendly Stitches
Stitches with more height and less density create fabric that flows and moves with the body:
- Double crochet and treble crochet: These taller stitches create lighter, more fluid fabric than single crochet
- Open stitch patterns: Patterns with chain spaces allow fabric to drape and breathe
- Bias construction: Working on the diagonal creates natural stretch and drape
Avoid dense, stiff stitch patterns in larger sizes unless you're specifically designing structured garments like outerwear.
Test Your Gauge in Multiple Sizes
Here's a secret: gauge can shift slightly as you work larger pieces. The weight of more fabric can stretch your work, or fatigue can change your tension. Make gauge swatches for both your smallest and largest sizes. If you notice the larger size drooping or becoming too loose, consider dropping down a half hook size for those sizes.
Construction Techniques for Better Fit
Work Top-Down When Possible
Top-down construction lets you try on as you go and adjust length on the fly. This is especially valuable for larger sizes where small adjustments make big differences in comfort.
Add Strategic Shaping
Don't assume larger sizes need less shaping. Strategic increases and decreases create garments that follow body curves and look polished:
- Waist shaping: Even in relaxed-fit garments, a subtle waist taper (1-2 inches of decrease) creates a more flattering silhouette
- Bust darts or short rows: In larger sizes, these add room where it's needed without adding bulk everywhere
- Side shaping: Gentle increases from waist to hip create a natural A-line that flatters many body types
Consider Garment Weight
A size 5XL garment uses significantly more yarn than a size XS, and that adds weight. Heavy garments can pull on the shoulders and stretch out over time. Counter this by:
- Choosing lighter-weight yarns (DK or sport weight instead of worsted)
- Using open stitch patterns that reduce fabric density
- Adding ribbed bands at hems and cuffs to prevent stretching
- Considering sewn-in elastic at waistbands for support
Testing and Refining Your Grading
The only way to know if your grading works is to test it. Make samples of key sizes—ideally your base size plus one smaller and one larger. Find fit models or use dress forms if available. Look for these common fit issues:
- Armholes binding or gaping: Adjust depth or width
- Torso riding up: Add length
- Fabric pulling across the bust or hips: Add width or ease
- Shoulders slipping off: Adjust shoulder width or slope
- Fabric sagging at the neckline: Reduce neckline circumference or add shoulder shaping
Document every adjustment you make. Grading is an iterative process, and your notes from one project will inform the next.
Creating an Inclusive Pattern
When you publish patterns with a full size range, you're making crochet accessible to more people. Write your pattern clearly, with separate stitch counts for each size rather than making people calculate. Consider offering a grading chart that shows how you calculated size increases—this helps other makers understand the logic and adjust for their specific bodies if needed.
Remember: bodies are diverse even within size categories. The best patterns give makers the tools to customize fit, not just follow instructions blindly.
Next step
Calculate Your Gauge for Any Size