Teaching a Child to Crochet: Age-Appropriate First Projects
by Crochets Studio — A longtime crocheter and parent who believes the best projects are the ones finished with pride, no matter how wonky the edges. Teaches fiber arts to kids and adults in Southern Ontario.
Teaching crochet to children builds fine motor skills, patience, and creative confidence when you match projects to their developmental stage. Kids aged 5-7 thrive with finger crochet and chunky chains, while older children can tackle single crochet projects and simple shaped pieces. The secret is short sessions, forgiving materials, and letting them choose colours they love.
Starting Young: When Fine Motor Skills Meet Fiber
The best time to introduce crochet is when a child can hold a pencil comfortably and has the patience to repeat a motion several times. For most kids, that window opens around age five, though every child develops differently. The goal isn't perfect stitches—it's building hand-eye coordination, experiencing the satisfaction of making something tangible, and spending focused time together.
Crochet offers unique advantages over other crafts for young learners. Unlike knitting, there's only one active loop to manage. Unlike sewing, there are no sharp needles. The repetitive motion is meditative, and mistakes are easy to undo. Best of all, progress is visible quickly, which keeps young crafters motivated.
Ages 5-7: Finger Crochet and Chunky Chains
At this stage, traditional metal hooks can be frustrating. Little fingers lack the dexterity to hold a hook steady while manipulating yarn, and the scale feels wrong. Start without a hook entirely.
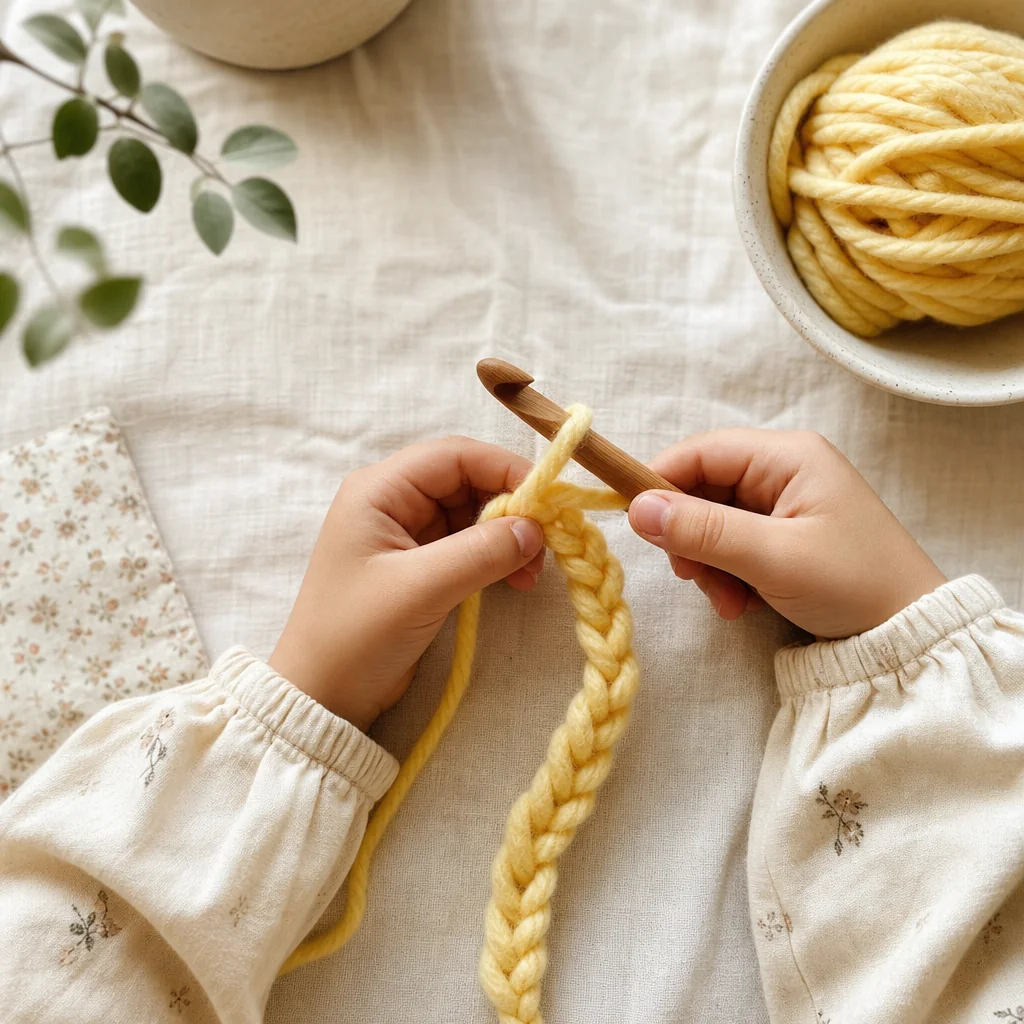
Finger crochet uses just hands to create a chain. Bulky or super bulky yarn in a light colour works best—dark yarn hides the structure, making it harder to see what's happening. Show your child how to loop the yarn around one finger, pull through, and repeat. The motion is identical to a crochet chain, but the large scale and direct hand contact make it intuitive.
Once they've made a chain long enough to feel proud (usually 2-3 feet), transform it into something functional:
- A jump rope for small toys
- A headband by joining the ends
- A scarf for a stuffed animal
- A garland to decorate their room
If they want to try a hook, choose a jumbo 15mm or 19mm wooden crochet hook. The thick handle is easier to grip, and chunky yarn is forgiving. At this age, don't worry about tension or stitch definition. Celebrate every chain link.
Session tips: Keep practice to 10-15 minutes. Any longer and hands get tired or attention wanders. End on a success, even if it's just five chains.
Ages 7-9: Single Crochet Foundations
Around age seven or eight, children develop the fine motor control to hold a standard hook and work a basic stitch. This is when crochet becomes real.
Materials for Success
- Hook size: 5.5mm (I) or 6mm (J) aluminum hooks with a thumb rest
- Yarn: Worsted weight (#4) acrylic in a light colour (white, cream, pale yellow). Avoid splitty yarn or anything too fuzzy
- Projects: Flat work only—no rounds yet
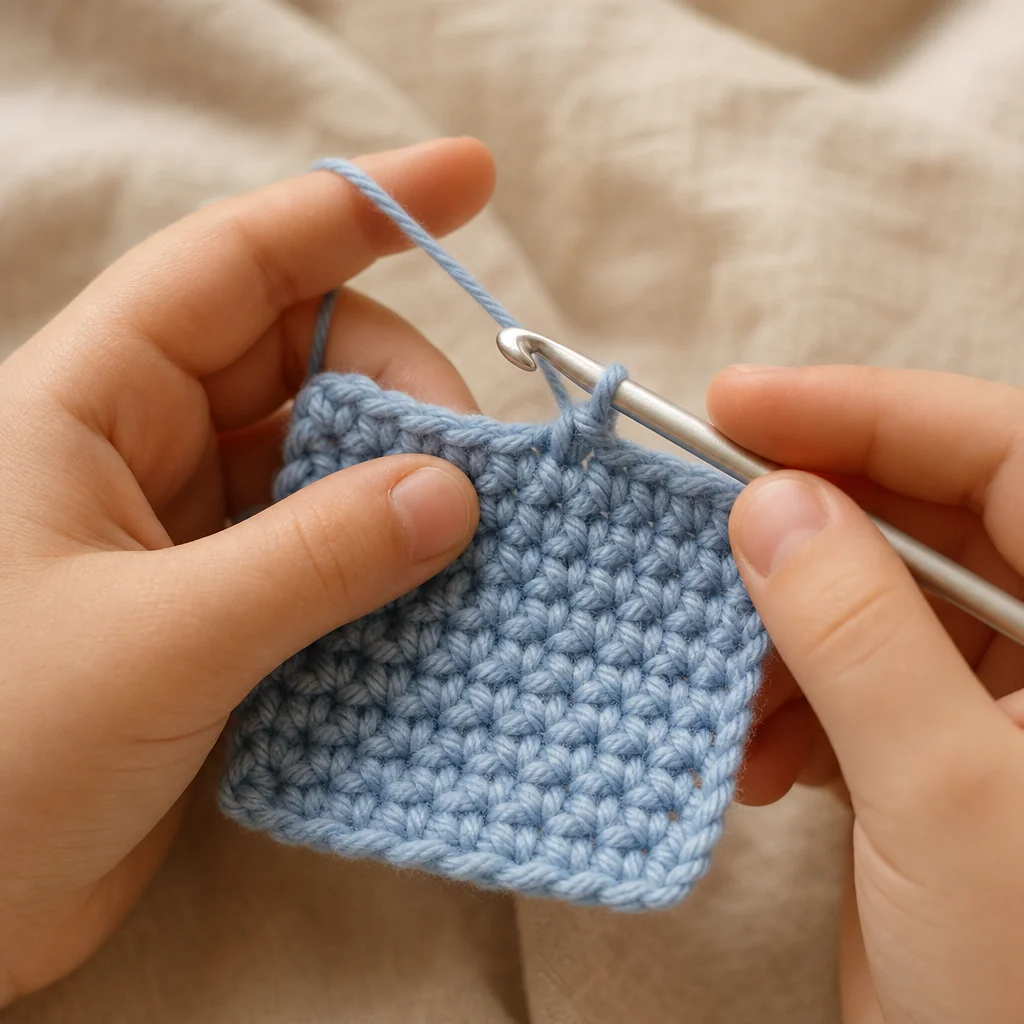
Teach the single crochet stitch (maille serrée) first. It's dense, sturdy, and shows clear definition, which helps kids see their progress. Chain 12-15 to start, then work back and forth in rows.
Perfect First Projects
Coasters: A 4" x 4" square is achievable in one or two sessions. It's functional, giftable, and teaches them to count stitches and rows.
Dishcloths or face cloths: Slightly larger (6" x 6"), but still flat and simple. Kids love the idea of making something useful for the household.
Small pouches: Crochet two rectangles, then an adult can sew or single crochet them together. Add a button or snap, and they have a treasure keeper.
Bookmarks: Long and narrow (2" x 6"), these work up fast and make excellent gifts for grandparents, teachers, or librarians.
Common Struggles and Fixes
- Edges pulling in: They're crocheting too tightly. Encourage looser hands and demonstrate relaxed tension.
- Edges flaring out: They're adding extra stitches at the row ends. Teach them to mark the first and last stitch of each row with a stitch marker or safety pin.
- Losing interest mid-project: The piece is too large. Scale down or switch to a faster project.
At this age, consistency matters more than perfection. If their gauge is wildly inconsistent, that's normal. Their hands are still learning muscle memory.
Ages 9 and Up: Shaping, Rounds, and Simple Amigurumi
By age nine or ten, most kids can follow a simple written pattern with guidance. They understand abbreviations, can count reliably, and have enough focus for projects that take multiple sessions.
This is the age to introduce:
Working in the Round
Start with a magic ring and work in a spiral. A basic beanie or a simple bowl teaches increasing and maintaining stitch count. Use stitch markers religiously—it's easy to lose track when working in rounds.
Basic Amigurumi
Stuffed toys are hugely motivating for this age group. Begin with a simple sphere (a ball or an ornament), which is just six increase rounds followed by straight rounds and six decrease rounds. Once they master a sphere, a simple animal (a blob cat, a round bird, a tiny octopus) is within reach.
Key amigurumi tips for kids:
- Use safety eyes or embroider faces—avoid small buttons that could detach
- Choose light-coloured yarn so stitches are visible
- Stuff as you go, not at the end
- Accept wobbly shaping; it adds character
Hats and Headbands
A basic ribbed headband worked flat and seamed is faster than a hat and still wearable. If they want a full beanie, work it from the top down so they see the crown take shape immediately, which maintains motivation.
Universal Tips for Teaching Any Age
Create a Comfortable Setup
Good lighting is non-negotiable. Sit side by side, not across from each other, so they can mirror your hands. Use a small basket or bag to keep their project and supplies together—ownership matters.
Let Them Lead on Colour
Adults often choose neutral or "tasteful" colours. Kids want neon pink, electric blue, or rainbow variegated. Let them. Their enthusiasm for the colour will carry them through frustration.
Celebrate Wonky Work
Every uneven stitch is proof they're learning. Display their work proudly. Hang the lumpy coaster on the fridge. Use the crooked bookmark. Wear the too-small hat. Your reaction to their imperfect work teaches them that making things is valuable, not just making perfect things.
Know When to Stop
If they're getting frustrated, stop. Crochet should feel like play, not homework. Some kids take to it immediately; others need several attempts over months or years before it clicks. Follow their lead.
Build a Tradition
Crochet together weekly—Sunday afternoons, winter evenings, rainy Saturdays. The routine creates space for conversation and focused time together. Many adults who crochet remember not just the skill, but the person who taught them and the feeling of sitting together, working with their hands.
Growing With the Craft
As children's skills grow, so does their confidence. A child who finishes a project—even a small, simple one—learns they can start something, work through challenges, and complete it. That's a lesson far beyond crochet.
Some kids will crochet enthusiastically for a few months, then move on. Others will carry it into adolescence and adulthood, adding techniques and complexity. Both outcomes are wonderful. The goal is to give them the foundational skills and the memory of making something with their hands, guided by someone who believed they could.
When you teach a child to crochet, you're handing down more than a craft. You're teaching patience, problem-solving, and the deep satisfaction of creating something from nothing but string and a hook.
Next step
Browse beginner-friendly patterns