Bavarian Crochet: Adding Texture to Granny Squares
by Crochets Studio — A fibre enthusiast who learned to crochet from her grandmother in rural Ontario, now splitting time between designing textured blanket patterns and testing every new hook on the market.
Bavarian crochet replaces parts of the traditional granny square with front post double crochets worked around previous-round stitches, creating a raised, woven texture that looks far more complex than it is. The technique works especially well in variegated or high-contrast yarns and produces blankets, pillows, and bags with real visual weight. This guide walks you through the method round by round, with tips on tension, colour placement, and blocking.
What Makes Bavarian Crochet Different
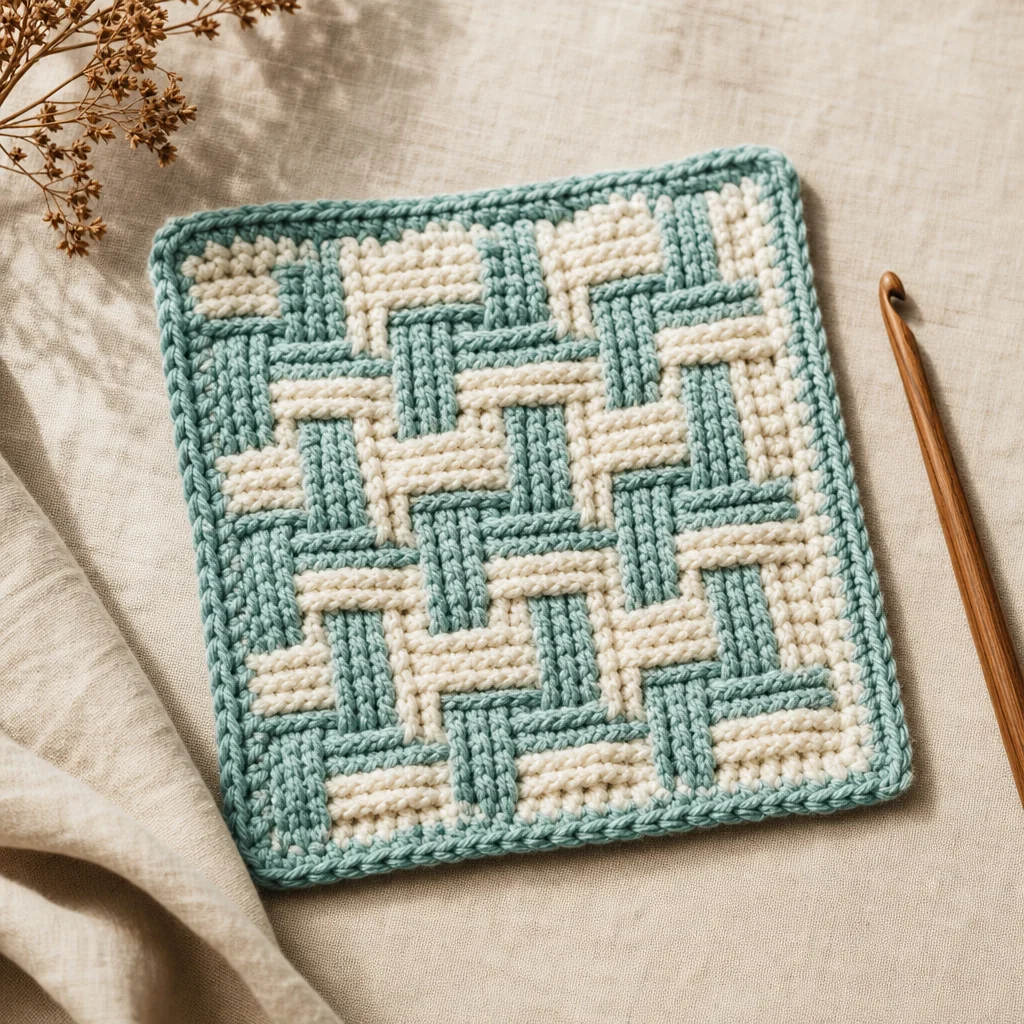
A standard granny square relies on clusters of double crochets separated by chain spaces. The fabric is flat, open, and familiar. Bavarian crochet keeps the granny square's basic structure for the first couple of rounds, then introduces front post double crochets (FPdc) that wrap around stitches from the round below rather than being worked into the top loops. The result is a raised, interlocking texture that mimics basket weaving.
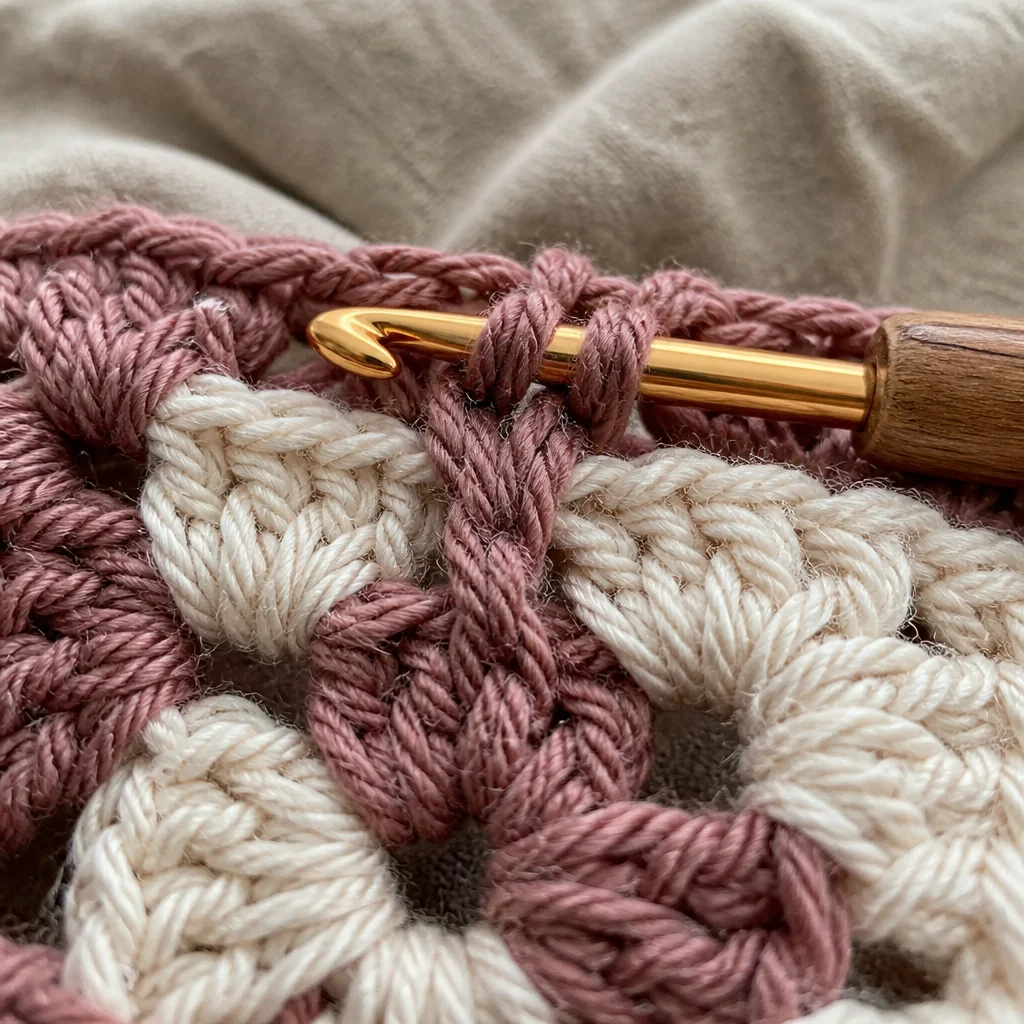
Because the post stitches pull yarn from both the front and back of the fabric, Bavarian squares are thicker and denser than their flat counterparts. They also use significantly more yarn per round — roughly 30–40% more depending on your gauge — so plan your yardage accordingly.
Materials You'll Need
- Yarn: Worsted-weight (size 4) in two or more contrasting colours. Solid colours show the texture best; variegated yarn creates a painterly effect.
- Hook: 5.0 mm (H/8) or whatever gives you a relaxed gauge. You want a slightly looser tension than your usual granny square.
- Stitch markers: At least four, one for each corner. Locking markers work best since you'll be flipping and turning.
- Tapestry needle: For weaving ends — and there will be many if you change colour every round.
- Blocking mats and pins: Essential for squaring up the finished motifs.
How It Works: Round-by-Round Breakdown
Rounds 1–2: The Foundation
These rounds are identical to a classic granny square.
- Magic ring. Chain 3 (counts as first dc), then work 2 dc into the ring. Chain 2 for the corner space. Work 3 dc, chain 2 three more times. Slip stitch to the top of the starting chain-3 to close. Pull the ring tight.
- Round 2. Slip stitch into the corner space. Chain 3, 2 dc, chain 2, 3 dc in the same corner space. Chain 1, then work (3 dc, ch 2, 3 dc) in the next corner space. Repeat around. Join and fasten off if changing colour.
Round 3: Introducing Post Stitches
This is where the texture begins.
- Join your new colour in any corner chain-2 space. Chain 3, 2 dc, chain 2, 3 dc in the corner space — same as before.
- Now, instead of working clusters into chain-1 spaces, you'll work FPdc stitches around the posts of the dc stitches from Round 2. Work one FPdc around each of the three dc in the cluster below. The hook goes around the post of the stitch (front to back to front), not into the top loops.
- After the three FPdc, work (3 dc, ch 2, 3 dc) in the next corner space. Continue around.
- Join and fasten off.
Round 4 and Beyond: Building the Weave
- Each subsequent round repeats the pattern: standard corner clusters in corner spaces, and FPdc stitches around the post stitches from the round below.
- As rounds grow, you'll have more FPdc groups between corners. The weave fills in and the raised texture becomes more pronounced.
- Keep consistent tension. If your post stitches are too tight, the square will cup. If too loose, the texture looks sloppy. Aim for a fabric that lies flat with gentle dimension.
Colour Changes
- For the classic Bavarian look, change colour every round. Fasten off and join the new colour in a corner space.
- Two-colour alternating schemes create a strong woven appearance. Three or four colours in rotation give a more complex, almost Celtic look.
- Always weave your ends as you go. With a colour change every round, leaving them all for the end turns finishing into a chore.
Tips for Clean Execution
Tension Management
Post stitches naturally pull tighter than top-loop stitches because they wrap around the body of the stitch below. Compensate by keeping your working yarn slightly slack as you yarn over. Some crocheters go up half a hook size for the post-stitch rounds and back down for corner clusters — experiment to find what works for your hands.
Stitch Markers Are Non-Negotiable
Once the texture builds up after round 4 or 5, identifying where each round starts becomes genuinely difficult. Place a locking stitch marker in the first stitch of every round. Mark your corners too. The few seconds of marking will save you from frogging entire rounds.
Blocking
Bavarian squares need blocking more than flat granny squares. The post stitches create uneven tension across the surface, and corners tend to flare or pinch. Wet-block your finished squares: soak for 15 minutes in lukewarm water, gently squeeze out excess moisture in a towel, pin to measurements on a blocking mat, and let dry completely. Pin at each corner and at the midpoint of each side.
Yarn Consumption
A Bavarian square of the same finished size as a flat granny square will use roughly a third more yarn. If you're planning a blanket, buy extra. For a throw made of 12-round squares, calculate your flat-granny yardage and add 35%.
Joining Bavarian Squares
Because the fabric is thicker, standard flat joins (whip stitch or slip stitch) can feel bulky. Consider these alternatives:
- Mattress stitch: Creates an invisible seam by picking up the outer loops along the edges. Works well when you want the texture to flow uninterrupted.
- Flat slip stitch join (wrong sides together): Creates a ridge on the back only, keeping the front smooth.
- Join-as-you-go: Work the last round of each new square directly into the edge of the finished square. Requires planning your layout in advance but eliminates sewing entirely.
Project Ideas
Single-Square Projects
- A 12-round Bavarian square makes an excellent cushion front. Back it with fabric or a simple sc panel.
- Use cotton yarn and a smaller hook for textured dishcloths or pot holders.
Multi-Square Projects
- A lap blanket of 12 squares (3×4) in four rotating colours is a manageable first project.
- A full throw of 30 squares (5×6) is a commitment, but the finished fabric feels almost like a woven textile.
Common Mistakes and How to Fix Them
The square cups or bowls
Cause: Post stitches worked too tightly. Fix: Loosen your tension on FPdc rounds, or go up half a hook size for those rounds only.
Corners look uneven
Cause: Inconsistent chain-2 corner spaces or accidentally working a post stitch into the corner cluster. Fix: Always count your corner stitches. The corner is a standard (3 dc, ch 2, 3 dc) group with no post stitches involved.
Texture looks flat in some spots
Cause: Working into the top of the stitch instead of around the post. Fix: Make sure your hook goes around the full post, front to back to front. The stitch behind remains unworked.
When to Try Bavarian Crochet
This technique assumes comfort with front post double crochets, reading written patterns without step-by-step photos, and managing multiple colour changes. If you've made a ribbed beanie or a crochet cable panel, you have the skills. Start with one square in two colours to learn the rhythm before committing yarn and time to a larger project.
Bavarian crochet rewards patience. The first few rounds feel fiddly, but by round 5 or 6, the motion becomes repetitive and meditative, and the texture emerging under your hook is genuinely satisfying to watch build.