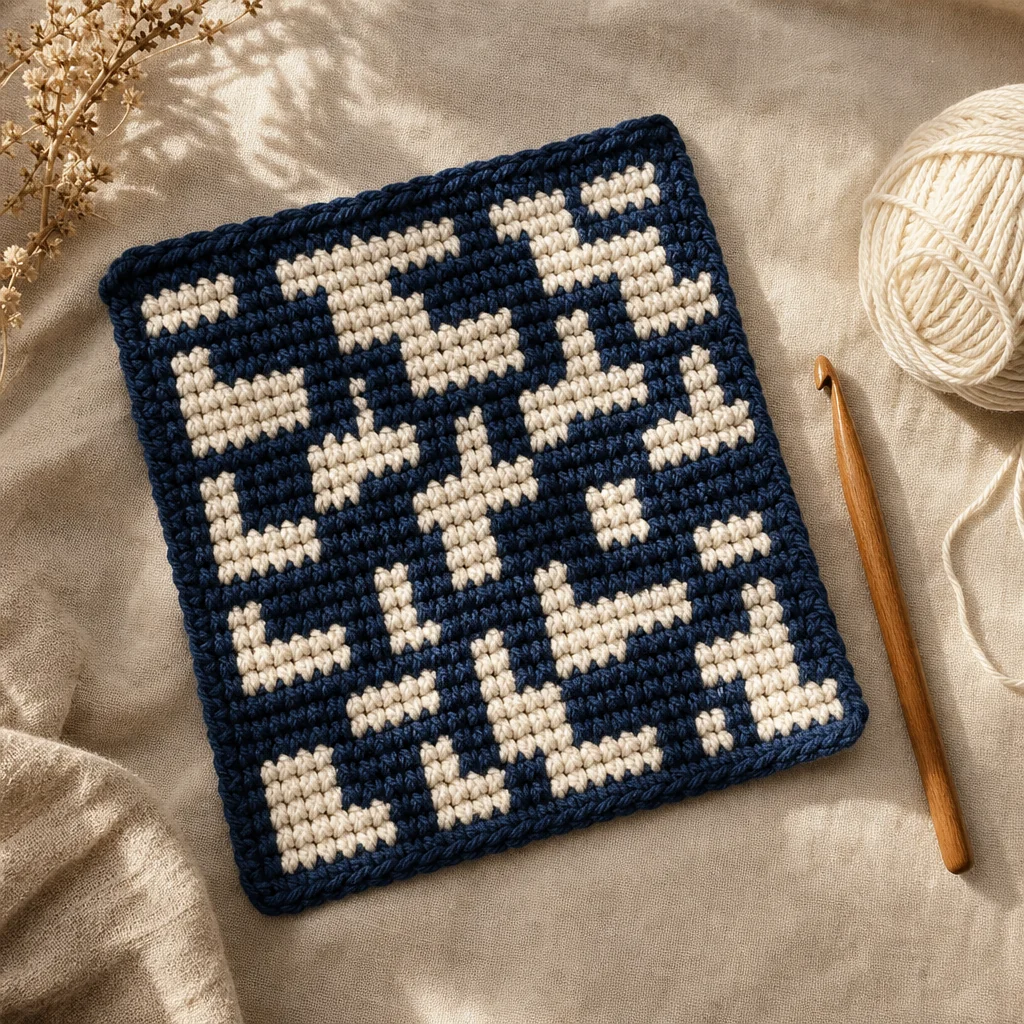
Overlay and Mosaic Crochet: Creating Pictures in Yarn
by Crochets Studio — A lifelong fibre artist based in Eastern Canada who learned crochet from her grandmother's granny squares and now spends winters designing colourwork patterns beside the woodstove.
Overlay and mosaic crochet both produce stunning pictorial fabric using only two colours per row, eliminating the tangled mess of multiple bobbins. Instead of switching yarns stitch by stitch, you alternate working rows between colours and use front-post stitches or skipped stitches to reveal your design. This guide breaks down how each technique works, what materials you need, and how to progress from a simple chart to a full pictorial panel.
Why Overlay and Mosaic Crochet Stand Out
Traditional colourwork in crochet often means carrying multiple strands, dealing with bobbins, or weaving in dozens of ends. Overlay crochet and mosaic crochet sidestep all of that. Both techniques limit you to two colours per set of rows, worked in alternating pairs. The magic lies not in complex yarn management but in where you place your stitches.
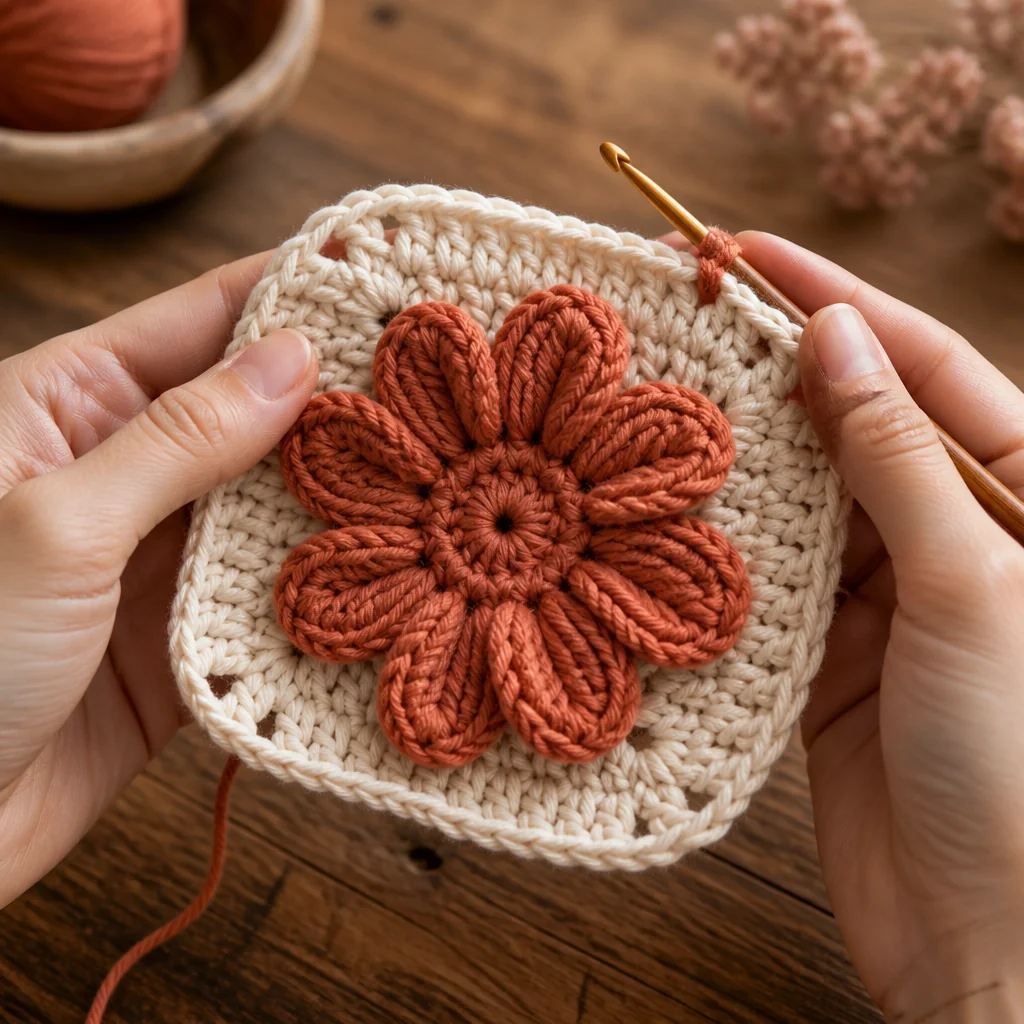
The result? Fabric that looks like tapestry, pixel art, or even embroidery, all achieved with a single hook and two balls of yarn at a time. These techniques open doors to animals, landscapes, mandalas, geometric tessellations, and elaborate portrait-style panels that would be extremely tedious with traditional intarsia or tapestry crochet.
Understanding the Two Techniques
Overlay Crochet
Overlay crochet builds texture by working front-post stitches (and occasionally back-post stitches) into rows below the current working row. Rather than simply crocheting into the top loops of the previous row, you reach your hook down around the post of a stitch one, two, or even three rows below, pulling up a loop that sits on top of the background fabric.
This creates a raised, sculptural surface. Motifs appear to float above the base, giving the work a three-dimensional quality that photographs beautifully. The technique is especially popular for detailed scenes — think woodland animals, intricate flowers, or Celtic knotwork — because the post stitches can curve and angle in ways that simple colourwork cannot.
Key characteristics of overlay crochet:
- Works predominantly with front-post double crochet (fpdc) and front-post treble crochet (fptr)
- The background is usually a solid mesh of double crochet
- Charts indicate which row below to anchor each post stitch
- Produces a thicker, denser fabric than mosaic
- Typically worked in rows, though mandala versions work in the round
Mosaic Crochet
Mosaic crochet is the geometric cousin. It uses basic stitches — most commonly double crochet (UK treble) or single crochet (UK double) — combined with skipped stitches and chain spaces to form patterns. Each colour is worked for two rows before switching, and the patterns emerge from which stitches you work and which you skip.
Because mosaic relies on a grid-like structure, it excels at sharp angles, zigzags, diamonds, stars, and pixel-art reproductions. Recent years have seen an explosion of mosaic blanket patterns that recreate everything from video game sprites to elaborate optical illusions.
Key characteristics of mosaic crochet:
- Uses simple stitches (dc or sc) with chains replacing skipped stitches
- Each colour is worked for two consecutive rows
- Charts are read like pixel grids; filled squares mean "work a stitch," empty squares mean "skip"
- Produces a flatter fabric than overlay
- Extremely easy to memorize once you understand the logic
Materials You'll Need
- Yarn: Choose a firm, smooth yarn with good stitch definition. Cotton, cotton-linen blends, and superwash wool in worsted or DK weight all work well. Avoid fuzzy or highly textured yarns that obscure stitch detail.
- Hook: Use a hook one size smaller than the yarn label suggests. A tighter gauge keeps post stitches crisp and prevents the background from looking loose.
- Colours: Start with two high-contrast colours — one dark, one light. The greater the contrast, the more dramatic your picture will appear.
- Chart or pattern: A gridded chart is essential. Many designers provide both written and charted instructions.
- Stitch markers: Place markers every 10 stitches along your foundation row to help you count accurately.
- Blocking supplies: Foam mats and T-pins, or a steam iron, to flatten and even out the finished piece.
How to Get Started: A Step-by-Step Approach
Step 1: Choose Your First Chart
Pick something small and symmetrical — a heart, a star, or a simple diamond repeat. Aim for a chart no wider than 25 stitches and no taller than 30 rows. This limits your commitment while still producing a recognizable image.
Step 2: Swatch the Base Stitch
Before tackling the chart, crochet a plain swatch in your background stitch (double crochet for overlay, your chosen stitch for mosaic). Confirm your gauge and get comfortable with your tension.
Step 3: Learn the Colour-Change Rhythm
Practice alternating colours every two rows without a chart. Simply work two rows in Colour A, then two rows in Colour B, carrying the unused yarn loosely up the side. This gets you used to the rhythm before adding pattern complexity.
Step 4: Read Your Chart Row by Row
For overlay, each chart symbol tells you which row below to anchor your post stitch. For mosaic, filled squares are worked stitches and empty squares are skipped stitches. Read right-side rows from right to left, wrong-side rows from left to right (unless working in the round).
Step 5: Work Slowly and Count Often
These techniques are forgiving in the sense that a single missed stitch is easy to spot and fix, but only if you catch it quickly. Count your stitches at the end of every row for the first few repeats.
Step 6: Block Aggressively
Both techniques benefit enormously from blocking. Wet-block cotton pieces by soaking them for 20 minutes, then pinning flat to dry. Steam-block wool by holding an iron just above the surface and letting the steam relax the fibres.
Common Challenges and How to Handle Them
Fabric Puckering
Problem: The fabric pulls inward or bunches where colours are carried.
Cause: Carried yarn is too tight.
Fix: When switching rows, give the carried yarn a gentle tug to confirm it lies flat against the top of the previous row without pulling. Some crocheters find it helps to hold the carried yarn slightly in front of the hook rather than behind.
Losing Count
Problem: Your pattern drifts off-centre or stitches don't line up with the chart.
Cause: A missed or extra stitch several rows back.
Fix: Place removable stitch markers at regular intervals. After completing each chart row, count back from your marker to confirm alignment. If you find an error, it's usually faster to frog back to the mistake than to try to compensate forward.
Uneven Tension Between Colours
Problem: One colour appears tighter or looser than the other.
Cause: Different hand tension when switching yarns.
Fix: Consciously relax your grip when picking up the new colour. Some crocheters wrap the resting yarn around their pinky to maintain consistent tension.
Curling Edges
Problem: The sides of your work curl inward.
Cause: Natural tendency of dense crochet fabric, especially in single crochet mosaic.
Fix: Add a border of two or three rows of single crochet once the panel is complete, then wet-block. For ongoing projects, work a selvedge chain at each edge.
Overlay vs. Mosaic: Which Should You Try First?
If you love texture and organic shapes — flowers, animals, portraits — overlay crochet will reward your patience with stunning three-dimensional results. However, it requires more concentration because you must track which row to anchor each post stitch into.
If you prefer clean geometry, optical illusions, or pixel-art reproductions, mosaic crochet offers a faster learning curve with equally impressive results. The two-row repeat and simple skip logic make it easier to find your rhythm.
Many advanced crocheters combine both in a single piece, using mosaic for borders and backgrounds while adding overlay accents for focal elements. There's no rule that says you must choose one forever.
Taking It Further
Once you've completed a few small charts, consider these progression steps:
- Increase chart complexity: Move from two colours to three by adding a neutral background and two accent colours worked in separate row sets.
- Work in the round: Overlay mandalas and mosaic hats eliminate edge issues and introduce a new spatial logic.
- Design your own charts: Use graph paper or free pixel-art software to draw original motifs, then assign stitch types to each cell.
- Combine with other techniques: Add surface slip-stitch embroidery, bobble accents, or colour-gradient yarns for extra dimension.
Both overlay and mosaic crochet prove that a single hook and a handful of colours can produce art-level fabric. The learning curve is real, but the satisfaction of watching a picture emerge row by row is one of the most rewarding experiences in the craft.