Freeform Crochet: How to Let Go of the Pattern and Trust Your Hands
by Crochets Studio — A lifelong fibre artist based in Quebec, equally at home with a well-charted lace pattern and a wild pile of scrumbles. Happiest when yarn colours clash just right.
Freeform crochet is the art of working without a written pattern, building small textured modules called scrumbles and assembling them like a painter layering colour on canvas. This guide walks you through every stage of the process, from choosing your first stitches and yarns to composing and joining a finished piece. If you already have solid stitch knowledge and want to break free from rigid instructions, freeform is your next creative frontier.
What Is Freeform Crochet, Really?
Freeform crochet is improvisational fibre art. There is no chart to follow, no gauge swatch to measure, and no row counter clicking away on your hook. Instead, you work intuitively, building small sculptural pieces called scrumbles and arranging them into a larger composition. Think of it as jazz for your hook hand: you know the scales (your stitches), and now you riff.
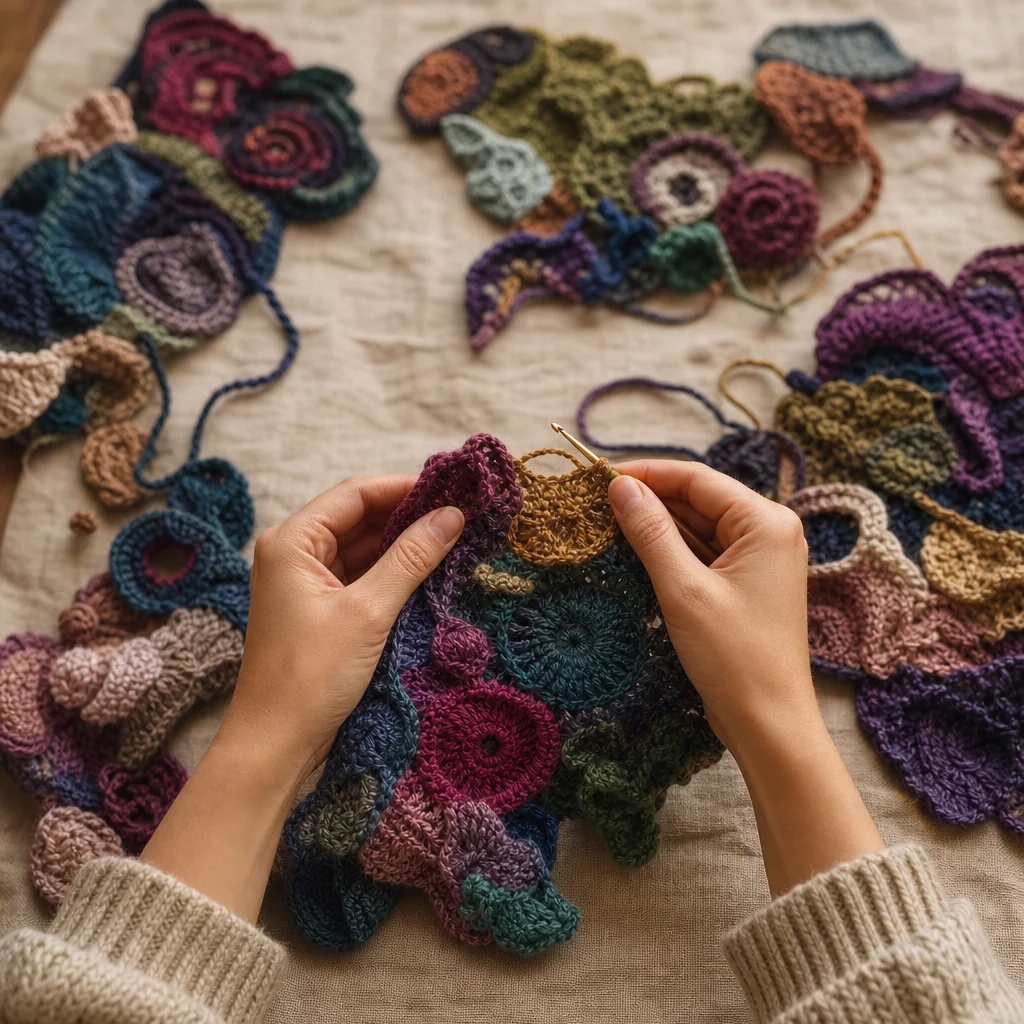
Unlike traditional crochet, where symmetry and repetition are king, freeform celebrates irregularity. A bump that would be an error in a granny square becomes a deliberate design element. Mismatched yarn weights sit happily side by side. The only rule is that there are no rules—but that freedom can feel paralysing at first.
This guide gives you a concrete framework for stepping into freeform without the overwhelm.
Gathering Your Materials
Before you begin, pull together a generous creative palette:
- Yarn: At least five or six colours in varied weights (worsted, bulky, novelty, even thread). Dig into your stash—freeform loves leftovers.
- Hooks: A range of sizes from 3.5 mm to 6.5 mm. You will switch hooks often to match whichever yarn you grab next.
- Tapestry needle: For weaving ends and whip-stitching joins.
- Sharp scissors.
- A flat surface: A blocking mat, cork board, or even a towel-covered table where you can lay out and rearrange pieces.
- Pins: Quilting pins or T-pins to hold scrumbles in place while you audition arrangements.
Understanding Scrumbles: The Building Blocks
What is a scrumble?
A scrumble is any small, freeform-crocheted shape. It might be round-ish, vaguely triangular, long and wavy, or completely amorphous. The point is to let it become what it wants to become rather than forcing a geometric template.
Anatomy of a good scrumble
Even in improvisation, effective scrumbles tend to share a few qualities:
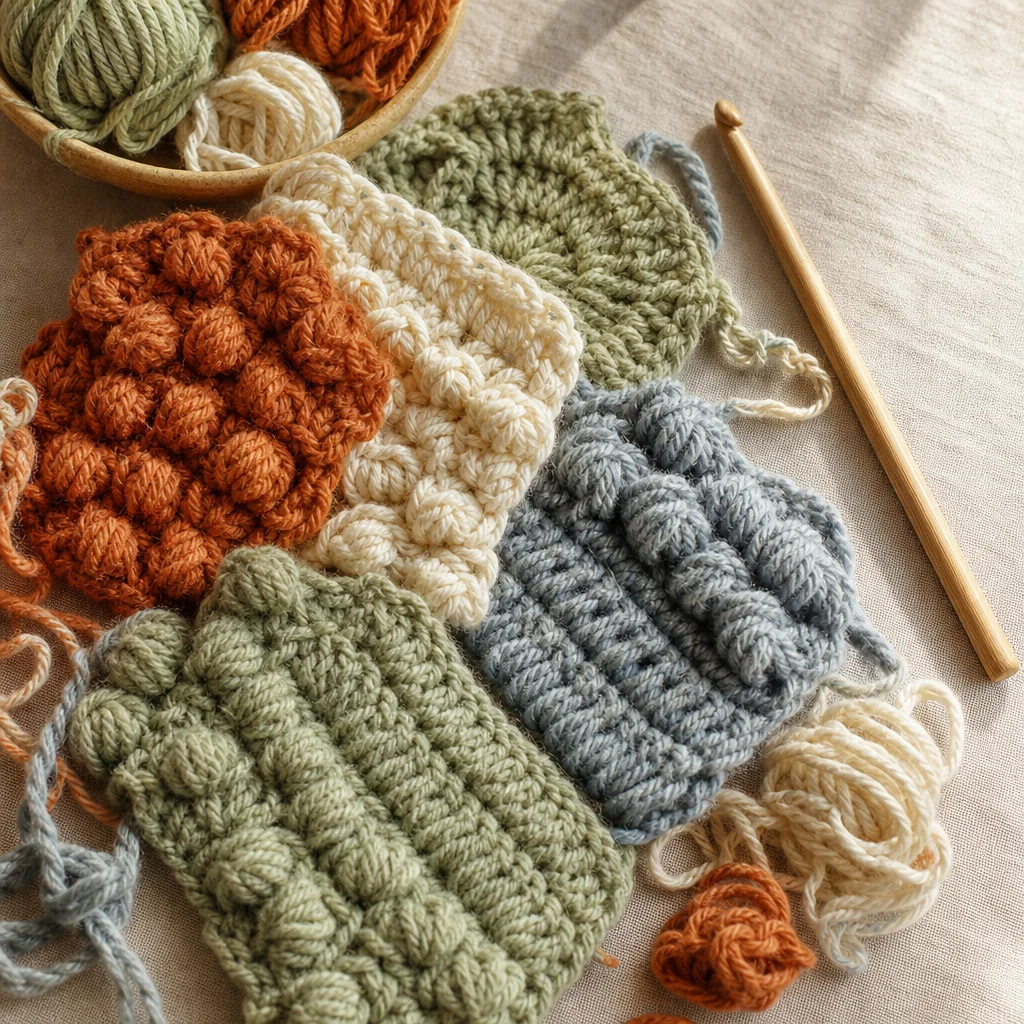
- Textural contrast. Mix flat stitches (single crochet, half double crochet) with raised ones (popcorns, bobbles, bullion stitches, post stitches).
- Colour shifts. Change yarn at least once or twice to create visual interest.
- Variable density. Some areas can be tight and solid; others can be lacy with chain spaces or Solomon's knots.
Step-by-Step: Making Your First Scrumble
Step 1 — Choose three familiar stitches
Pick stitches that live in your muscle memory. Single crochet, double crochet, and treble crochet are a solid trio. If you are comfortable with popcorn or puff stitches, swap one in.
Step 2 — Start with a loose centre
Chain four, slip stitch to form a ring (or use a magic ring if you prefer). Work six to eight single crochet stitches into the ring—no need to count precisely.
Step 3 — Change direction and stitch type
After a few stitches, switch to double crochet. Work some into the same stitch to create ruffling, skip a stitch to create curvature. Turn your work whenever you feel like it, not at the end of a row.
Step 4 — Introduce colour
When a section feels "enough," cut your yarn and join a new colour anywhere along the edge. Work into the side of previous stitches, into chain spaces, or even into the back bumps of earlier rounds.
Step 5 — Add texture
Drop in a cluster of popcorn stitches, a row of front-post double crochets, or a spiral of bullion stitches. Let these elements poke up from the surface to create three-dimensional interest.
Step 6 — Stop when it feels done
This is the hardest part for pattern-trained crocheters. Your scrumble is finished when adding more would feel crowded rather than enriching. Trust your eye. Fasten off and weave in the ends.
Step 7 — Repeat several times
Make at least five to seven scrumbles before moving on to composition. Vary their size from coaster-sized to palm-sized. Use different colour families in each so you have options later.
Composing Your Piece
Lay out, don't commit
Pin your scrumbles to a flat surface and start arranging. Overlap edges, rotate pieces, swap positions. Step back and look from a distance—your eye will tell you when the balance is right.
Fill the gaps
Spaces between scrumbles are opportunities, not problems. Fill them with:
- Surface slip stitches worked directly across the background.
- Small clusters or bobbles tucked into corners.
- Chain loops that bridge two edges and create a lace-like web.
- Short rows of contrasting colour that visually connect separate modules.
Join with intention
Whip stitch is the simplest join: hold two edges together and sew through both with a tapestry needle. For a more decorative seam, use slip-stitch joins or single-crochet joins worked through both layers with a contrasting yarn.
Letting Go of "Mistakes"
In freeform crochet, the concept of a mistake dissolves. A stitch that twists unexpectedly adds texture. A colour that clashes with its neighbour creates tension—and tension is interesting. An unplanned gap becomes a window for surface embellishment.
The mental shift is this: you are not executing someone else's vision. You are composing your own. Every decision you make is valid because you made it deliberately—or because you decided to keep it after it happened accidentally.
If something truly bothers you, you can always cover it. Layer another small scrumble on top, embroider over it with a tapestry needle, or couch a length of yarn across it. Ripping back is almost never necessary in freeform.
Tips for Sustained Confidence
- Work small first. A coaster, a mug rug, or a patch for a tote bag is low-stakes and quick to finish.
- Keep a texture journal. Crochet tiny swatches of stitch combinations you like and pin them to a board for future reference.
- Study fibre artists. Look at the work of Prudence Mapstone, James Walters, and Sylvia Cosh for inspiration—not imitation.
- Rotate your piece often. Freeform has no fixed top or bottom. Rotating can reveal a composition you had not noticed.
- Limit your palette intentionally. Total freedom can overwhelm. Choosing three to five colours before you start gives you creative boundaries that actually fuel invention.
Project Idea: A Freeform Wall Hanging
Once you have eight to twelve scrumbles in a cohesive palette, arrange them in a rough rectangle or organic oval. Join them, fill the gaps, then attach the finished piece to a driftwood branch or dowel with simple yarn loops. This makes a stunning textile art piece and gives you a tangible result to celebrate your first freeform adventure.
Where Freeform Takes You Next
Freeform crochet trains your creative instincts in ways that feed back into all your other crochet work. You will start seeing stitch combinations differently, reaching for unusual textures, and trusting yourself to modify written patterns on the fly. It is not a departure from skilled crochet—it is an elevation of it.