How to Frog (Unravel) Crochet Without Losing Your Place
by Crochets Studio — A lifelong fibre arts enthusiast based in Canada who learned to crochet from her grandmother's scrap-yarn afghans and now spends her evenings designing patterns and frogging without fear.
Frogging your crochet — ripping back rows to fix a mistake — doesn't have to feel like a disaster. By placing a lifeline in a correct row, unraveling stitch by stitch, and recounting before you resume, you can undo errors cleanly and keep going with confidence. This guide walks you through the full process so frogging becomes just another skill in your toolkit, not something to dread.
What Is Frogging and Why Does It Sound So Dramatic?
Frogging is crochet slang for unraveling your work. The name comes from the sound "rip it, rip it" — like a frog croaking. Every crocheter, from brand-new beginners to seasoned designers, frogs their work at some point. It's not a sign of failure; it's a normal part of the craft. The real skill isn't avoiding mistakes entirely — it's knowing how to undo them without creating new problems.
The good news: with a handful of simple techniques, you can rip back to any point in your project and resume crocheting as though nothing happened. No lost stitches, no mystery loops, no panic.
Materials You'll Need
- Your crochet project (with the mistake you want to fix)
- A smooth, thin piece of contrasting yarn or embroidery thread (for the lifeline)
- A tapestry needle or blunt-tip yarn needle
- Stitch markers (optional but helpful)
- Your pattern notes or row counter
Step-by-Step: How to Frog Safely
Step 1: Identify the Exact Mistake
Before you pull out a single loop, take time to find exactly where the error is. Lay your piece flat on a table or blocking mat and count your rows from the bottom up. Compare what you see against your pattern instructions.
Ask yourself:
- Which row contains the mistake?
- Is it a missed stitch, an extra stitch, or the wrong stitch type?
- How many rows back do you need to go?
Knowing precisely where the problem lives means you won't unravel more than necessary.
Step 2: Place a Lifeline Below the Mistake
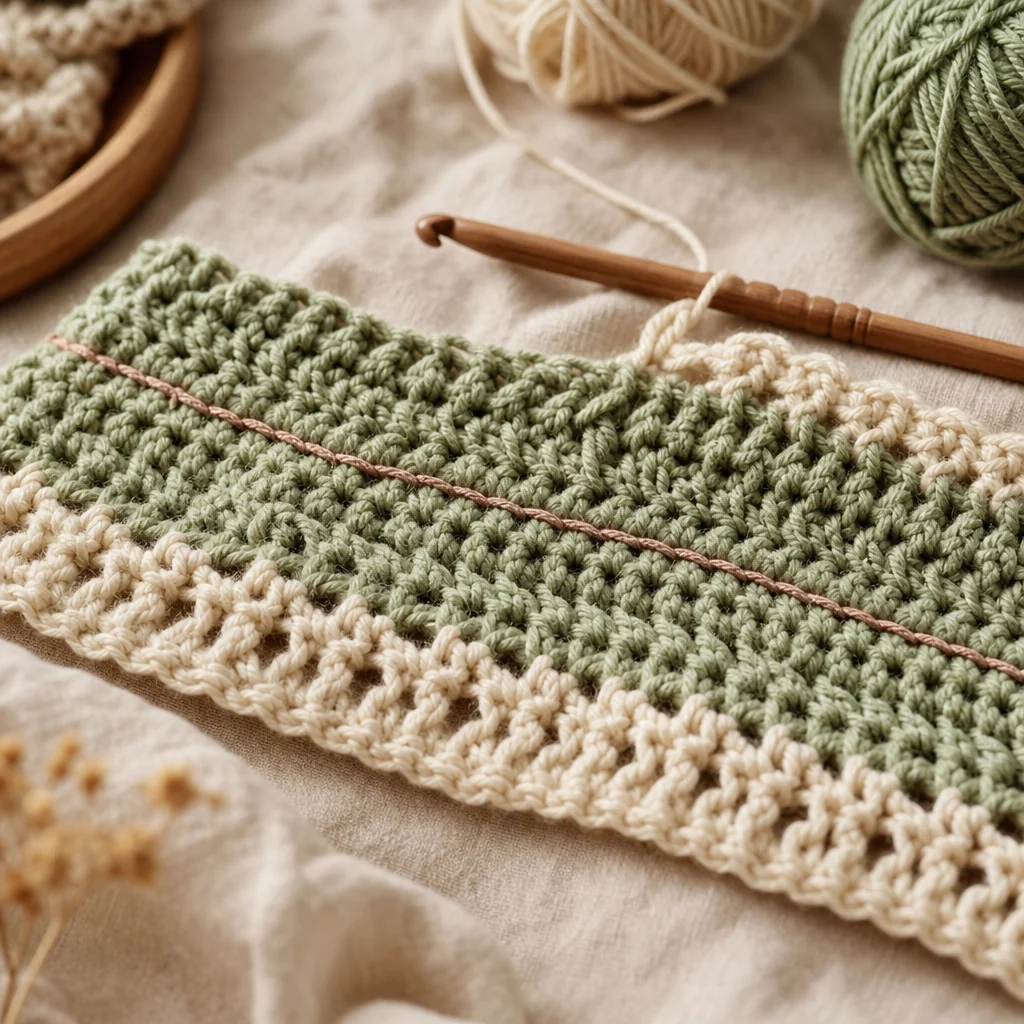
A lifeline is your safety net. It's a strand of smooth yarn or thread woven through every loop of a correct row — one that sits a few rows below your mistake.
Here's how to place one:
- Choose a row you're confident is correct (usually two or three rows below the error).
- Thread your contrasting yarn onto a tapestry needle.
- Slide the needle through the top two loops of every stitch across that row, being careful not to skip any or accidentally catch the row above or below.
- Leave long tails on both ends so the lifeline doesn't slip out.
Now, no matter what happens when you start unraveling, you can only rip back as far as that lifeline. Everything below it stays safe and intact.
Pro tip: If you're working on a complex pattern with repeating motifs, consider placing lifelines every 10–15 rows as you go. It's a small habit that can save you hours.
Step 3: Remove Your Hook and Unravel Slowly
Take your hook out of the working loop. Hold the loop gently between your fingers so it doesn't run, then begin pulling your working yarn to undo each stitch one at a time.
Key points:
- Pull slowly and steadily. Yanking a big section all at once can tangle your yarn or pull past your intended stopping point.
- For taller stitches (double crochet, treble crochet), you'll notice multiple loops releasing as each stitch comes undone. This is normal — just keep a gentle, even tension on the yarn.
- If you feel resistance, stop and check whether your yarn is caught on a stitch marker or tangled around the working yarn from a colour change.
Wind the unraveled yarn loosely into a ball or around your fingers as you go. This keeps it from tangling and makes it ready to use again.
Step 4: Stop at the Lifeline and Re-Insert Your Hook
As you approach the lifeline row, slow down even more. You'll see the contrasting thread sitting inside the loops of the correct row.
- When you've unraveled down to the last row above the lifeline, stop.
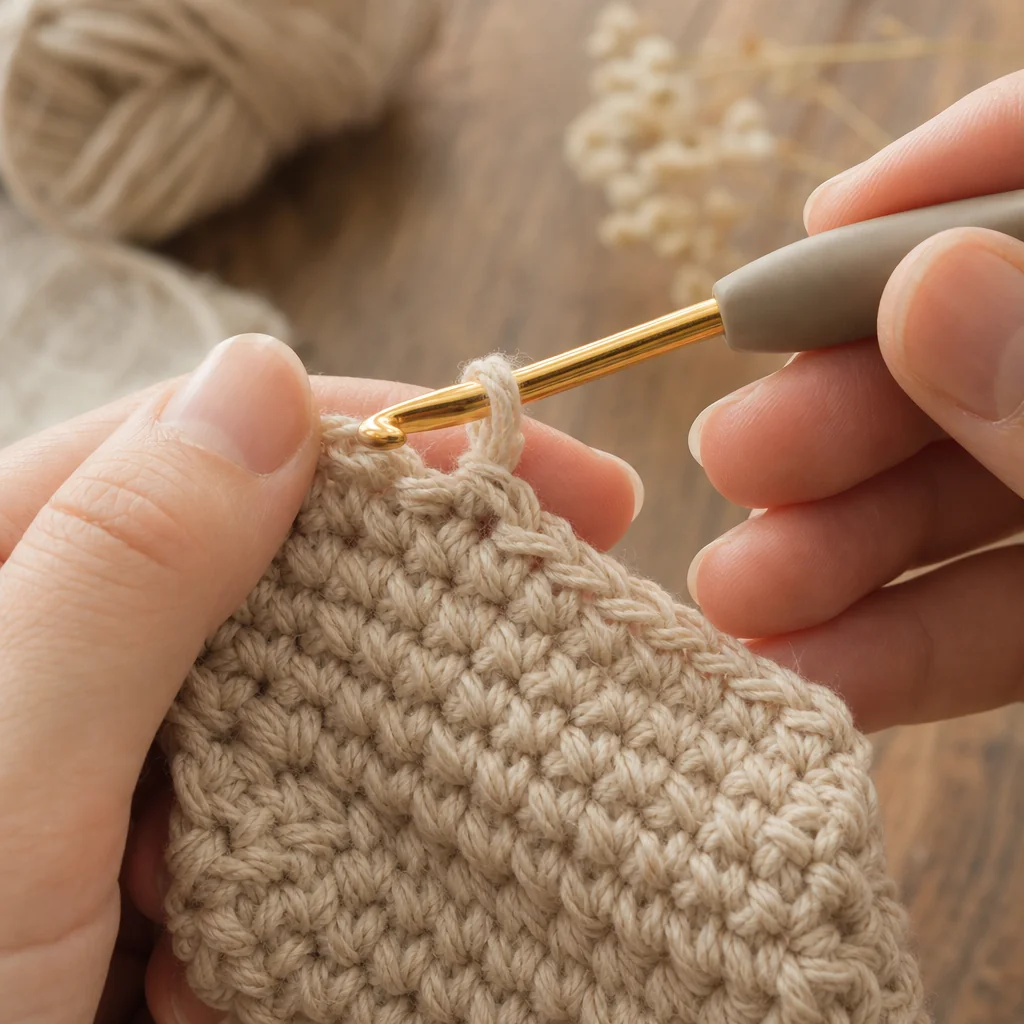
- Slide your hook into the final live loop before it can slip free.
- Check that all the remaining stitches are sitting neatly on the lifeline thread.
If any loops look twisted or unclear, gently tease them with your hook or fingers until each stitch faces the right direction (the front leg of the loop should be closer to you).
Step 5: Transfer Stitches Back Onto Your Hook (If Needed)
In most cases, you only need one live loop on your hook — the working loop — and you can crochet directly across the lifeline row. However, if you're working a technique that requires multiple live loops (like Tunisian crochet or a join-as-you-go method), carefully slide your hook through each stitch along the lifeline, one at a time, from right to left.
Step 6: Recount Your Stitches
Before you make a single new stitch, count the loops on your lifeline row. Compare the count to your pattern:
- Does the stitch count match what the pattern expects at that row?
- Are your stitch markers in the right places (beginning of round, pattern repeats)?
- Is your working yarn coming from the correct side?
If anything seems off, address it now. It's much easier to fix a count discrepancy before you build new rows on top of it.
Step 7: Resume Crocheting
Once your count is confirmed and your hook is in the working loop, you're ready to go. Crochet your next row as the pattern directs. After you've worked a row or two past the formerly-problematic spot, you can gently pull the lifeline thread out — it served its purpose.
Common Frogging Mistakes (and How to Avoid Them)
Problem: You unraveled past your intended stopping point
Cause: Pulling yarn too quickly, or not placing a lifeline first. Fix: Always place a lifeline before you start ripping. If you've already gone too far, lay your work flat, identify the last correct row visible, and insert your hook through the loops of that row carefully. Count stitches to confirm you're in the right place.
Problem: Loops are twisted after re-inserting your hook
Cause: Stitches can flip direction when tension is released during unraveling. Fix: Before you crochet forward, look at each stitch on your hook or lifeline. The leading leg of the loop (the one closest to you) should sit in front of the needle. If a stitch is mounted backwards, slip it off, flip it, and put it back.
Problem: Your stitch count is off after frogging
Cause: Accidentally skipping a loop when re-inserting your hook, or pulling through two stitches at once during unraveling. Fix: Recount carefully against the pattern. If you're short a stitch, look for a tight spot along the row where two loops may have merged. If you're over, check for a yarn-over that isn't actually a stitch.
Problem: Your yarn is kinked or curly after unraveling
Cause: The yarn retains the shape of the stitches it was worked into. Fix: Lightly steam or mist the unraveled yarn and let it dry under gentle tension (wrap it around a book or niddy-noddy). For acrylic yarn, a careful steam from an iron held above the yarn can relax the kinks. For natural fibres, a quick soak and hang-dry works well.
Mindset: Frogging Is a Skill, Not a Setback
It's easy to feel frustrated when you realize you need to rip back several rows. But experienced crocheters will tell you that frogging is one of the most empowering skills you can develop. It means you trust your ability to redo the work — and you value the quality of your finished piece enough to make it right.
Every time you frog and successfully resume, the process gets faster and less stressful. Before long, you'll place lifelines instinctively and unravel with the calm confidence of someone who knows exactly how to recover.
Quick-Reference Checklist
- Find the mistake and identify the row.
- Place a lifeline a few rows below.
- Remove your hook and unravel stitch by stitch.
- Stop at the lifeline and re-insert your hook.
- Recount stitches against your pattern.
- Resume crocheting with confidence.
You've got this. Frogging is just crocheting in reverse — and you already know how to crochet.