How to Join a New Ball of Yarn Without a Visible Knot
by Crochets Studio — Written by a crochets.ca contributor who has frogged more sweaters than she'd like to admit, mostly because of stubborn knots.
You can switch yarn balls without a knot by felting wool ends together, hiding the join inside a stitch's last pull-through, or weaving both tails into your work as you crochet. Pick the method based on your fiber and skip the knot entirely.
The Problem: Knots Show and Knots Fail
You're cruising along on a project and the yarn runs out three stitches from the edge. The instinct is to tie the new ball on with a quick knot and keep going. It feels secure in the moment, but knots cause more trouble than they solve.
Why a Knot Isn't the Answer
A knot sits as a hard little lump inside your stitches. Over time, especially with slippery fibers like acrylic or bamboo blends, that knot works itself loose. It can slide to the front of your fabric, poke through in a wash, or leave a visible bump you can feel every time you run your fingers over the piece. On amigurumi or baby items, a loosened knot is also a small-parts risk. The fix isn't a tighter knot, it's skipping the knot altogether.
Here are three joining methods that hold up over time and disappear into the fabric.
Fix 1: The Spit Splice (Wool and Animal Fibers Only)
This method uses felting, which only works on animal fibers like wool, alpaca, or mohair. It will not work on cotton, acrylic, or plant-based yarns, since those fibers don't felt.
Why it works: Wool fibers have tiny scales that lock together under friction and moisture. When you rub two wet wool ends together, those scales interlock and fuse the strands into one continuous piece of yarn.
How to do it:
- Untwist about 2 inches (5 cm) of each yarn end so the individual fibers separate slightly.
- Overlap the two frayed ends.
- Wet the overlapped section with a little water (or, traditionally, saliva, which is where the name comes from).
- Rub the ends briskly between your palms for 15-20 seconds until you feel them fuse into a single strand.
- Let it dry for a minute, then keep crocheting as if nothing happened.
This is the only method on this list that leaves zero tail ends to weave in later, which makes it a favorite for garment knitters and crocheters working with pure wool.
Fix 2: Join Inside a Stitch
This method works with any fiber and doesn't require felting, so it's the most versatile option.
Why it works: Every crochet stitch ends with a pull-through, where you draw a loop of yarn through the stitches on your hook. If you switch yarns right before that final pull-through, the join gets locked inside the stitch itself instead of sitting on the surface.
How to do it:
- Work until your old yarn has 3-4 inches (8-10 cm) left.
- Start your next stitch as usual with the old yarn.
- On the last step of the stitch, the final pull-through, drop the old yarn and pick up the new ball.
- Complete the pull-through with the new yarn.
- Continue crocheting with the new ball, leaving both tails hanging on the wrong side of the work.
The transition happens mid-stitch, so there's no visible seam, just a clean color or texture change exactly where you planned it.
Fix 3: Weave In As You Go
This method skips both felting and precise stitch timing, making it the easiest for beginners.
Why it works: Instead of tying the ends together, you trap them inside the stitches themselves. Crochet stitches are dense enough that a few inches of trapped yarn tail won't show or slip out.
How to do it:
- When your old yarn is running low, lay the tail along the back (wrong side) of your work, parallel to the row you're working.
- Introduce the new ball and lay its starting tail alongside the old one, in the same direction.
- Crochet your next several stitches by inserting your hook through the stitch and over both tails, so your working yarn catches them as you go.
- After 3-4 stitches, drop the old yarn tail and continue with just the new yarn.
- Trim both tails close to the fabric once they're secured.
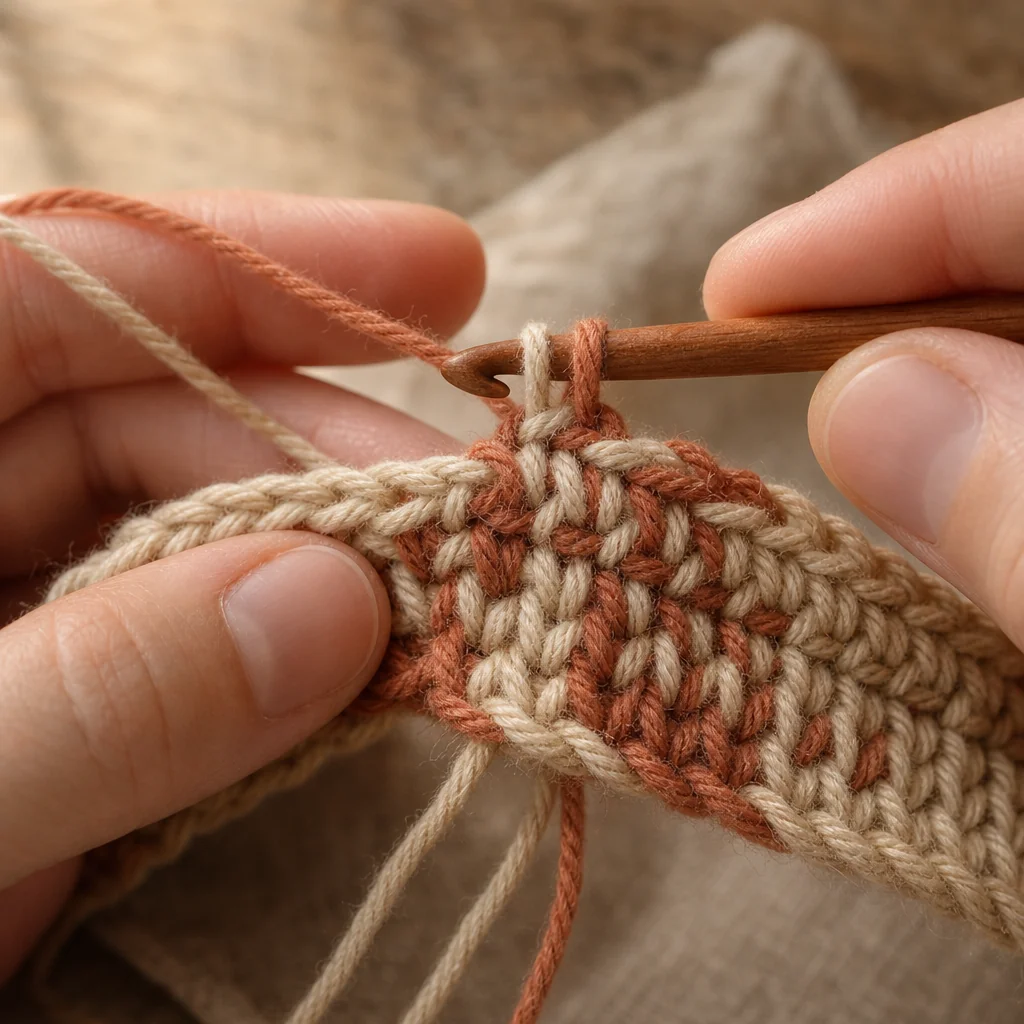
This technique is especially useful in amigurumi, where you're already weaving in ends constantly, and in colorwork, where a knot would create an obvious lump on the right side.
Where You Join Matters as Much as How
Even the best joining method looks better with good placement. Whenever your pattern allows it, plan your yarn changes for the edge of a row, the corner of a granny square, or a seam that will be sewn later. Loose ends and joins hide easily in a seam allowance, but they're much harder to disguise in the middle of a solid-color panel where every stitch is visible.
If you know you're getting low on a ball, do a quick weight check (or just eyeball the remaining yardage) before starting a new row. It's much easier to plan a join at the start of a row than to scramble mid-row when the yarn runs out unexpectedly.
Which Method Should You Use?
- Working in 100% wool or animal fiber? Use the spit splice for a truly invisible, tail-free join.
- Working in any fiber and want precision? Use the join-inside-a-stitch method to control exactly where the color or ball change happens.
- New to crochet, or working on amigurumi and colorwork? Use the weave-in-as-you-go method. It's forgiving, fiber-independent, and doubles as end-weaving.
None of these require a single knot, and all three hold up through blocking, washing, and years of use.
Practice the Join Before You Need It
The best time to learn a new join is on a swatch, not in the middle of a sweater sleeve. Try all three methods on scrap yarn so you know which one feels most natural in your hands before you need it for real.