How to Weave in Ends So They Never Come Loose
by Crochets Studio — Written by a crochet hobbyist at Crochets.ca who has unraveled more than a few sweaters chasing down a loose end, so now she weaves in every tail like it owes her money.
Ends come loose because most weaving passes go in a straight line, giving the yarn an easy path to slide back out. The fix is simple: weave in a zigzag, reverse direction at least once, and split the plies of the yarn itself to create a mechanical lock.
The Real Problem: Ends That Refuse to Stay Put
You finish a project, weave in every tail, and feel done. Then weeks later a little end pokes through the front of your work, or a seam starts unraveling after a wash. This happens because a woven-in tail has no built-in resistance to sliding. Yarn is smooth and round, and a single pass through stitches doesn't create enough friction to hold it permanently, especially once the fibers relax with heat, moisture, or handling.
The Cause: Straight Lines and Single Passes
Weaving in One Direction Only
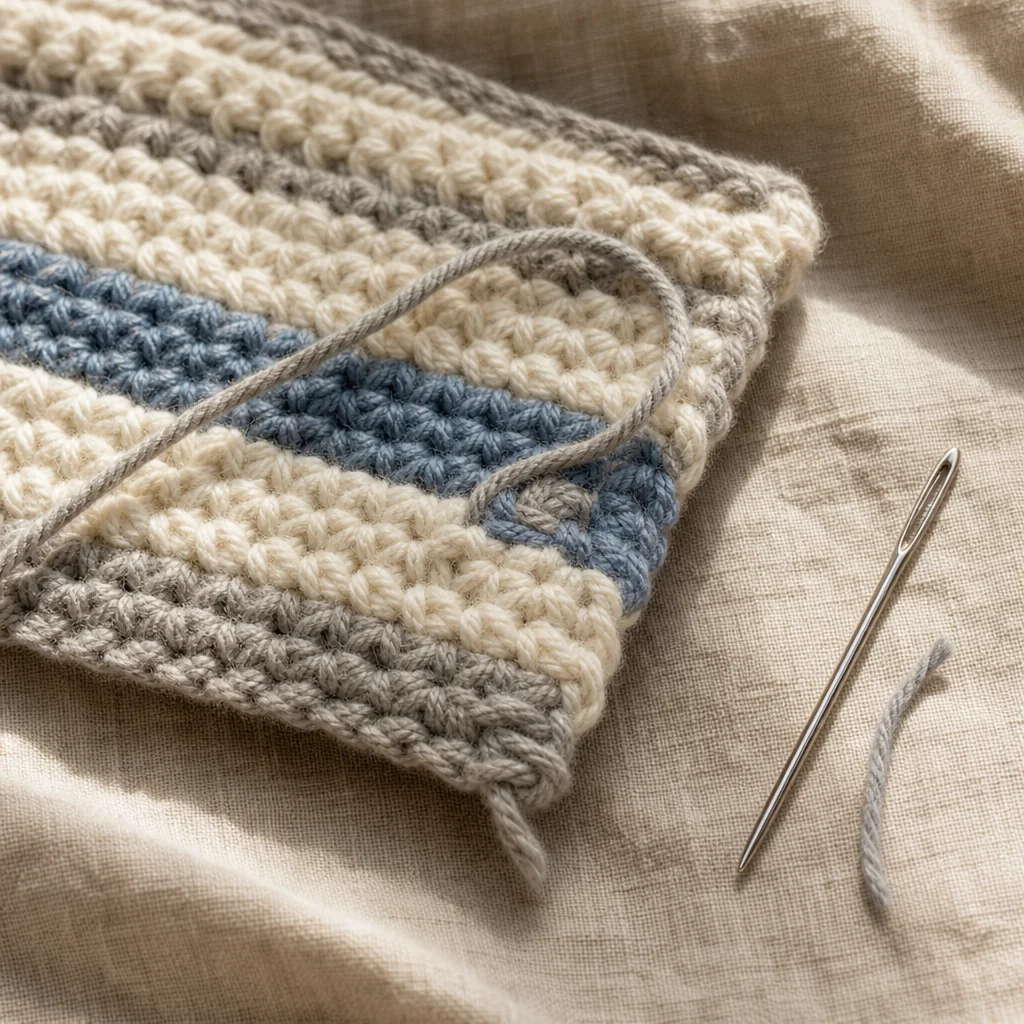
The most common mistake is threading the tail onto a tapestry needle and running it in a straight line through several stitches. It looks tidy on the wrong side, but a straight path is exactly the route the yarn will take back out. Nothing stops it from retracing its own steps once it's tugged or stretched.
Slippery Fibers Make It Worse
Fiber content matters as much as technique. Acrylic, bamboo, silk, and other smooth or synthetic yarns have low surface friction, so they slide against neighboring stitches with almost no resistance. Wool and other textured natural fibers grip themselves and the surrounding stitches more readily, which is why the same weaving pass that fails on acrylic can hold just fine on a chunky wool sweater.
The Fix: Create Friction and Change Direction
The Basic Lock-In Technique
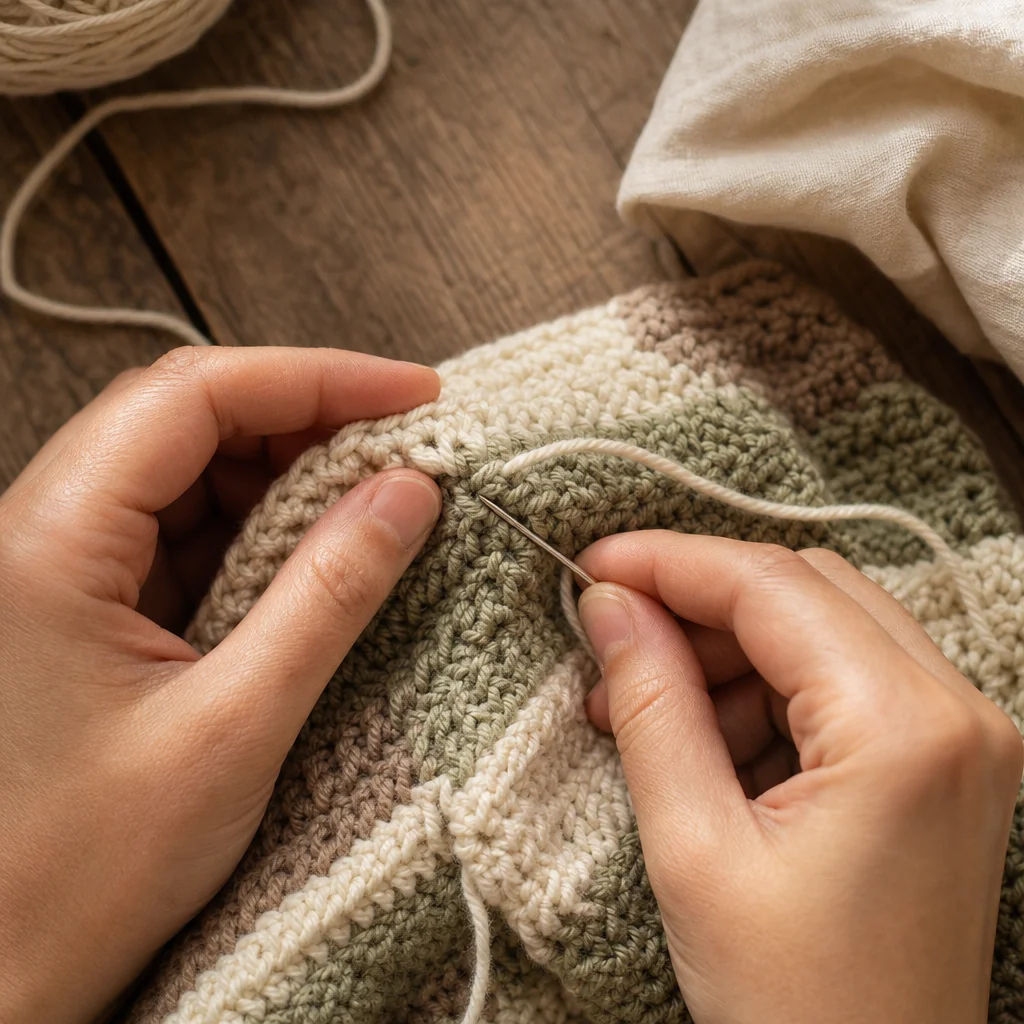
Thread the tail onto a tapestry needle and work on the wrong side of the fabric. Weave through the back loops or posts of stitches in a diagonal or zigzag path for about 2 to 3 inches. Then reverse direction and weave back through a different set of stitches. That change of direction is what creates a mechanical lock: the yarn can no longer retrace a single path, because there isn't one anymore.
The Split-Stitch Method
For extra insurance, aim the needle so it pierces through the plies of the yarn itself as you weave, rather than just sliding alongside them. Splitting the strands locks the tail into the stitch at a microscopic level. This is especially useful on projects that see heavy wear, like bags, blankets, or baby items that get washed often.
Weave Along a Seam Instead of Open Fabric
When possible, run your ends along a seam or edge rather than through open stitches. Seams already have extra bulk and crossing yarns, which adds more surfaces for friction and hides the tail better.
Fiber-Specific Fixes
Acrylic, Bamboo, and Other Slippery Yarns
Weave in at least 3 inches, changing direction twice instead of once. Use the split-stitch method the whole way through, since these fibers won't grip on their own. If you're still nervous about a tail, a tiny dab of fabric glue or clear nail polish at the very end point before trimming disappears once dry and adds a permanent anchor.
Wool and Other Grippy Natural Fibers
Wool fibers have a natural scale structure that catches on itself, so a shorter weave of about 2 inches with a single direction change is usually enough. Superwash wool, however, has been treated to reduce that grip, so treat it more like acrylic and weave a bit further.
Finishing Touches That Prevent Future Trouble
Test Before You Trim
Before cutting, gently stretch the fabric in the direction the tail is woven. If the end pokes through to the right side, or you can feel it pulling loose, weave it further before cutting. This thirty-second check saves you from fixing it later, after blocking or washing.
Trim Length Matters
Leave about 1/8 inch of tail rather than cutting flush against the fabric. Cutting too close removes the last bit of yarn that friction has grabbed onto, and it's the first thing to work loose. A tiny visible tip is normal and will settle into the fabric slightly over time and washes.
Wait Before You Trim Too Close
Some yarns, especially cotton and cotton blends, relax slightly after their first wash or block. If you trim flush right away, that relaxation can expose a gap where the tail retracts. Leave a bit of extra length until after the first wash, then trim closer if needed.
When Ends Still Come Loose After Washing
If you find a loose end after laundering, don't just tug it and tuck it back in. That spot has already proven it doesn't hold. Instead, unweave the tail completely, then re-weave it through fresh stitches using the direction-change and split-stitch methods above, ideally along a seam. If the yarn itself feels worn or fuzzy from the first attempt, snip a tiny bit off before re-weaving so you're working with fresh plies.
Bottom Line
Loose ends aren't bad luck, they're a friction problem. Change direction at least once, split the plies for extra grip, match your weaving length to your fiber, and leave a small tail instead of a flush cut. Do that consistently and your seams and finishes will hold up through years of washing and wear.