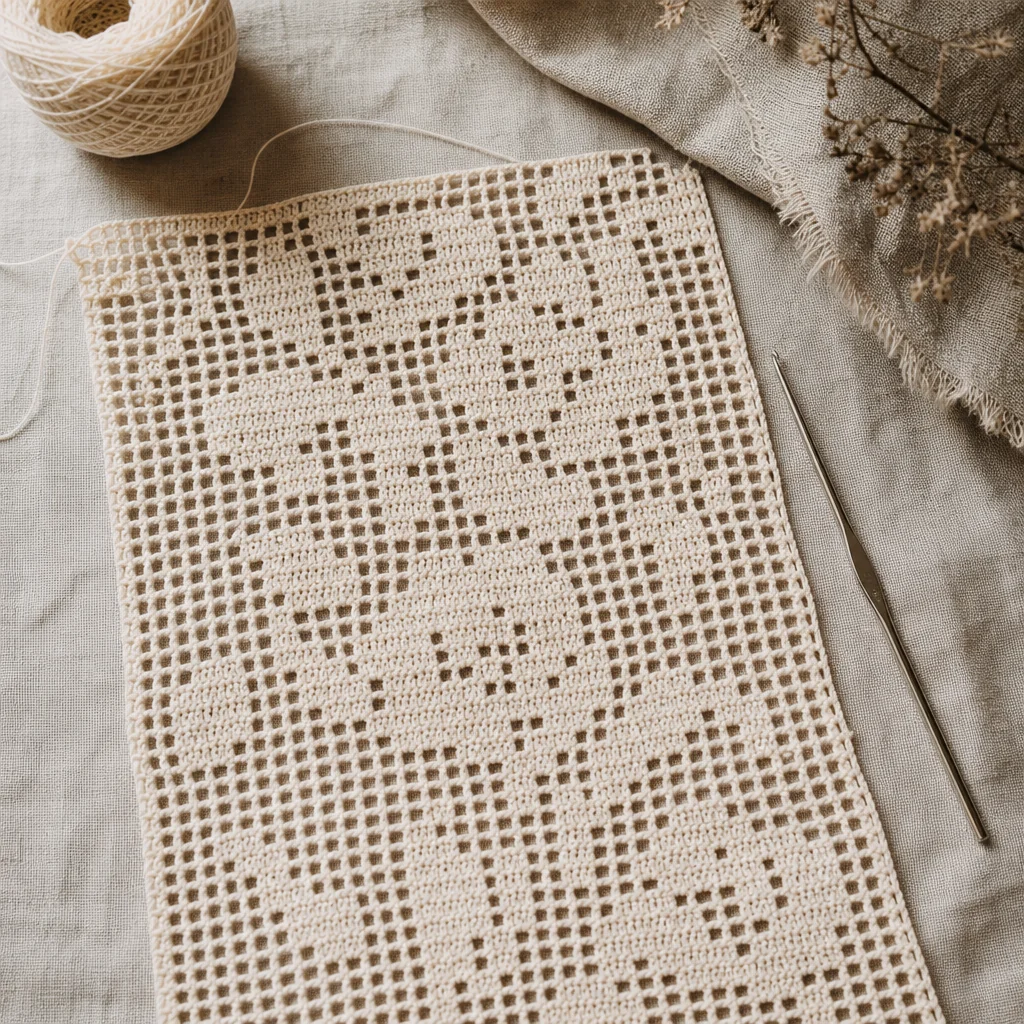
What Is Filet Crochet and How Do You Design Your Own Patterns?
by Crochets Studio — A lifelong fibre artist with a passion for lace techniques, who learned thread crochet from her grandmother's collection of vintage filet patterns and has been charting original designs for over fifteen years.
Filet crochet transforms simple chain stitches and double crochets into stunning pictorial lace by following a grid chart of filled and open squares. It's an advanced technique rooted in centuries of European lacemaking tradition, and once you understand the grid logic, you can design completely original patterns from any image. This guide covers the foundations, walks you through the design process, and offers practical tips for Canadian crafters looking to create heirloom-quality pieces.
What Makes Filet Crochet Unique
Filet crochet stands apart from other crochet techniques because it treats your hook and thread like a drawing tool. Instead of building texture through complex stitch combinations, you work with just two elements—open mesh squares and filled blocks—arranged on a grid to form images. The result is a piece of fabric that looks remarkably like printed lace, with pictures and patterns emerging from the interplay of solid thread and open air.
The technique has deep roots in European lacemaking, particularly in Italy and France, where it was used to create elaborate curtain panels, altar cloths, and tablecloths. Today, filet crochet remains popular for home décor, but modern makers are pushing it into wall art, garment panels, and even large-scale installations.
Understanding the Grid System
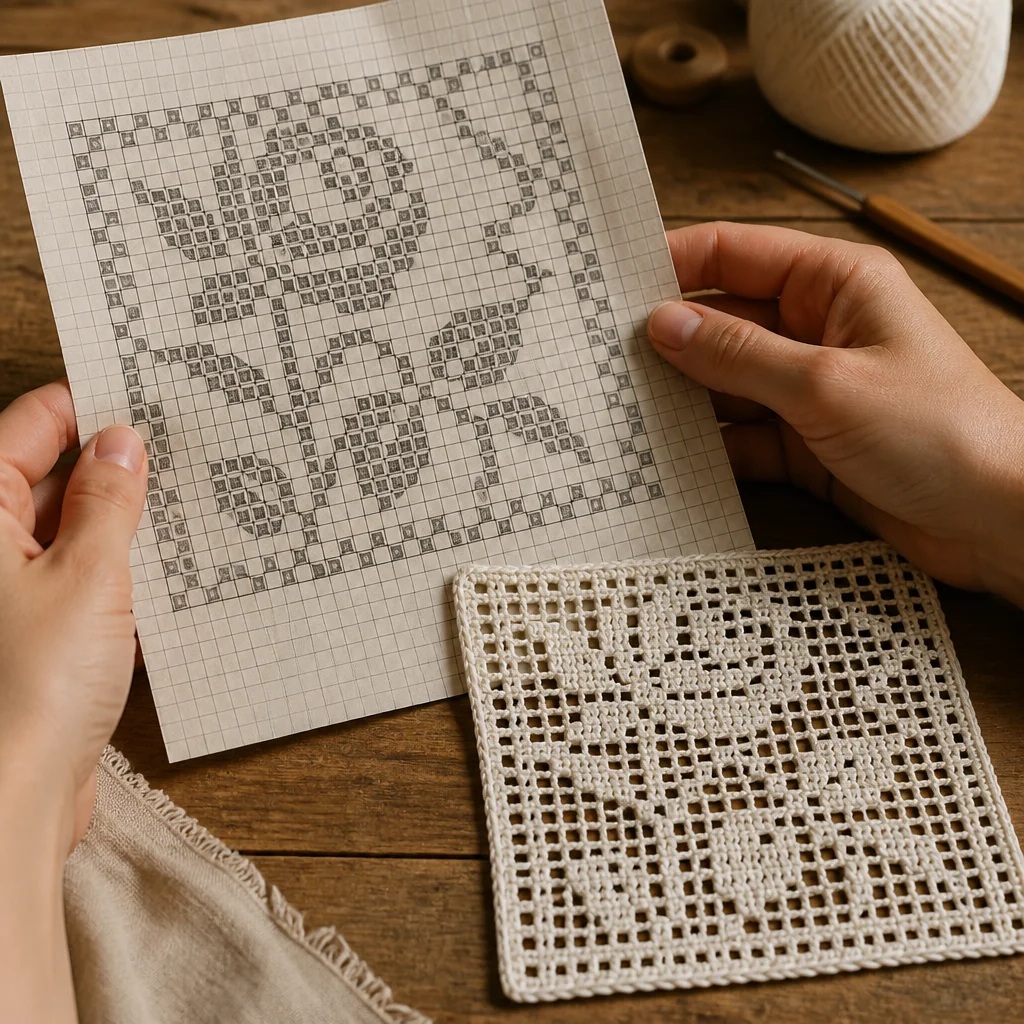
Every filet crochet design begins as a chart on graph paper. Each square on the chart corresponds to one unit in your crocheted fabric:
- Open mesh square: One double crochet, two chains, skip two stitches, one double crochet. This creates a small window of open space.
- Filled block: Four double crochets worked side by side (or two double crochets filling in the chain space of a mesh square). This creates a solid section.
When you look at a filet chart, darkened squares represent filled blocks and empty squares represent open mesh. Reading the chart from bottom to top and alternating direction each row (right to left on odd rows, left to right on even rows), you build the image one row at a time.
The Aspect Ratio Issue
One critical detail that catches many beginners off guard: filet squares are not perfectly square. A standard mesh unit is slightly wider than it is tall, which means your finished piece will appear compressed vertically compared to the chart. For simple geometric patterns, this barely matters. For pictorial designs—faces, animals, lettering—you need to compensate by stretching your chart vertically by about 15 to 20 percent, or by adjusting your stitch height with taller stitches.
Materials You'll Need
- Thread: Size 10 crochet cotton is the classic choice. For your first project, choose a smooth, light-coloured thread—ecru or white—so you can clearly see your stitches against the open mesh. Canadian makers can find excellent quality mercerized cotton from local yarn shops and online suppliers.
- Hook: A steel crochet hook in size 7 (1.65 mm) works well with size 10 thread. Adjust based on your tension.
- Graph paper: Standard grid paper for initial sketching. For digital work, any spreadsheet program or pixel art tool works beautifully.
- Blocking supplies: T-pins and a foam blocking board are essential. Filet crochet truly comes alive after blocking, when the mesh opens up and the filled areas become crisp.
How to Design Your Own Filet Pattern
Step 1: Choose Your Source Image
Start with a high-contrast image. Silhouettes, bold floral motifs, simple animals, and geometric shapes all translate well into filet crochet. Avoid photographs with subtle gradients or fine detail—the grid resolution of filet work is too coarse for photorealism.
Step 2: Determine Your Grid Size
Decide how large you want your finished piece to be, then calculate how many grid squares fit within those dimensions. Work a small gauge swatch of at least 10 squares by 10 rows to measure your personal grid unit size. For size 10 thread and a 1.65 mm hook, each square typically measures about 6 mm wide and 5 mm tall.
Step 3: Pixelate the Image
Using graph paper or a digital tool, reduce your source image to a grid matching your square count. Each cell becomes either filled or open. Squint at the result—does the image still read clearly? If not, simplify further or increase your grid dimensions.
Step 4: Adjust for Aspect Ratio
Remember that filet squares are wider than they are tall. If your design needs to look proportionally correct, add extra rows (roughly 15 to 20 percent more than you'd expect from a square grid). Test this against your gauge swatch measurements.
Step 5: Mark Your Chart Clearly
Fill in your final grid with a dark marker for filled blocks and leave open squares empty. Number every row along the side and mark the starting corner. Some designers also note the direction of work for each row with small arrows.
Step 6: Calculate Your Foundation Chain
Your starting chain length equals (number of squares × 3) + 1 for the first double crochet, plus turning chains. For a 40-square-wide design, that's 121 chains plus 3 turning chains. Always add a few extra chains—it's easier to unravel excess than to start over.
Step 7: Work the First Row
Follow your chart from the bottom row. For each open square, chain 2 and skip 2 chain stitches, then work 1 double crochet into the next chain. For each filled square, work 3 double crochets into the next 3 chain stitches. Continue across.
Step 8: Continue Row by Row
Turn your work. Chain 3 (counts as the first double crochet) or chain 5 (counts as the first double crochet plus an open mesh), depending on whether your first square in the new row is filled or open. Follow your chart for each subsequent square.
Advanced Design Considerations
Adding Lacets and Decorative Elements
Beyond simple filled and open squares, traditional filet crochet includes lacets—crossed double crochet bars that add visual texture to open areas. These are charted differently (often with an X or diagonal line) and create a subtle lattice effect within the mesh background.
Working with Colour
While classic filet crochet uses a single thread colour, you can introduce colour changes at block boundaries for striking effects. Carry unused colours along the top of the previous row, encasing them within your double crochets to keep the back tidy.
Scaling for Large Projects
Curtain panels, bedspreads, and tablecloths require careful planning. Break large designs into repeating sections and work modular panels that you join later. This makes the project portable and reduces the risk of counting errors across hundreds of squares.
Common Pitfalls and How to Avoid Them
Miscounting Chain Spaces
The most frequent mistake in filet crochet is losing count of chains within a mesh square. Use stitch markers at regular intervals—every 10 squares, for instance—and count religiously at the end of each row.
Uneven Tension
Because you alternate between clusters of double crochet and chain spaces, your tension can shift between filled and open sections. Practice maintaining consistent yarn wrap pressure regardless of the stitch type.
Skipping the Gauge Swatch
Filet crochet gauge determines whether your finished piece matches your planned dimensions and whether your image reads correctly. Never skip this step, especially for large projects.
Blocking: The Final Transformation
Filet crochet looks rumpled and indistinct off the hook. Blocking is not optional—it's what transforms your work from a crumpled rectangle into crisp, luminous lace. Pin your piece to a blocking board, mist it thoroughly with water or a light starch solution, and let it dry completely. The mesh will open, the filled areas will flatten, and your design will emerge with startling clarity.
Project Ideas to Try
- Bookmarks: 15 to 20 squares wide, perfect for practicing chart reading.
- Coasters: Small square or circular pieces that build confidence with shaping.
- Window panels: Classic filet territory—let light filter through your handmade lace.
- Framed wall art: Work a pictorial panel and mount it over a contrasting background for a modern display piece.
Filet crochet rewards patience and precision, but the creative possibilities are boundless. Once you internalize the grid logic, every image becomes a potential pattern, and every piece you make carries the elegance of centuries of lacemaking tradition.